Use Zendesk As a Content Source
This article explains how to index the posts, articles, and tickets stored in your Zendesk instance.
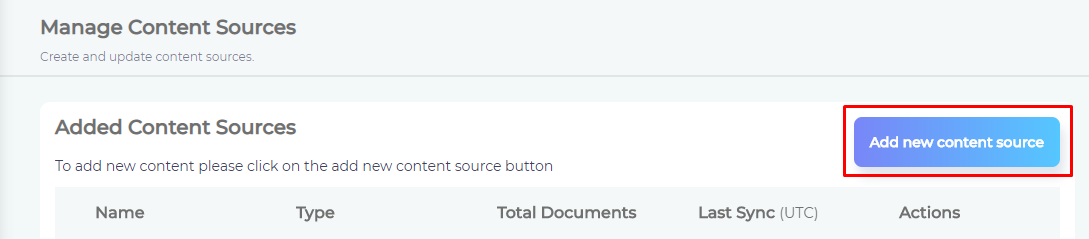
Establish a Connection
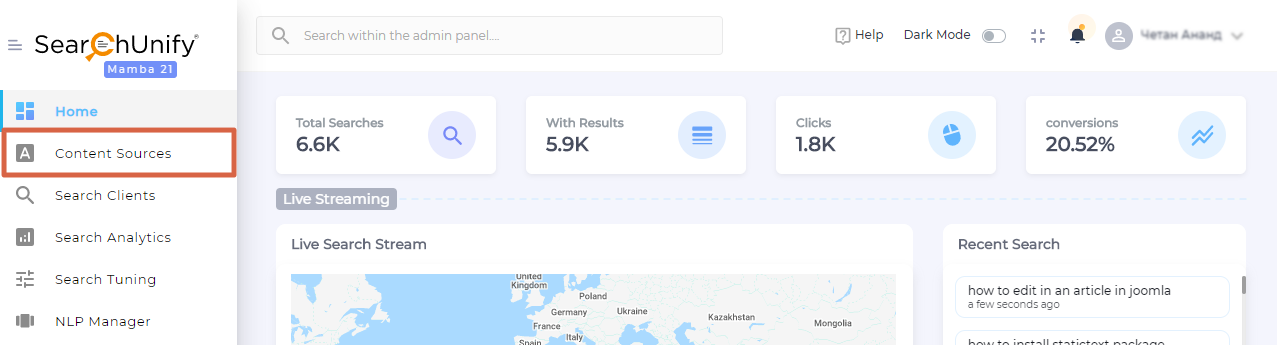
- Navigate to Content Sources.

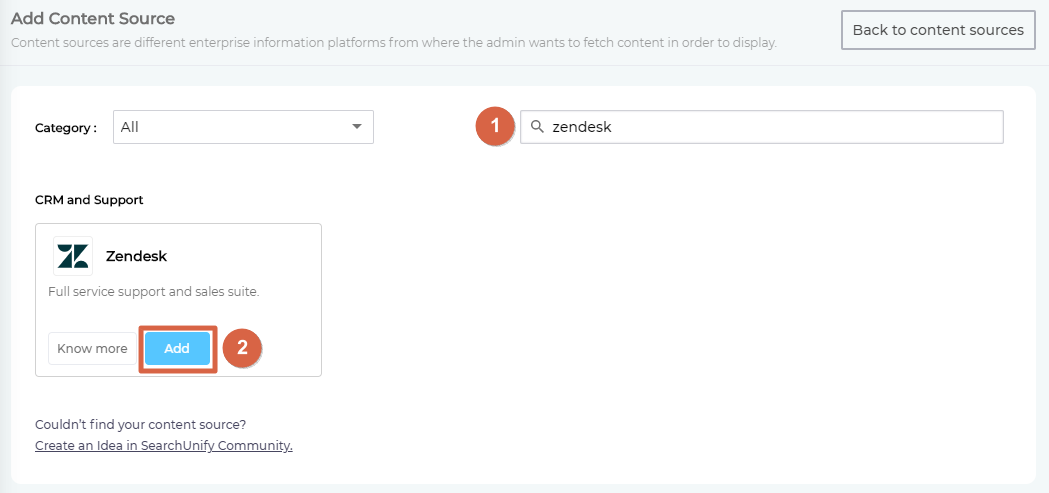
- Click Add new content source.

- Find Zendesk from the search bar and click Add.

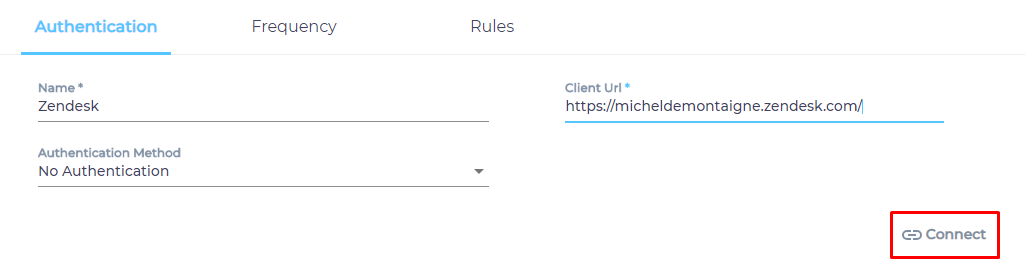
- Enter a name.
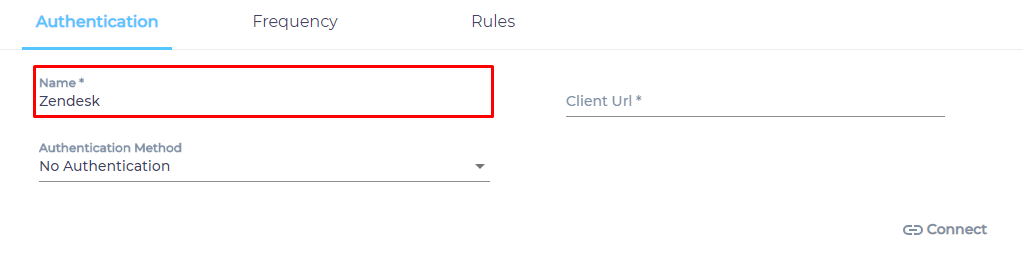
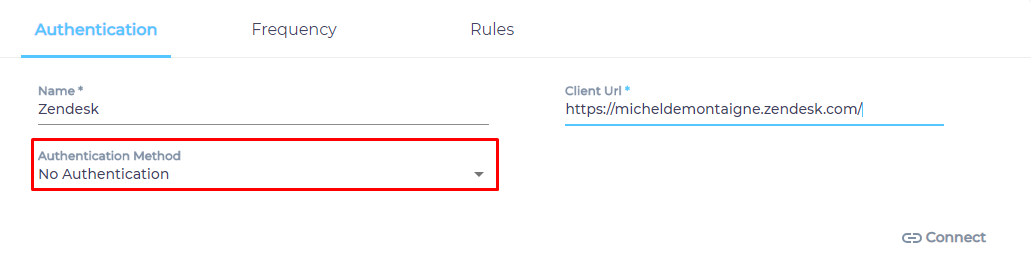
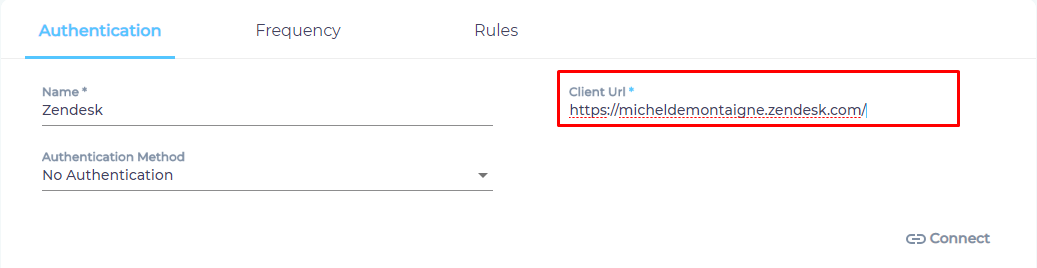
- Insert your Zendesk instance web address in Client URL.

- Select an authentication method.
- Press Connect.


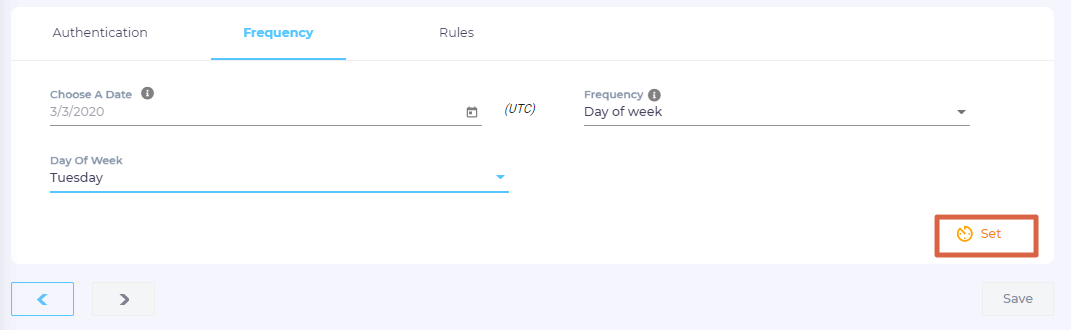
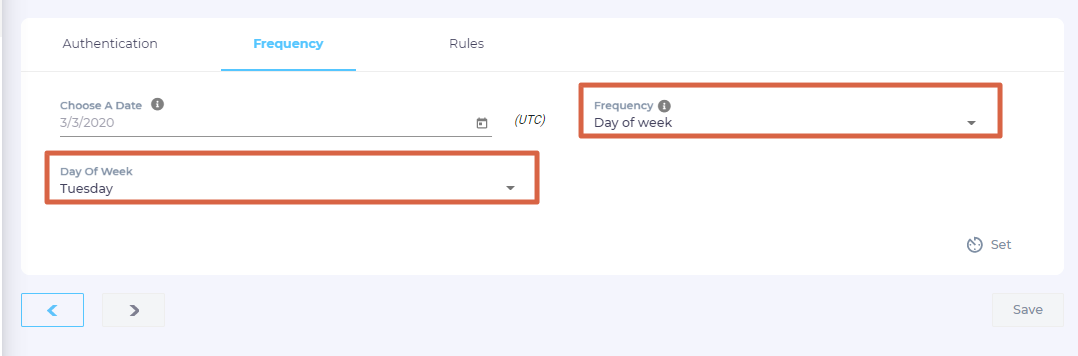
Set Up Crawl Frequency
- In Choose a Date, click
 to fire up a calendar and select a date. Only the posts, articles, and tickets created or edited after the selected date is indexed.
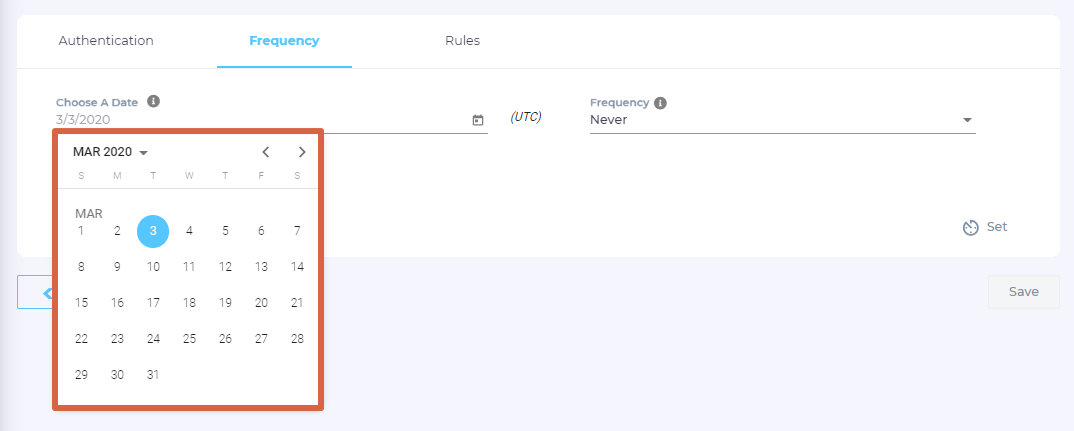
- Use the Frequency dropdown to select how often SearchUnify should index the Zendesk data. For illustration, the frequency has been set to Weekly the Tuesday has been chosen as the crawling day. Whenever the Frequency is other than Never, a third dropdown appears where you can specify the interval.

- Click Set to save crawl frequency settings. On clicking Set, you are taken to the Rules tab.


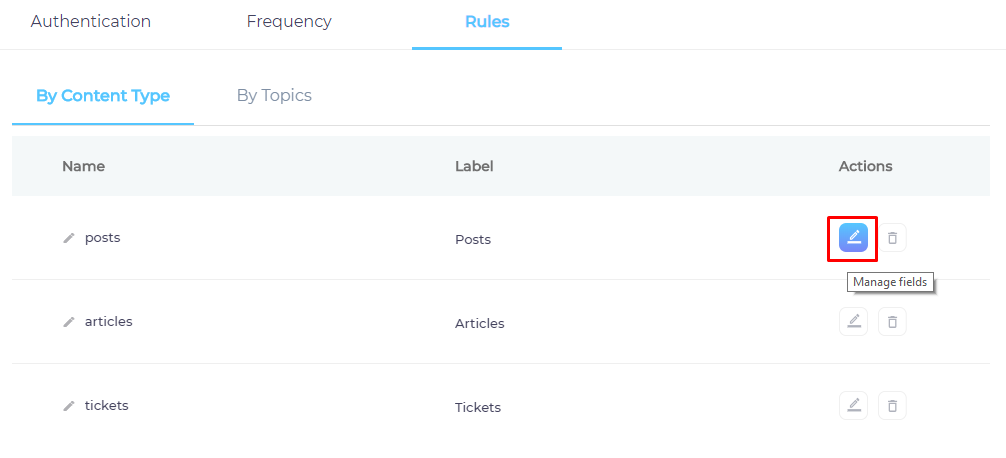
Select Fields for Indexing
You can index your entire Zendesk data, or only a subset of it. SearchUnify supports three content types out-of-the-box: blogs, articles, and tickets.
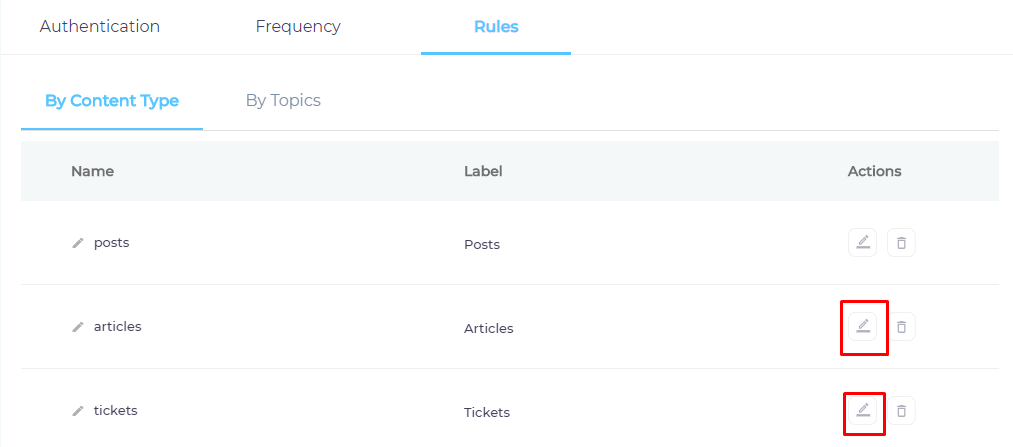
- Click
 to select a content type.

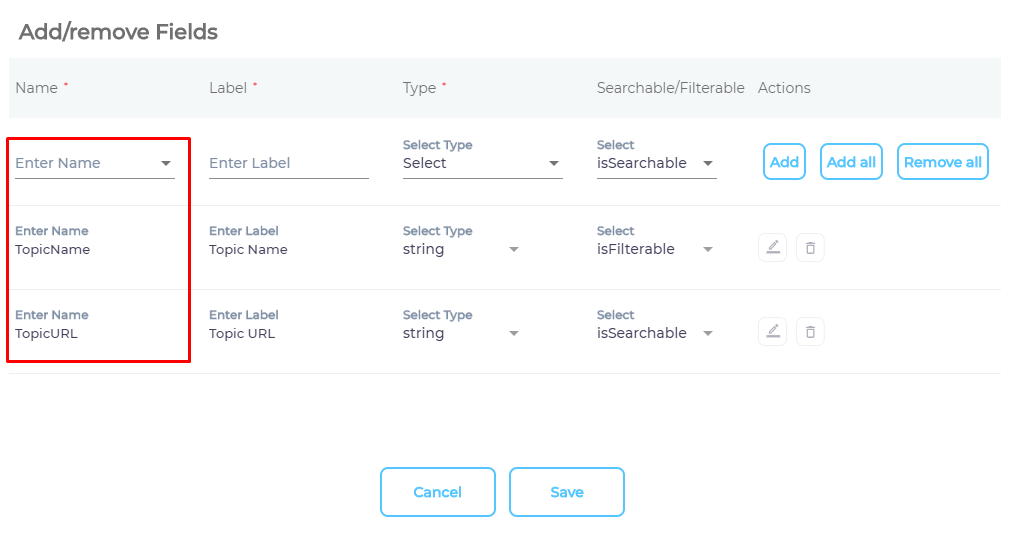
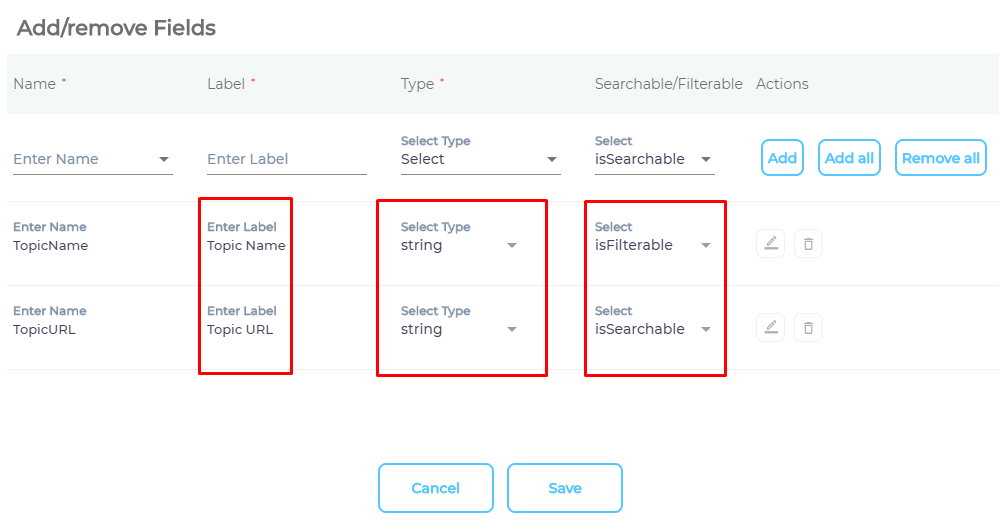
- Add content fields one at a time. Each field is a property of
blogs,articles, andtickets.
- OPTIONAL. SearchUnify assigns each field a label, type, and either an
isSearchableorisFilterabletag. The values don't require a change, but advanced users can edit them.
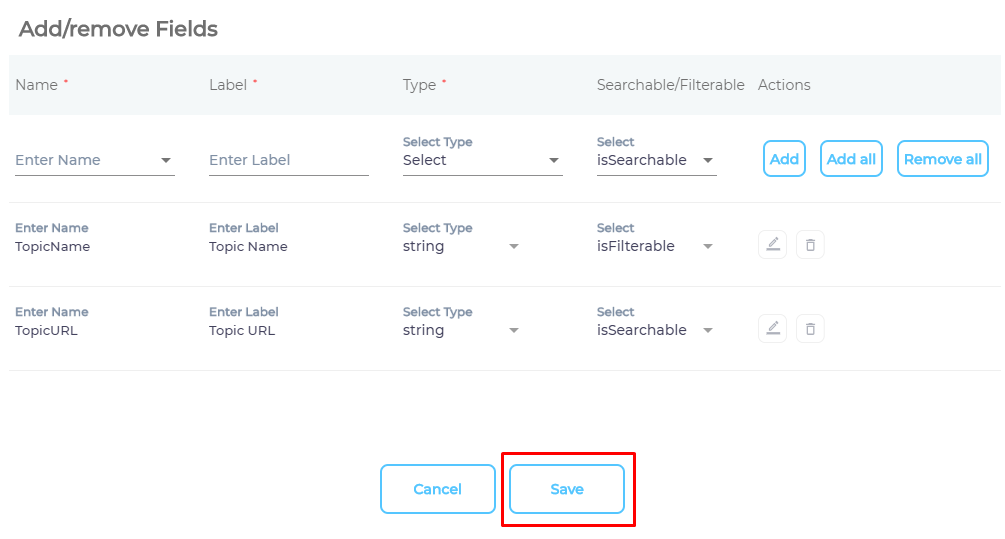
- Press Save.

- Repeat the steps 2-4 for the remaining two content types.

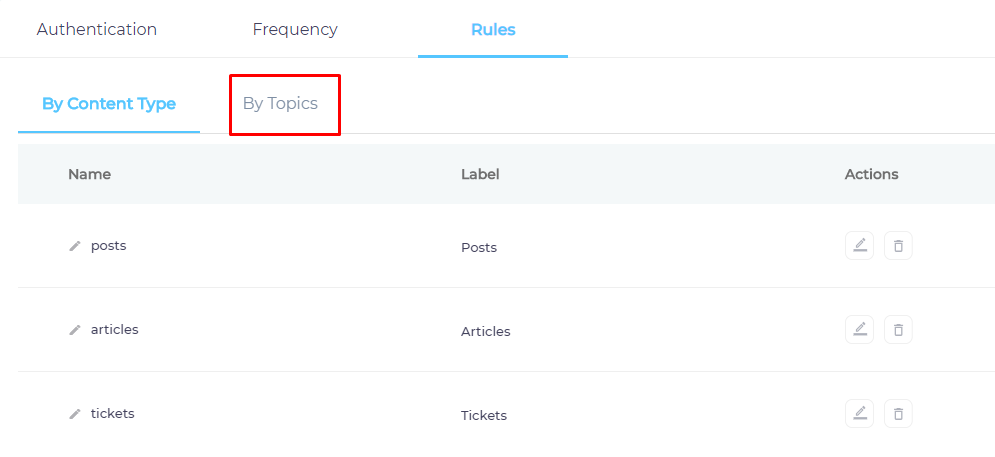
- Navigate to By Topics.

- Use the index to find your topics and check enable for each one of it.
- Press Save.
You have successfully installed Zendesk as a content source.
Last updated: Tuesday, November 9, 2021
Was this article helpful? Send us your review at help-feedback@searchunify.com