Use Confluence As a Content Source
SearchUnify can index the pages and blogs stored in your Confluence instance. This article walks you through the process of setting up Confluence as a content source.
Prerequisites
Log into SearchUnify and Confluence as an admin.
Establish a Connection
- Navigate to Content Sources.
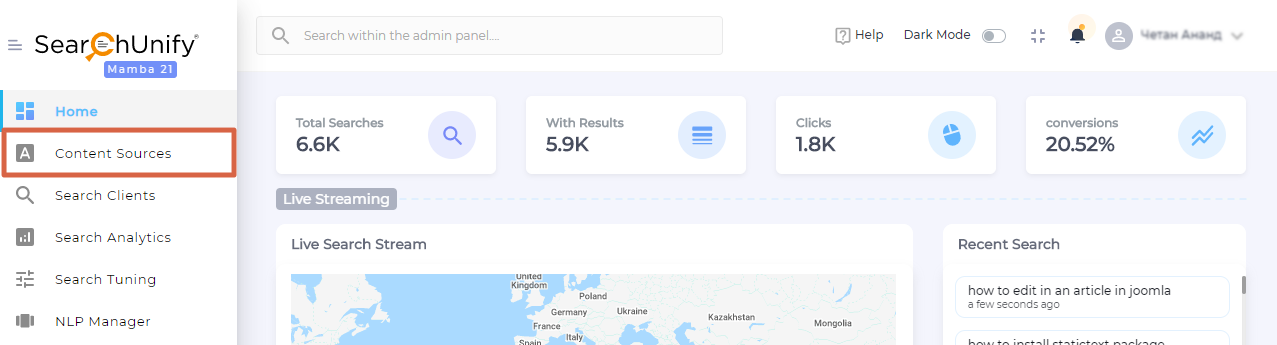
- Click Add new content source.


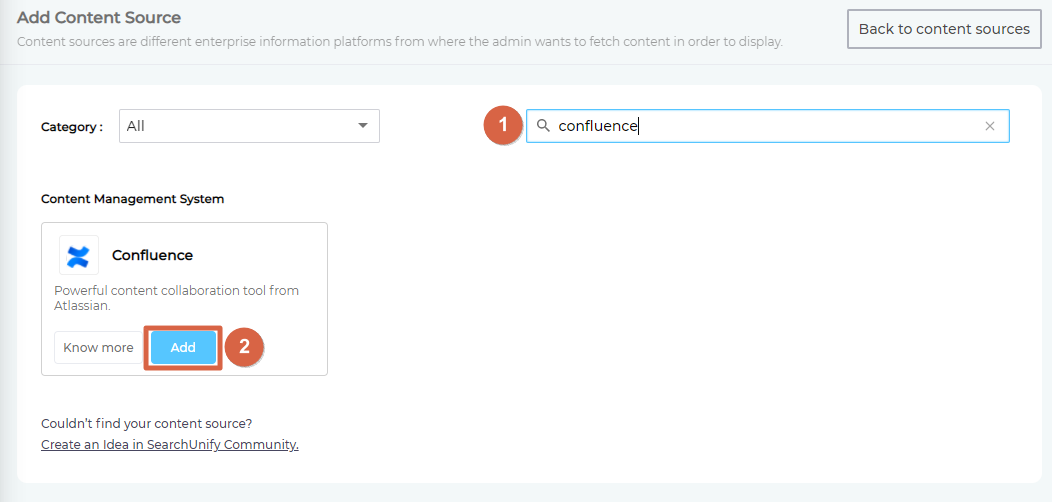
- Find "Confluence" through the search box and click Add.

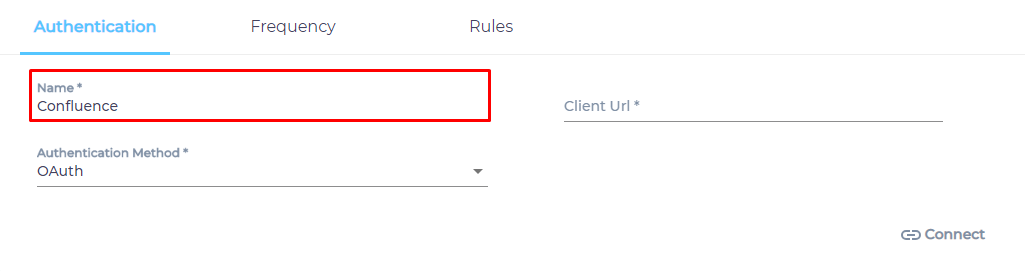
- Give your content source a name.

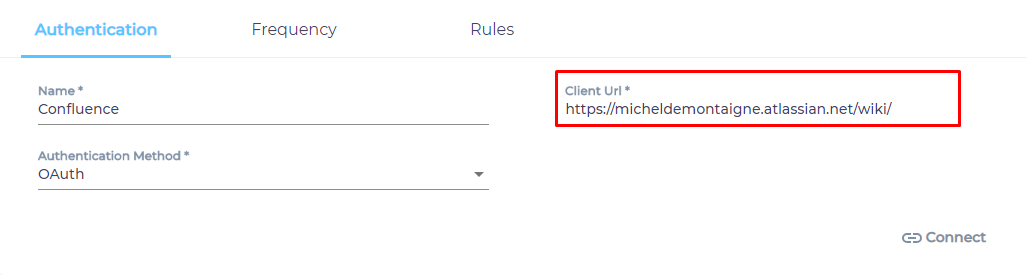
- Enter the web address of your Confluence instance in Client URL.

- Select an Authentication Method.
- Basic. Crawls the data that the ID can access. Requires your Confluence login ID and an API token. How to Create an API Token in Confluence or Jira?
- OAuth. Crawls all the data in your Confluence instance. Requires the creation of an app first. Click here to learn how to create the app.

- Click Connect.


Set Up Crawl Frequency
- Click
 to fire up a calendar and select a date. Only the data after the selected date will be indexed.
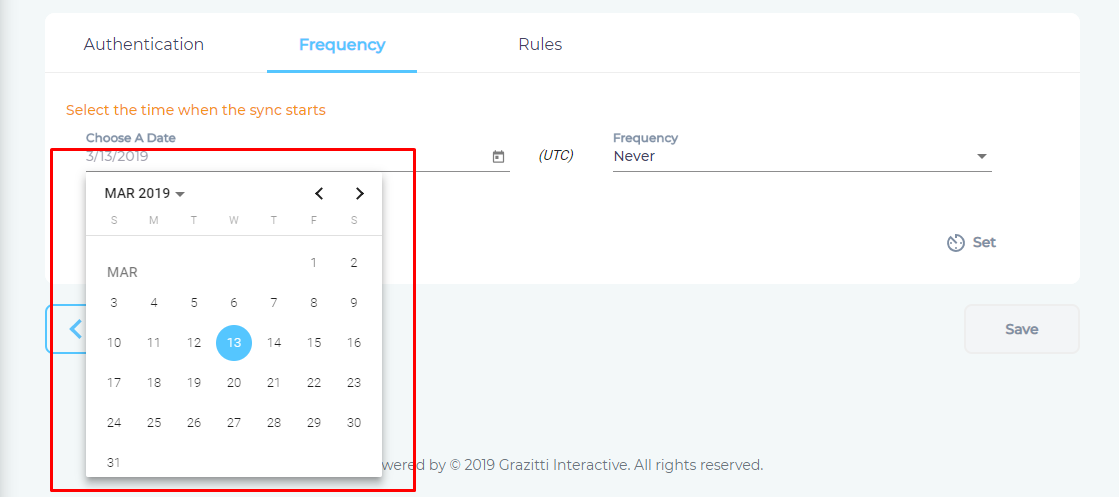
- Use the Frequency dropdown to select how often SearchUnify should index the data.

- Click Set.


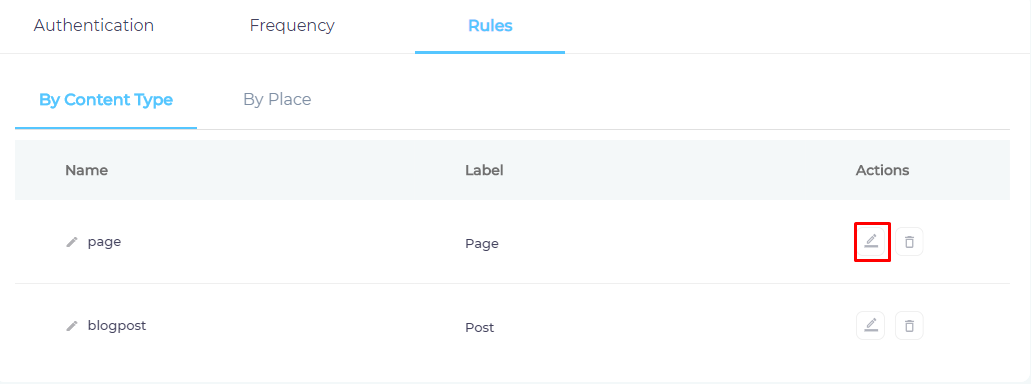
Select Types and Fields for Indexing
SearchUnify can index Confluence pages and blogs. You can choose to index them both, or select just one of them. You can further index all blog and page fields, or only a few of them.
- Click
 to select content fields.

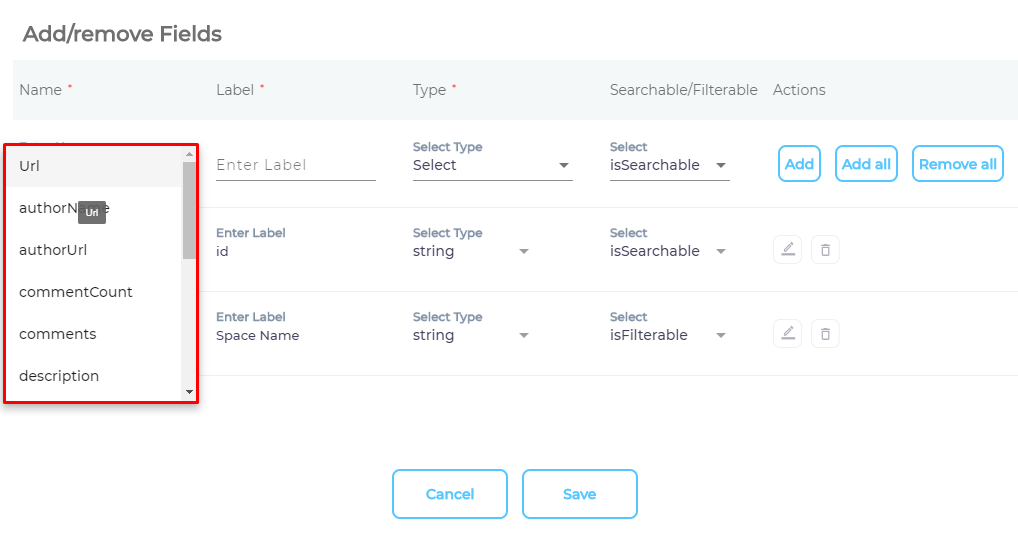
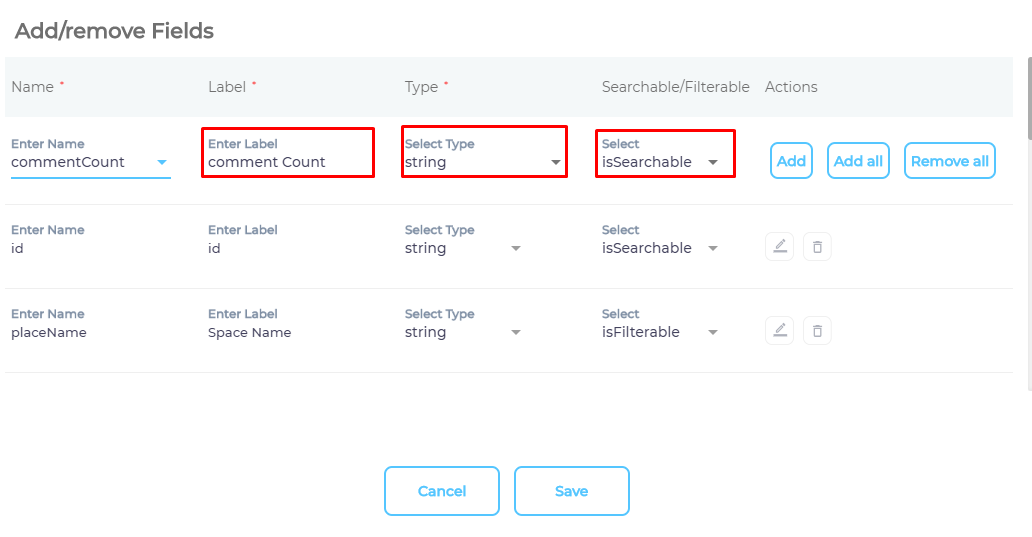
- Use the dropdown in the Name column to add content fields one at a time.

- OPTIONAL. SearchUnify assigns each field a label, type, and either an
isSearchableorisFilterabletag. The values don't require a change, but advanced users can edit them.
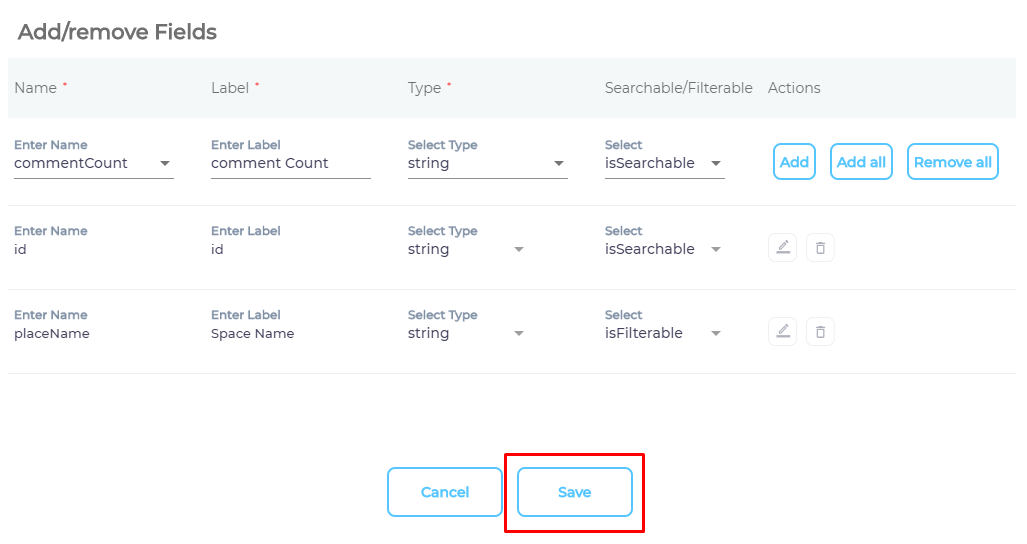
- Press Save.

- Repeat the steps 2-5 with the second content type.
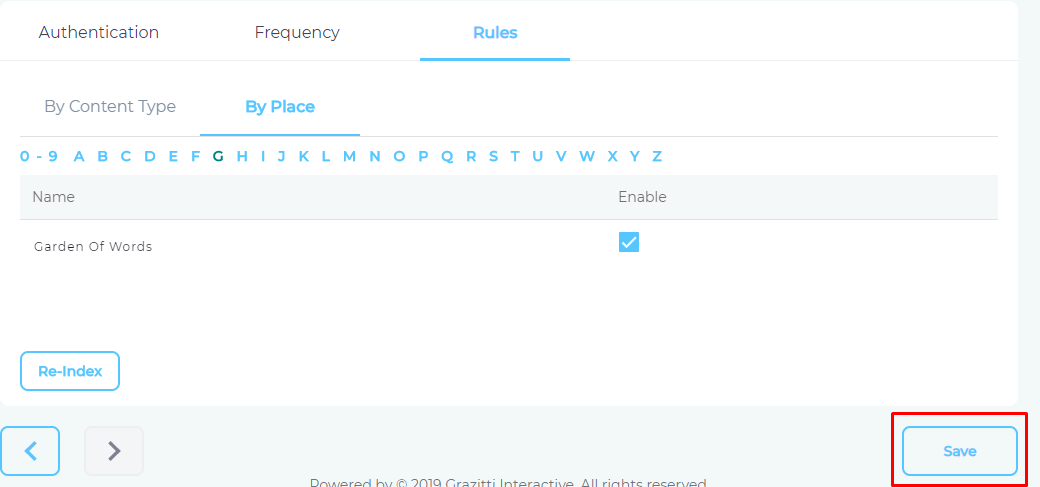
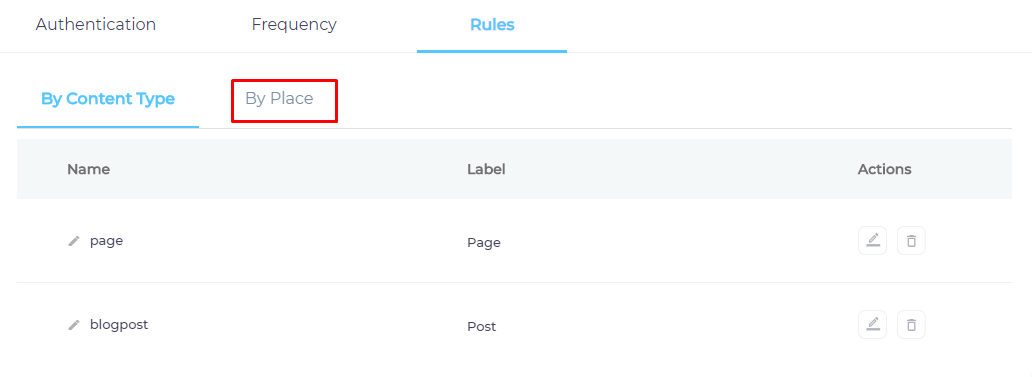
- Navigate to By Place.

- Use the index to find your project and check enable for each one of it.
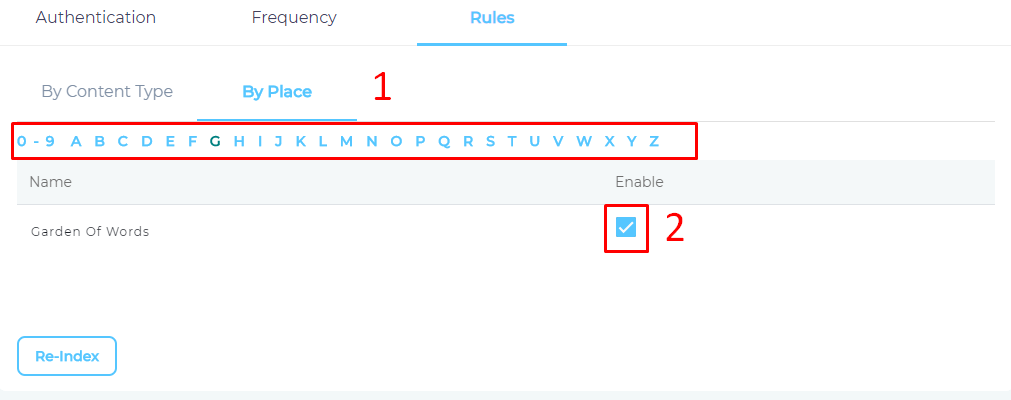
- Press Save.


You have successfully installed Confluence as a content source.
Last updated: Friday, February 26, 2021
Was this article helpful? Send us your review at help-feedback@searchunify.com