Create an App in Jira Software
For the OAuth authentication method to work, it is essential to create an app in Jira Software. This article walks you through the steps.
Create an App
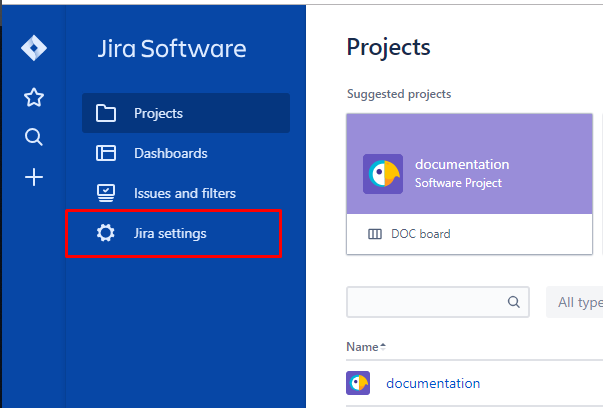
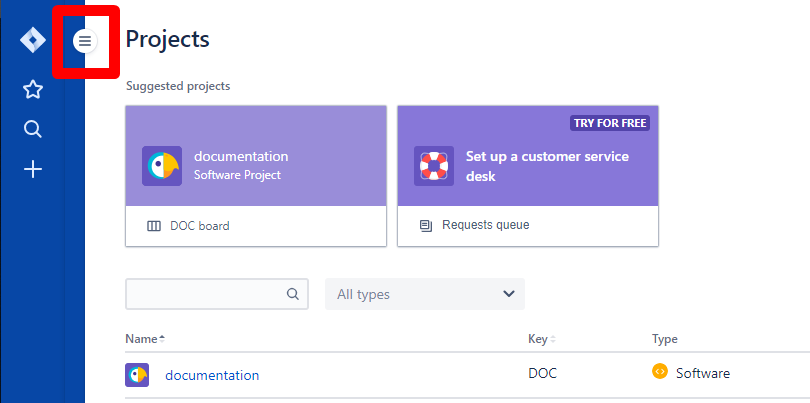
- Log into Jira Software and expand the menu.

- Open Jira Settings.
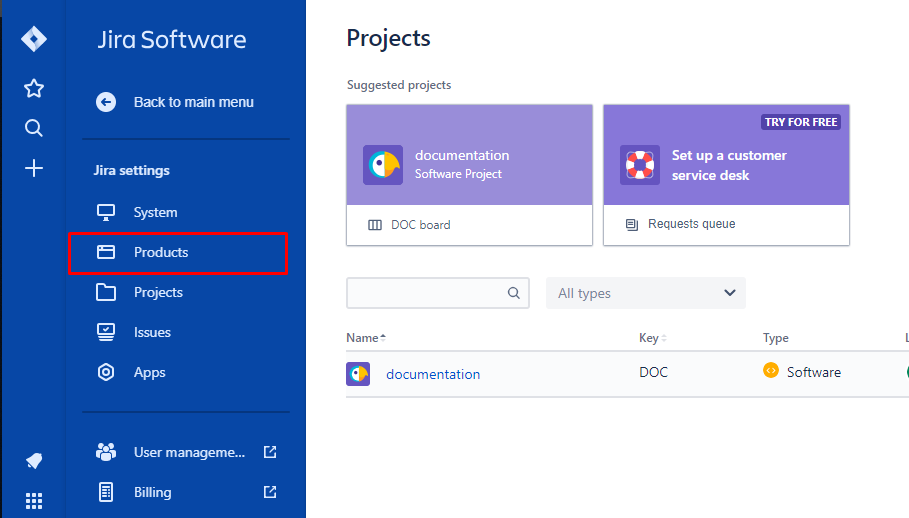
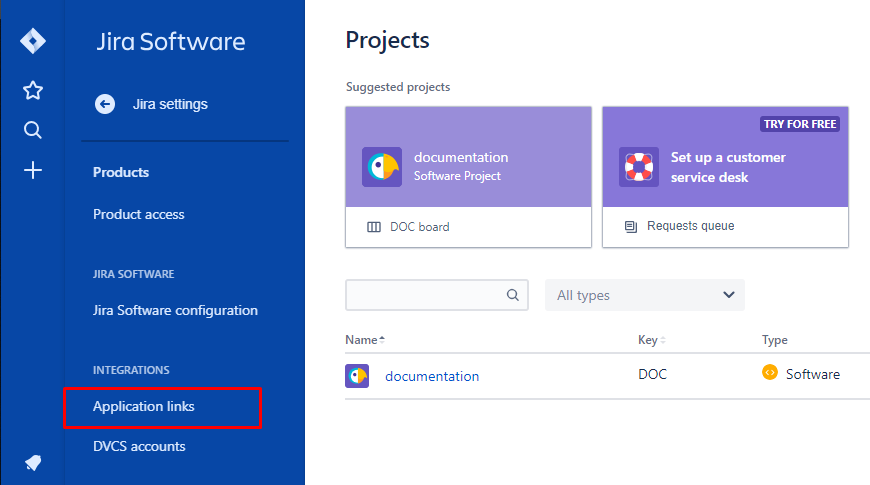
- Click Products.
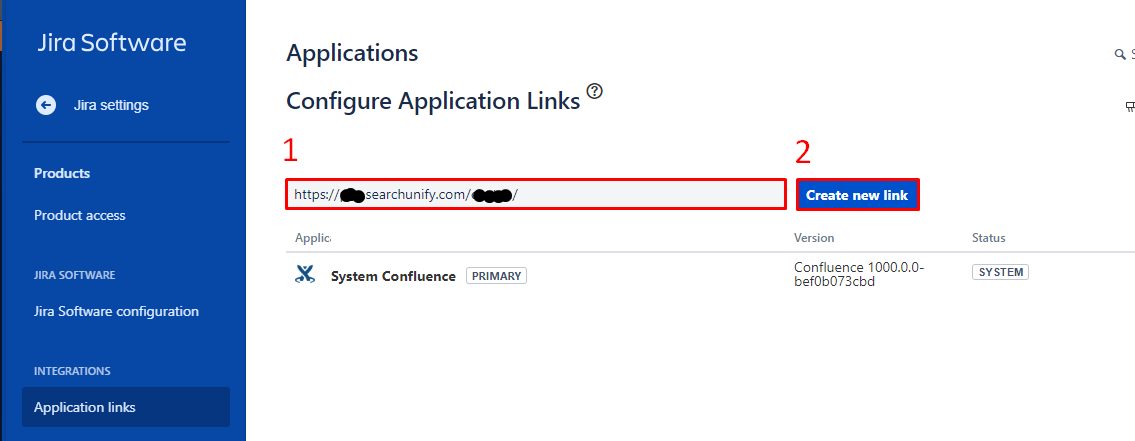
- Navigate to Application links.

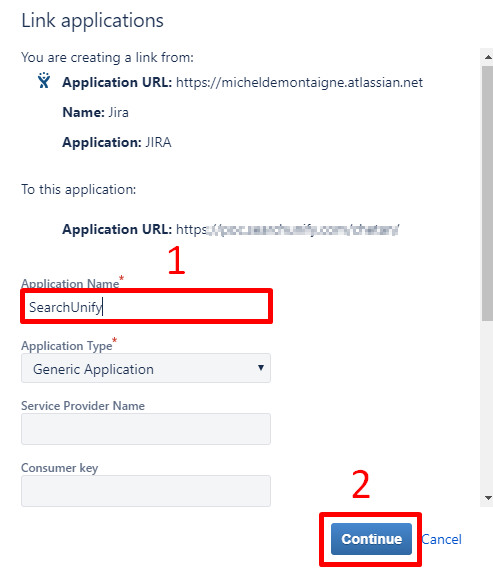
- Enter your SearchUnify instance URL and click Create new link.
- Give your app a name and click Continue.

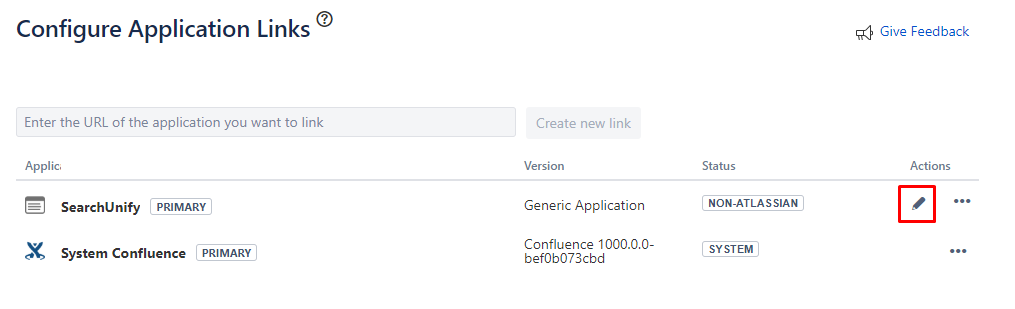
- Click
 to edit the newly created app.

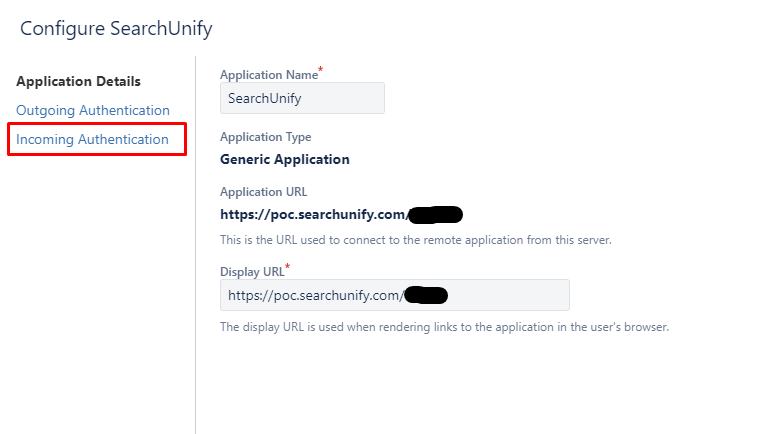
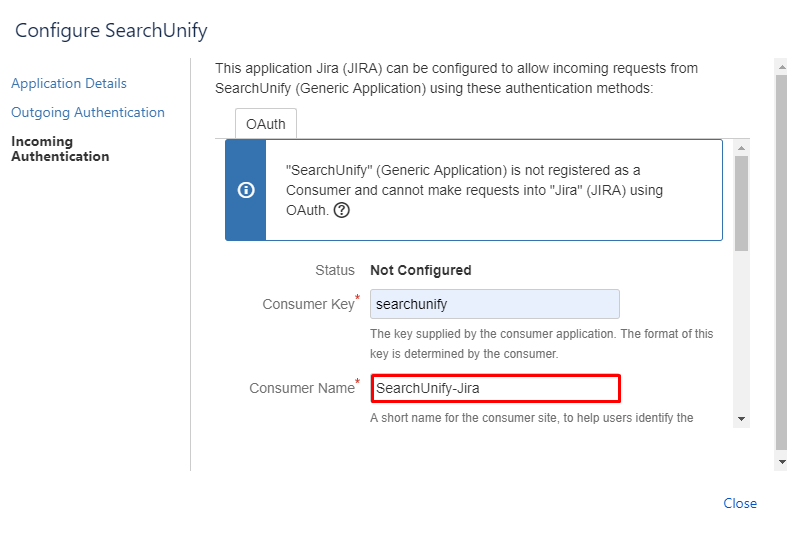
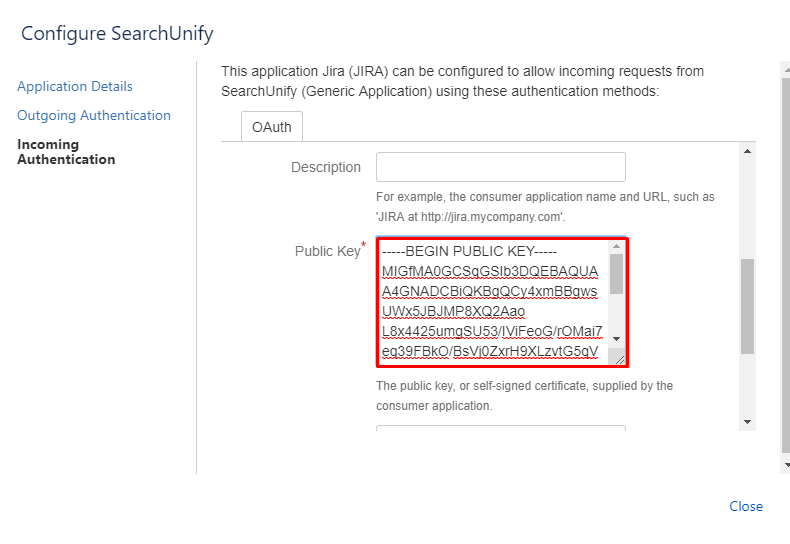
- Go to Incoming Authentication.
- Enter
searchunifyin Consumer Key.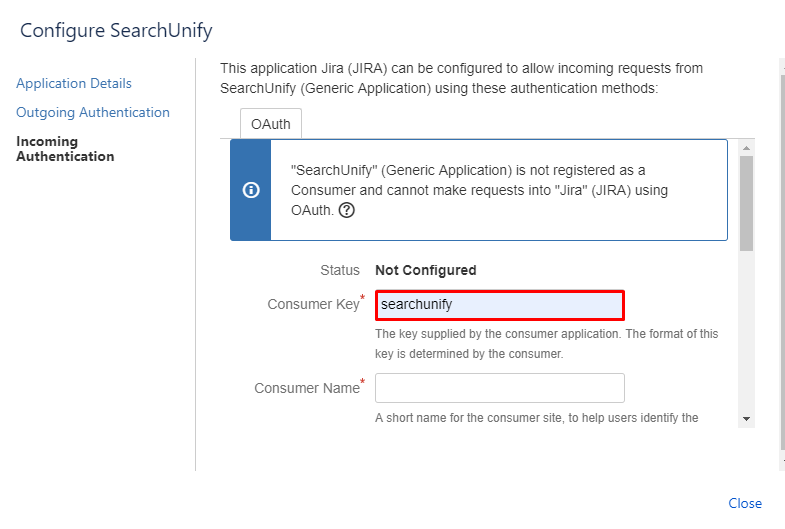
- Give the app a name in Consumer Name.

- Copy the following key and paste it into the Public Key field.
-----BEGIN PUBLIC KEY-----
MIGfMA0GCSqGSIb3DQEBAQUAA4GNADCBiQKBgQCy4xmBBgwsUWx5JBJMP8XQ2Aao
L8x4425umgSU53/IViFeoG/rOMai7eq39FBkO/BsVj0ZxrH9XLzvtG5qV3VxWcJ5
vAgOyXrHTL6pDW2obFQl3bRxjXHl9krecbdzF0BkjWZ99lddTvm5u6oxvy+6TL0a
XrrrI7tjjsnAvu2PTwIDAQAB
END PUBLIC KEY-----
- In Consumer Callback URL, enter the following web address.
https://{{yourSearchUnifyInstanceURL}}/admin/authorization/oAuthCallbackJira/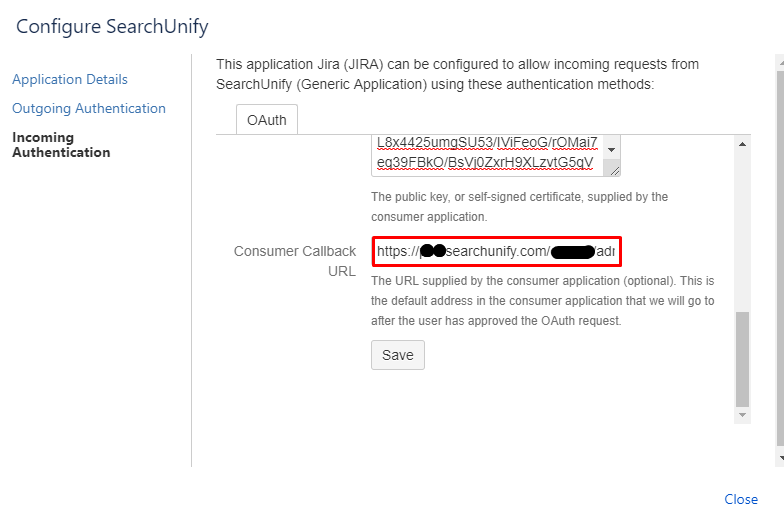
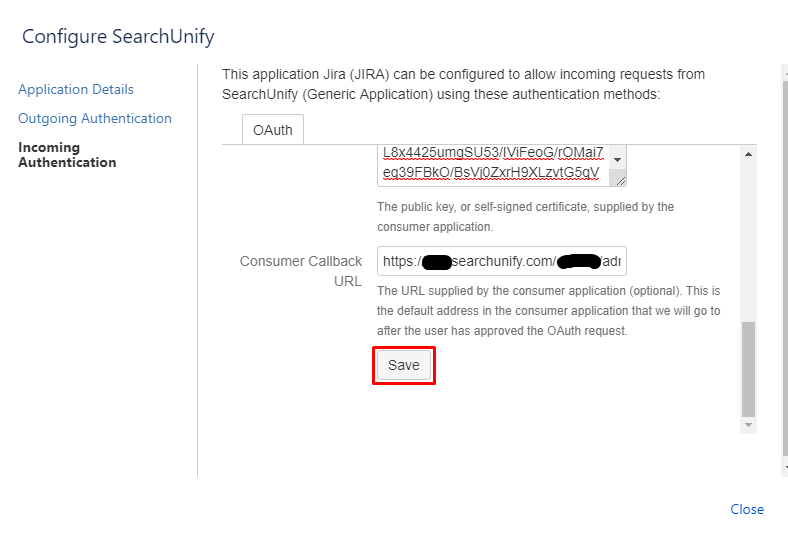
- Press Save.


Last updated: Friday, February 26, 2021
Was this article helpful? Send us your review at help-feedback@searchunify.com