Use Microsoft Dynamics As a Content Source
SearchUnify can index the data stored in Microsoft Dynamics. This article explains how to use your instance as a content repository.
Prerequisites
- Create an OAuth 2.0 Application in Microsoft Dynamics
- Create an Application User in Microsoft Dynamics
Establish a Connection
- Navigate to Content Sources.
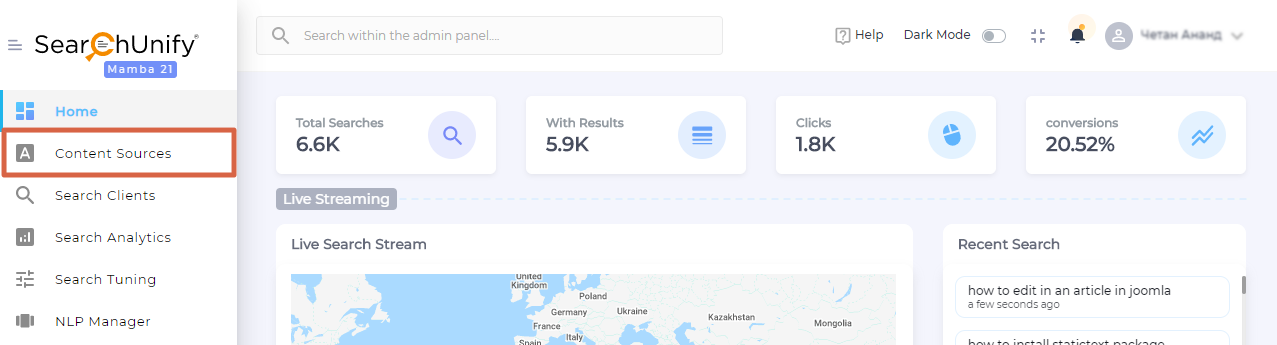
- Click Add new content source.


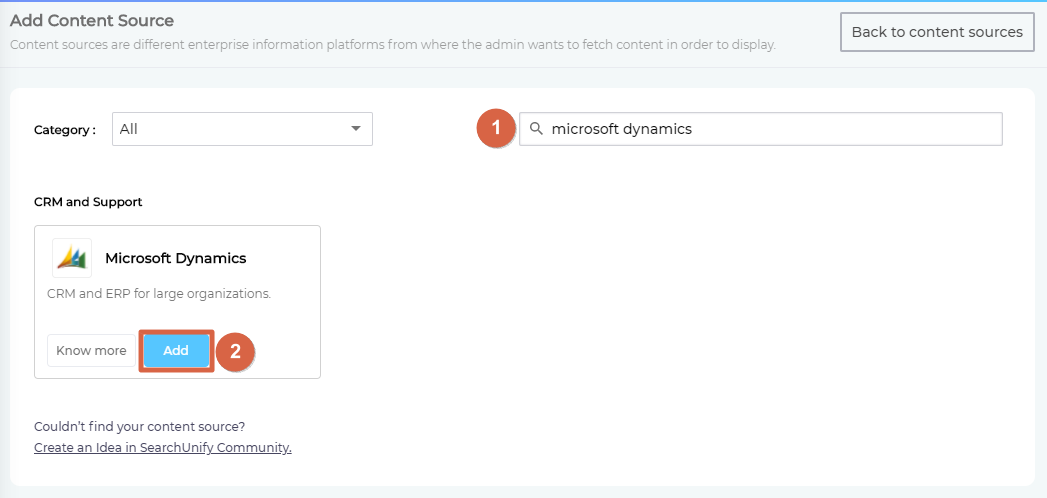
- Find Microsoft Dynamics from the search box and click Add.

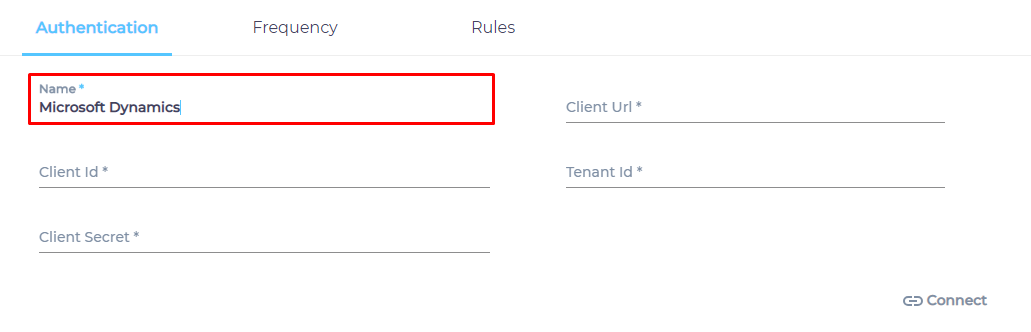
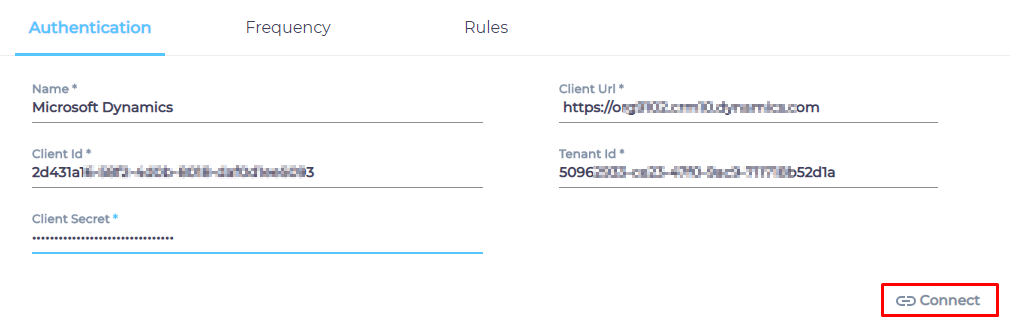
- Give your content source a name.
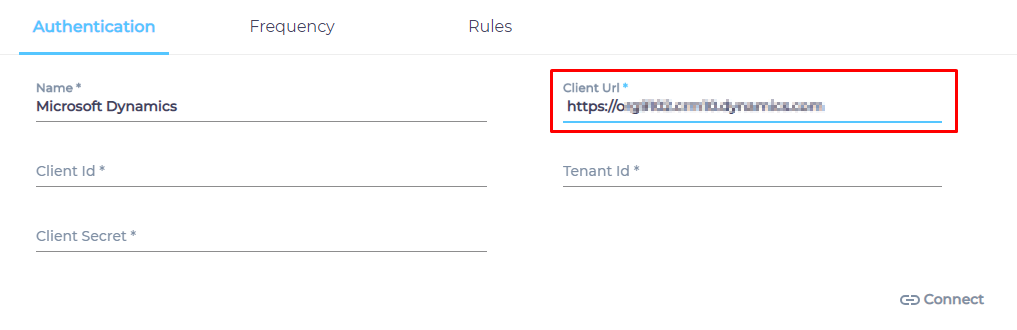
- Enter the address of your Azure instance in Client URL.
- Client ID, Tenant ID, and Client Secret were generated when you created an OAuth 2.0 app in Microsoft Dynamics. (Prerequisites). Enter them all.
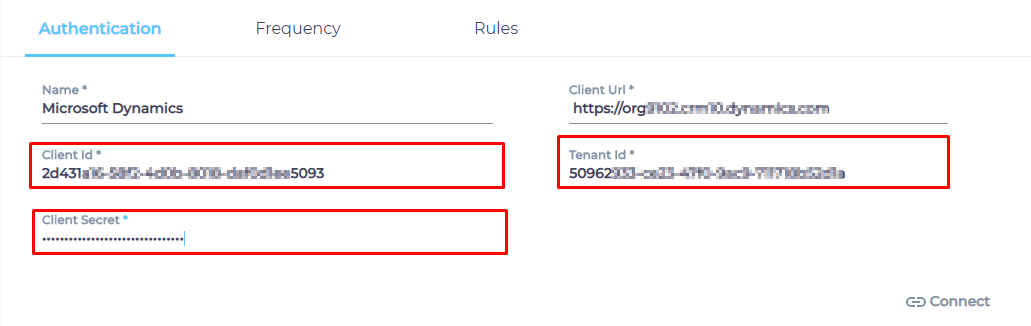
- Click Connect.
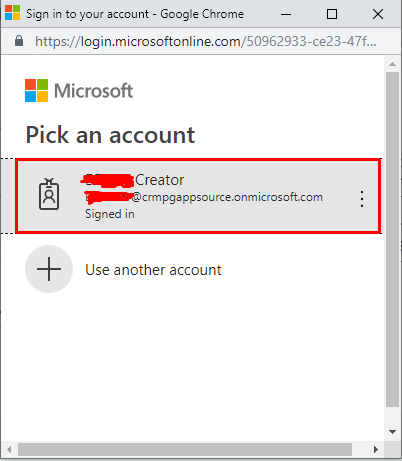
- Select a Microsoft Account.

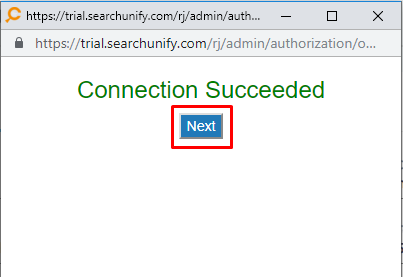
- Click Next.


Set Up Crawl Frequency
- Click
 to fire up a calendar and select a date. Only the data added or updated after the selected date will be indexed.
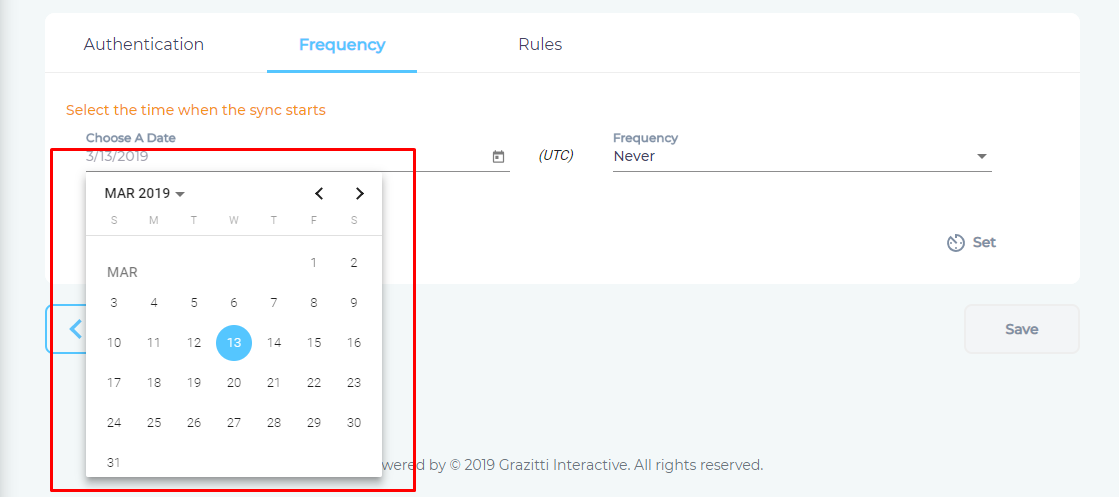
- Use the Frequency dropdown to select how often SearchUnify should index the data.

- Click Set.


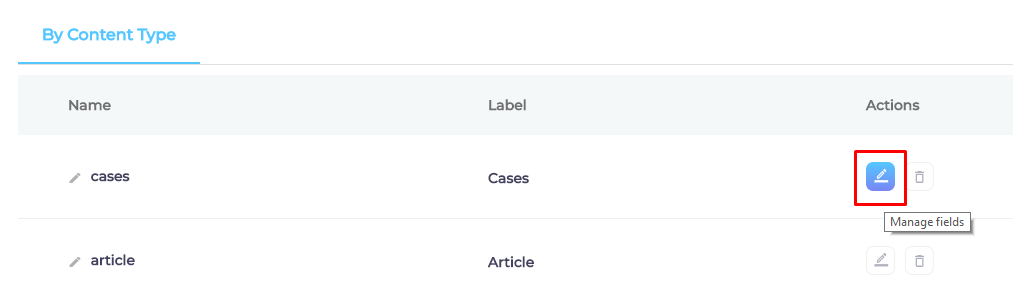
Select Types and Fields for Indexing
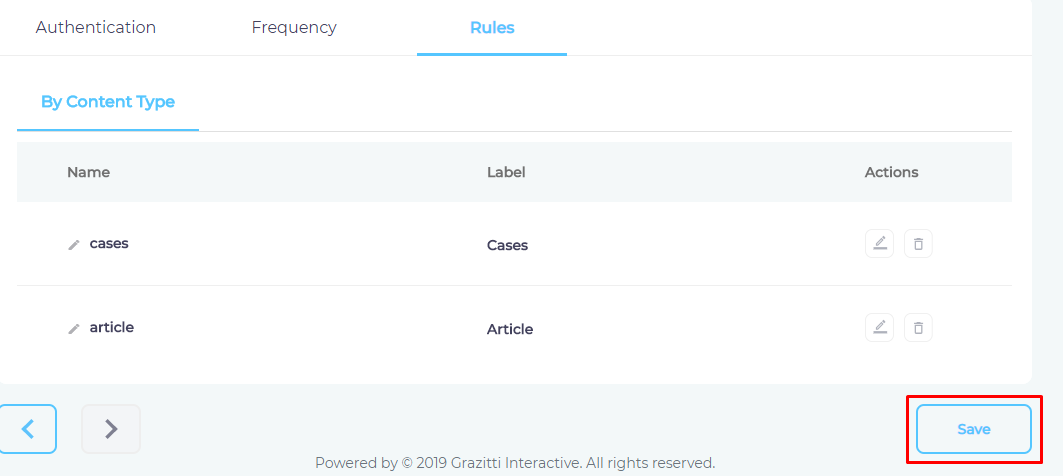
SearchUnify supports two Dynamics objects: cases and articles. You can select all, none, or only a few object properties (fields) for indexing.
Selecting none (by clicking Remove All) is a way to tell SearchUnify to not index an object (content type). For more precise indexing:
- Click
 .
.
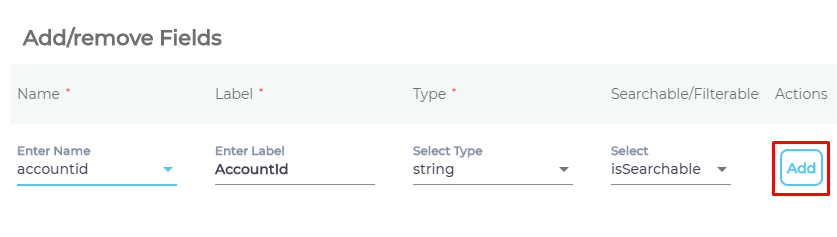
- Use the Name column to select a content field (Dynamics object property).
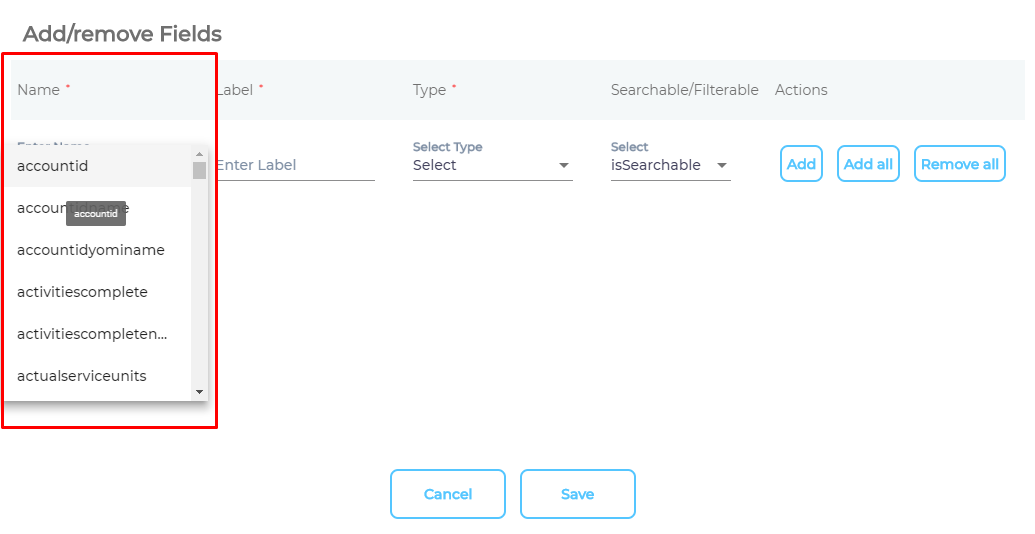
- SearchUnify will automatically assign a Label, Type, and condition (
isSearchable: show in search ORisFilterable: use as a facet). You can change these values.
- Click Add.

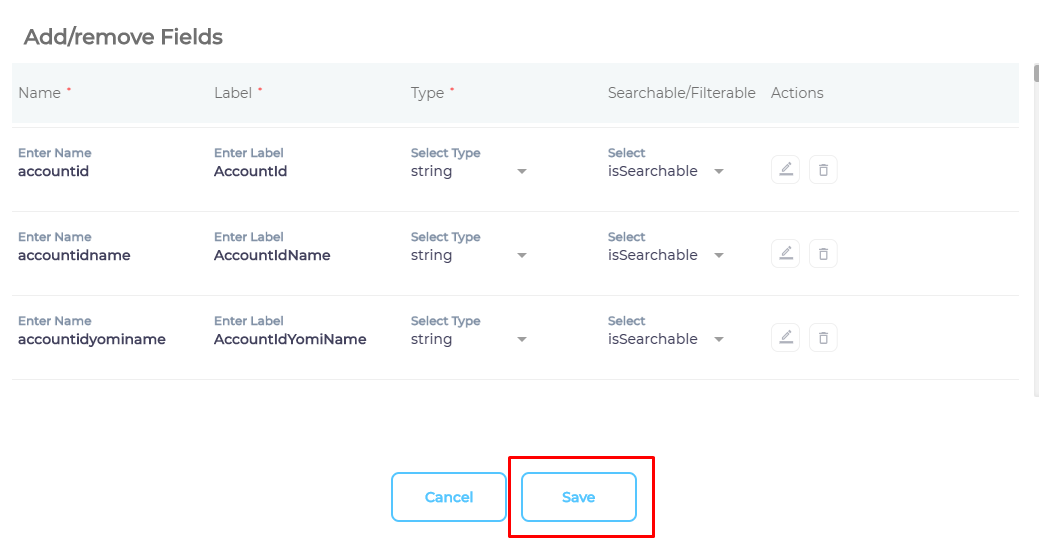
- Repeat the steps 2, 3, and 4 to add other content fields.
- Click Save.

- Repeat the steps 1-6 for other content types (Dynamics objects).
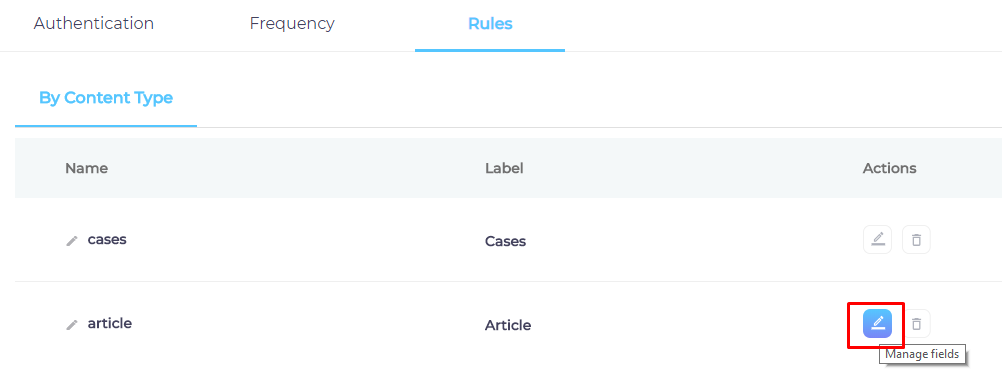
- Press Save.


You have successfully added Microsoft Dynamics as a content source.
Last updated: Friday, February 26, 2021
Was this article helpful? Send us your review at help-feedback@searchunify.com