Use Zendesk As a Content Source
This article explains how to index the posts, articles, and tickets stored in your Zendesk instance.
Establish a Connection
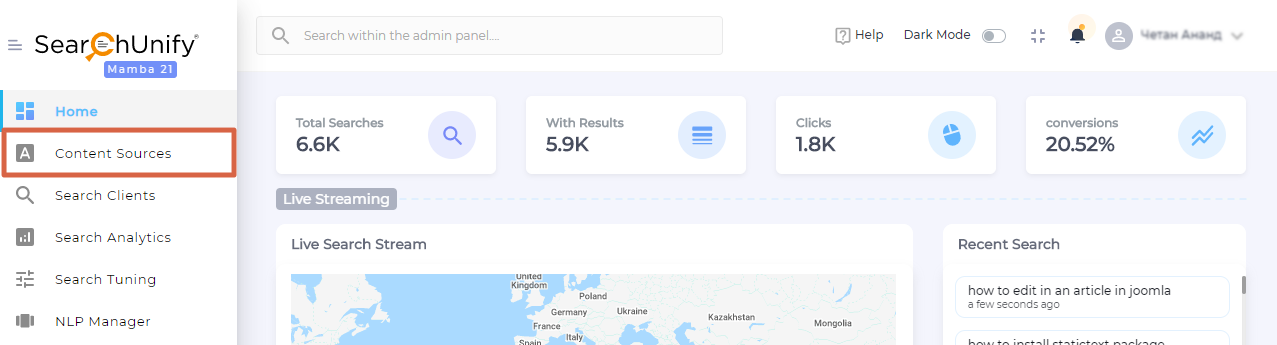
- Navigate to Content Sources.
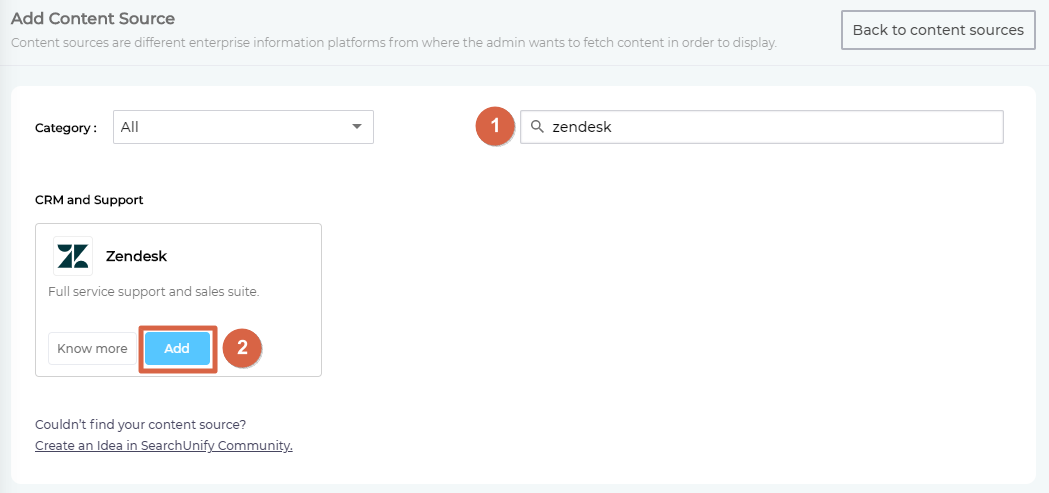
- Click Add new content source.


- Find Zendesk from the search bar and click Add.

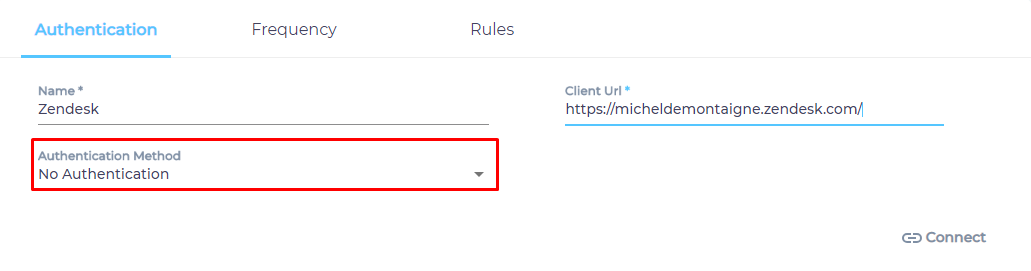
- Enter a name.

- Insert your Zendesk instance web address in Client URL.
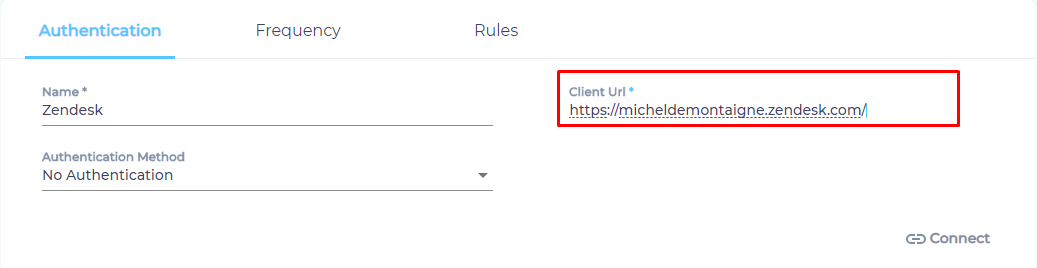
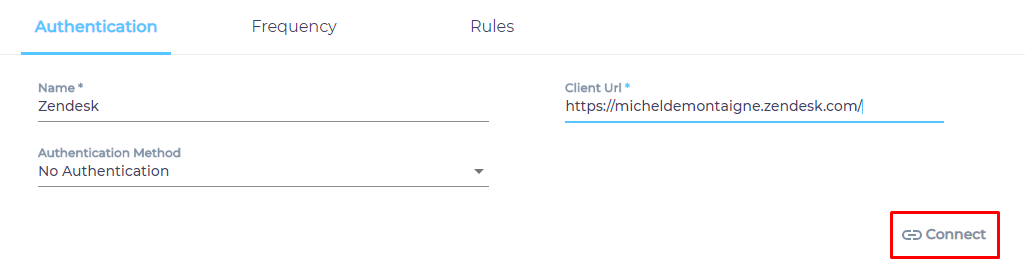
- Select an authentication method.

- Press Connect.


Set Up Crawl Frequency
- Click
 to fire up a calendar and select a date. Only the posts, articles, and tickets created or edited after the selected date will be indexed.
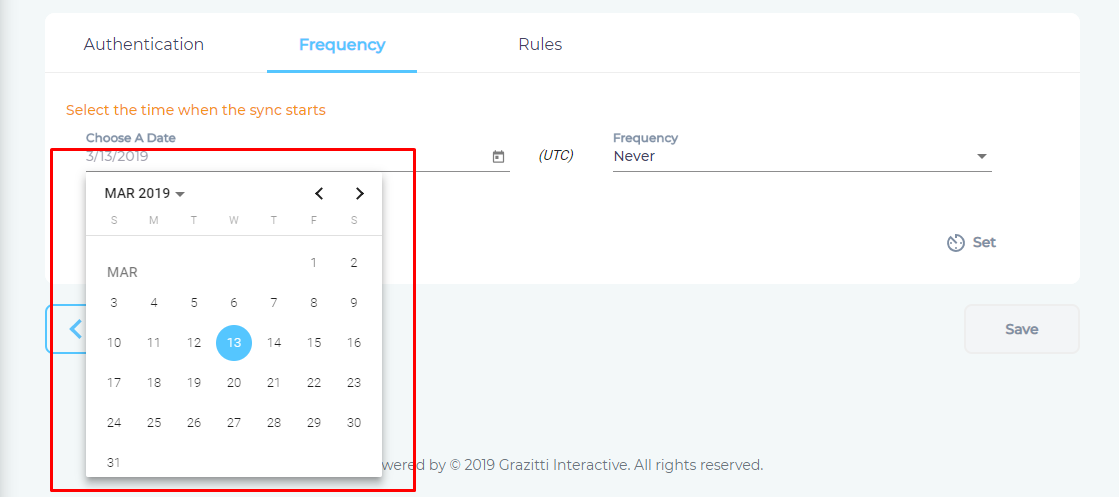
- Use the Frequency dropdown to select how often SearchUnify should index the Zendesk data.

- Click Set.


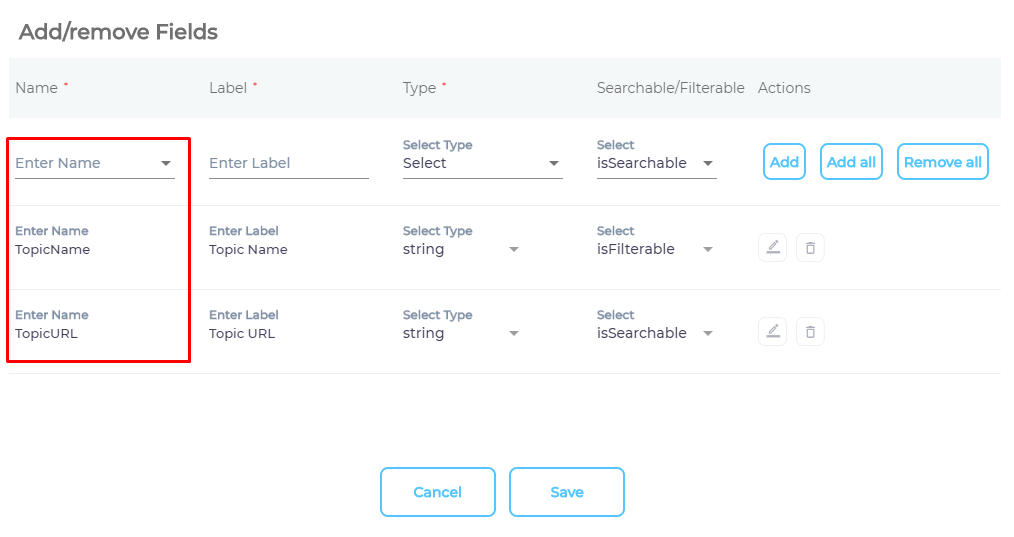
Select Fields for Indexing
You can index your entire Zendesk data, or only a subset of it. SearchUnify supports three content types out-of-the-box: blogs, articles, and tickets.
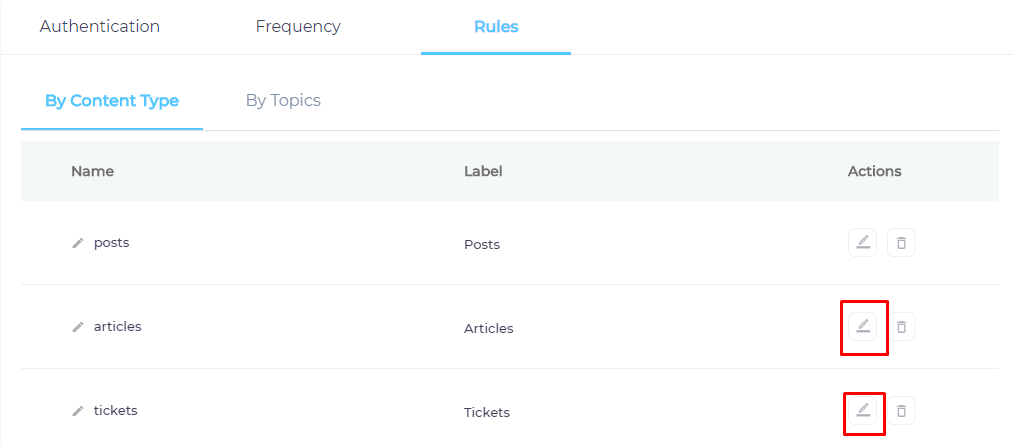
- Click
 to select a content type.
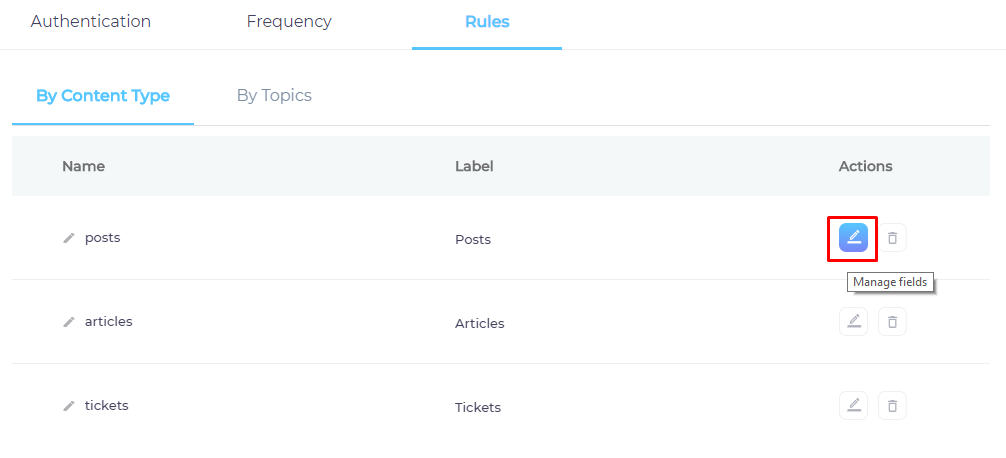
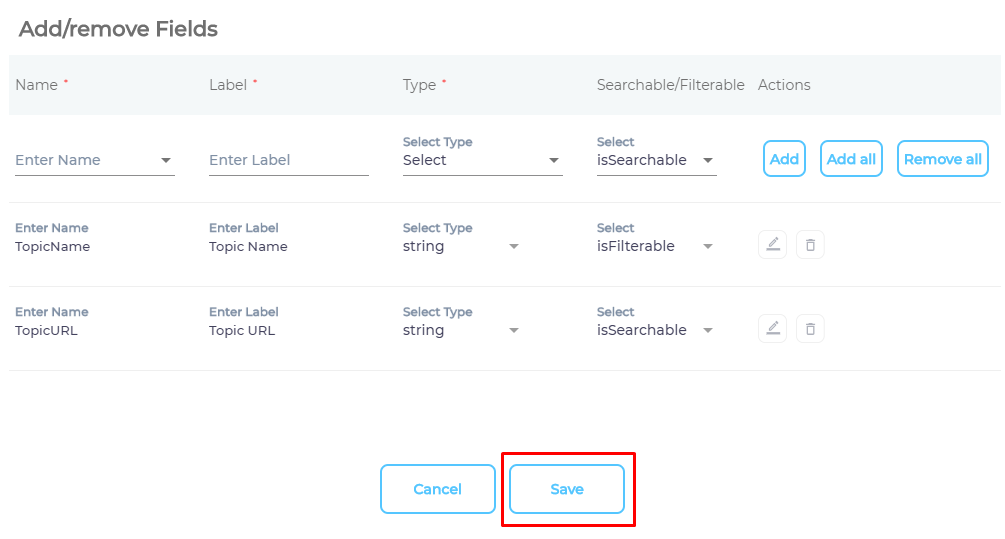
- Add content fields one at a time. Each field is a property of
blogs,articles, andtickets.
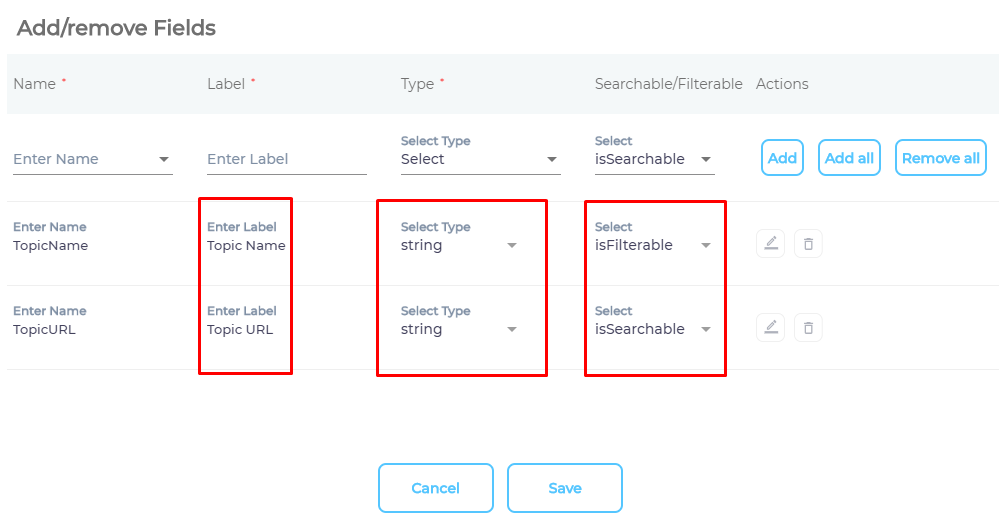
- OPTIONAL. SearchUnify assigns each field a label, type, and either an
isSearchableorisFilterabletag. The values don't require a change, but advanced users can edit them.
- Press Save.
- Repeat the steps 2-4 for the remaining two content types.

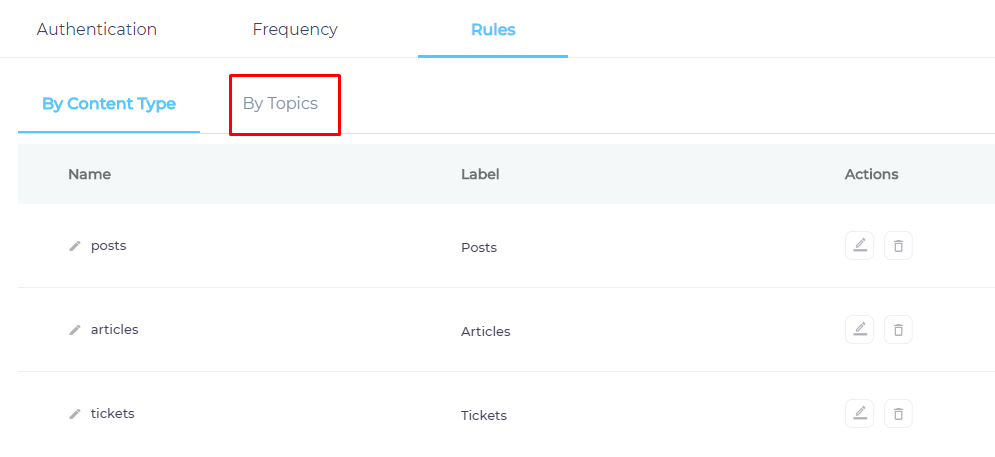
- Navigate to By Topics.

- Use the index to find your topics and check enable for each one of it.
- Press Save.


You have successfully installed Zendesk as a content source.
Last updated: Friday, February 26, 2021
Was this article helpful? Send us your review at help-feedback@searchunify.com