Add a Search Client
SearchUnify provides powerful search clients to help users find information, such as cases, community threads, and the data inside their organizations. The search clients come in several flavors, each calibrated to work on a platform. However, before a search client can be set up on a platform, it needs to be added into your instance and configured. This article demonstrates the steps to adding a search client to your instance. For configuration, visit the Edit Search Client Configurations section.
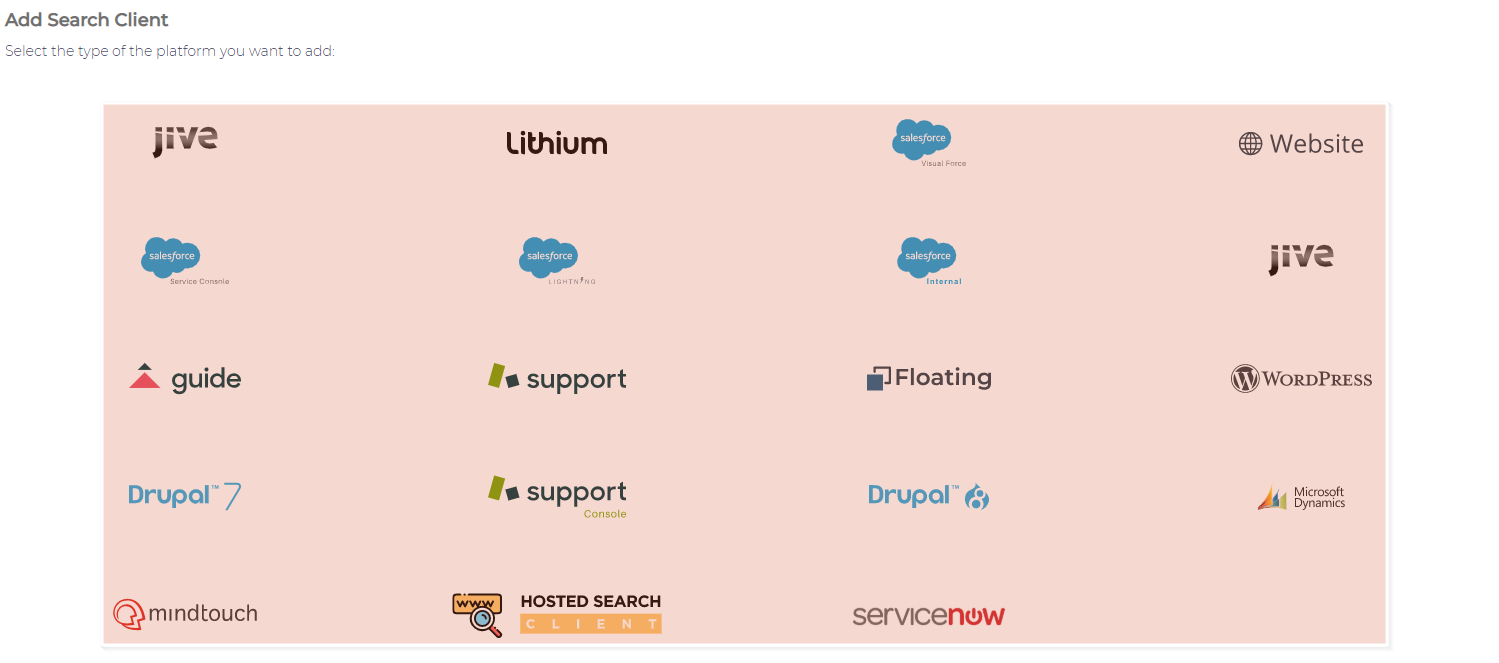
Adding a Search Client
- Open Search Clients and click Add New Search Client.

- Select a platform where a search client will be installed.
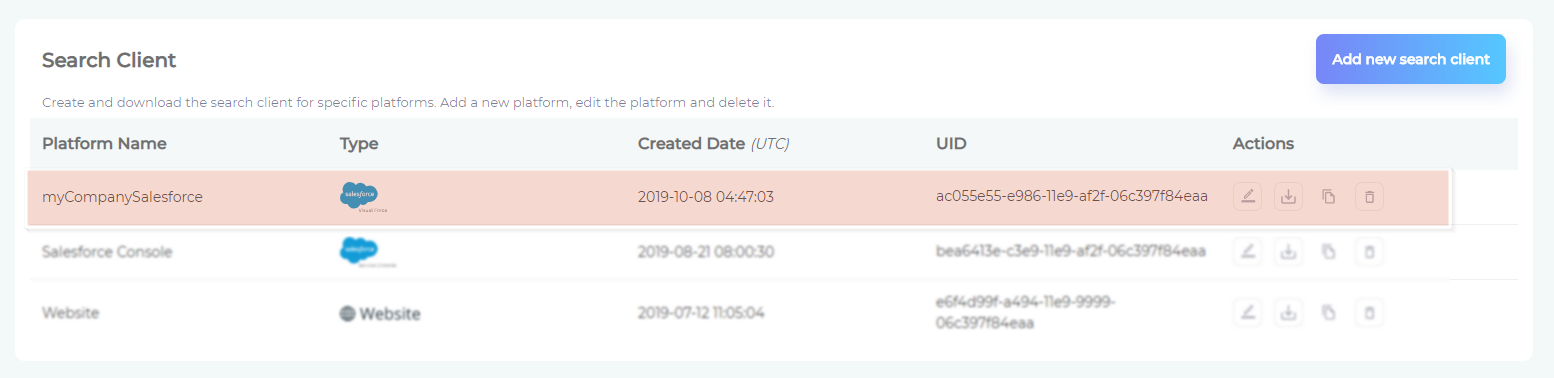
- Give your search client a name in Enter Platform Name, write your SearchUnify instance URL in Enter Base URL, and click Save.


You have successfully added the search client if you can see it on the Manage Search Clients screen. Now you can proceed to linking content sources with it and installing it on a supported platform.
Last updated: Friday, February 26, 2021
Was this article helpful? Send us your review at help-feedback@searchunify.com