Install a Search Client in Salesforce (Internal Users)
Find information faster right inside Salesforce (Sales Cloud, Service Cloud, and others) with SearchUnify. This article first explains how the search client for Internal users handles permissions and then takes you through the steps of installing and setting up a SearchUnify client in Salesforce.
Salesforce Default Permissions
Search clients on your org adhere to default Salesforce positions, which means that a Guest User cannot see any cases on the search results page and a Partner can see all the cases concerning his or her Contacts. The table summarizes the default permissions followed on the Salesforce search client.
Permissions Chart
| User Type | Salesforce Object | Accessibility (Visibility) |
| Partner | Case | All the cases that belong to the Partner's Contacts. |
| Articles | 1. All the public articles 2. All the articles visible to the Partner |
|
| Internal | Cases | All the cases in the org |
| Articles | All the articles in Knowledge | |
| Guest User | Cases | Cannot see any cases. |
| Articles | All the public articles. | |
| Customer | Case | All the cases that belong to the Customer's contacts. |
| Articles | 1. All the public articles 2. All the articles visible to the Customer |
Installation Overview

Prerequisites
- Connection between the search client and at least one Salesforce content source
Install the Search Client
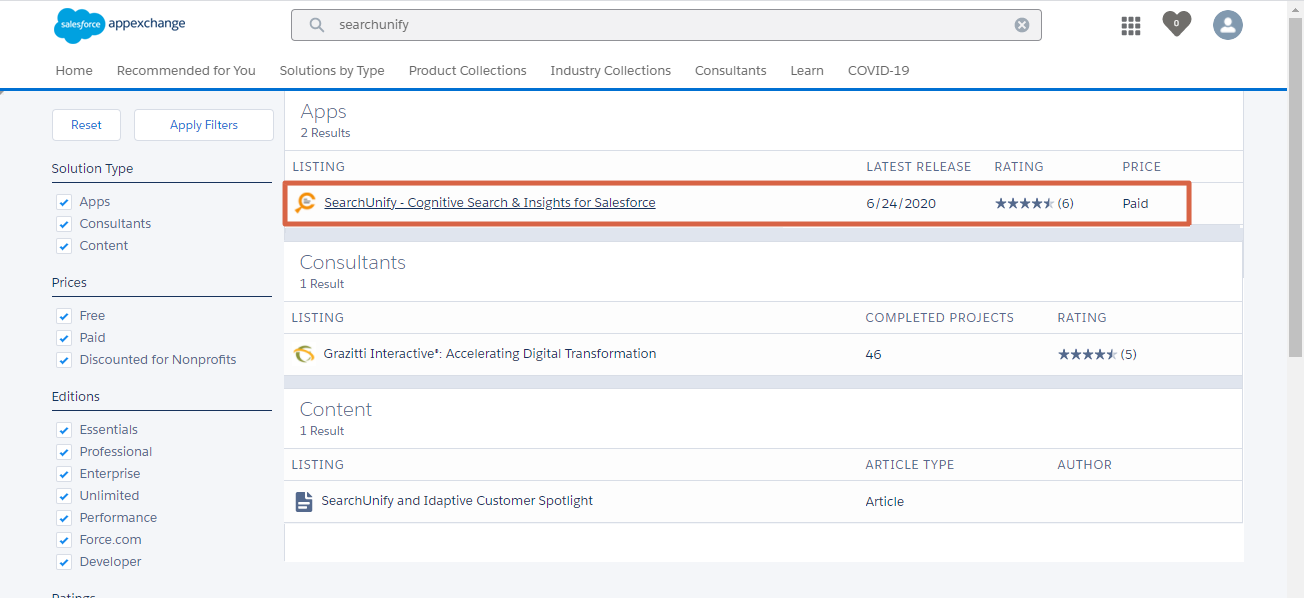
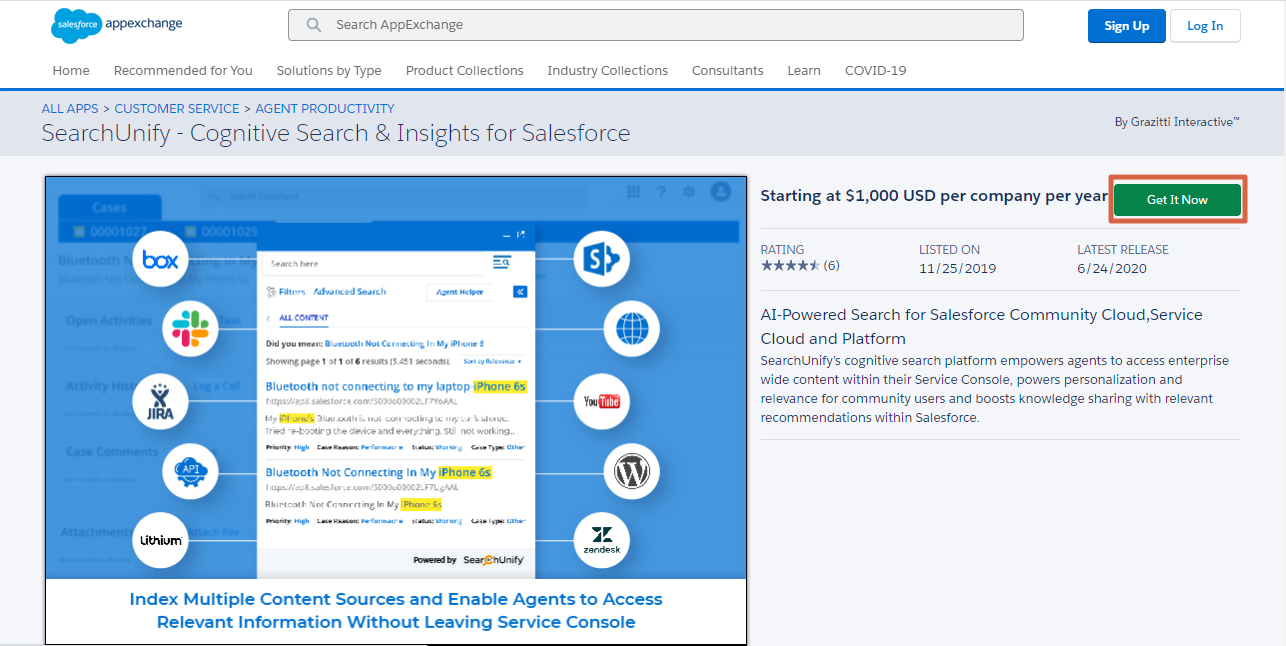
- Visit Salesforce AppExchange, look up "searchunify", and open the top listing, SearchUnify - Cognitive Search & Insights for Salesforce.

- Click Get It Now.

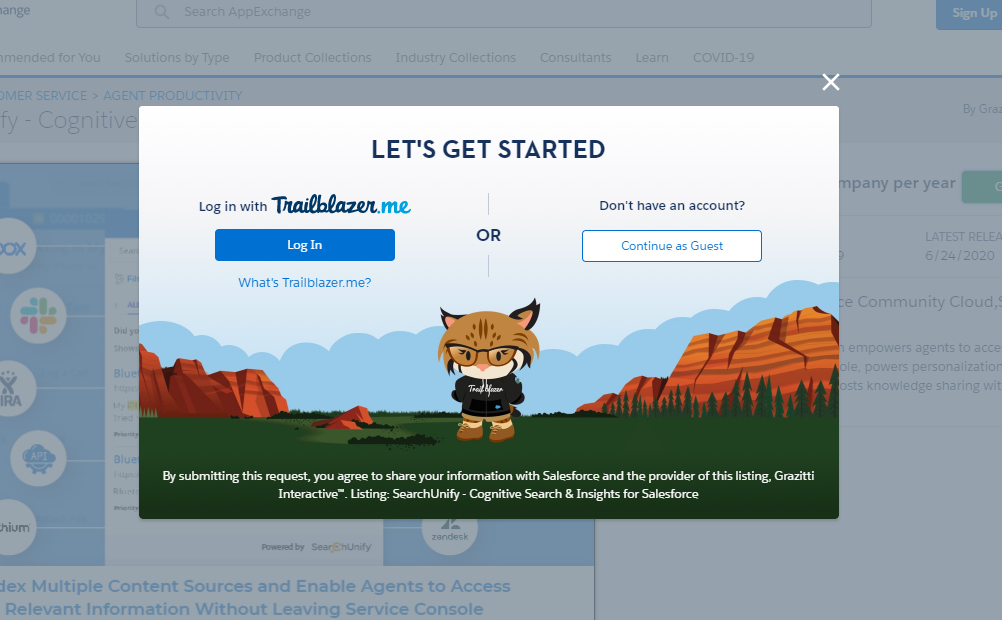
- If prompted, log in with your Salesforce admin credentials.

- It's usually a good practice to install an app on Sandbox, instead of Production.
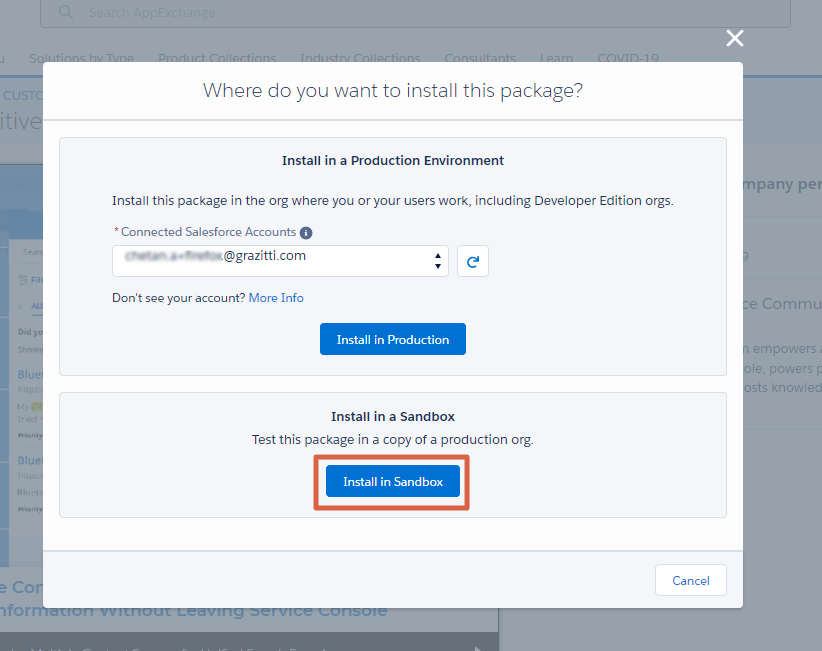
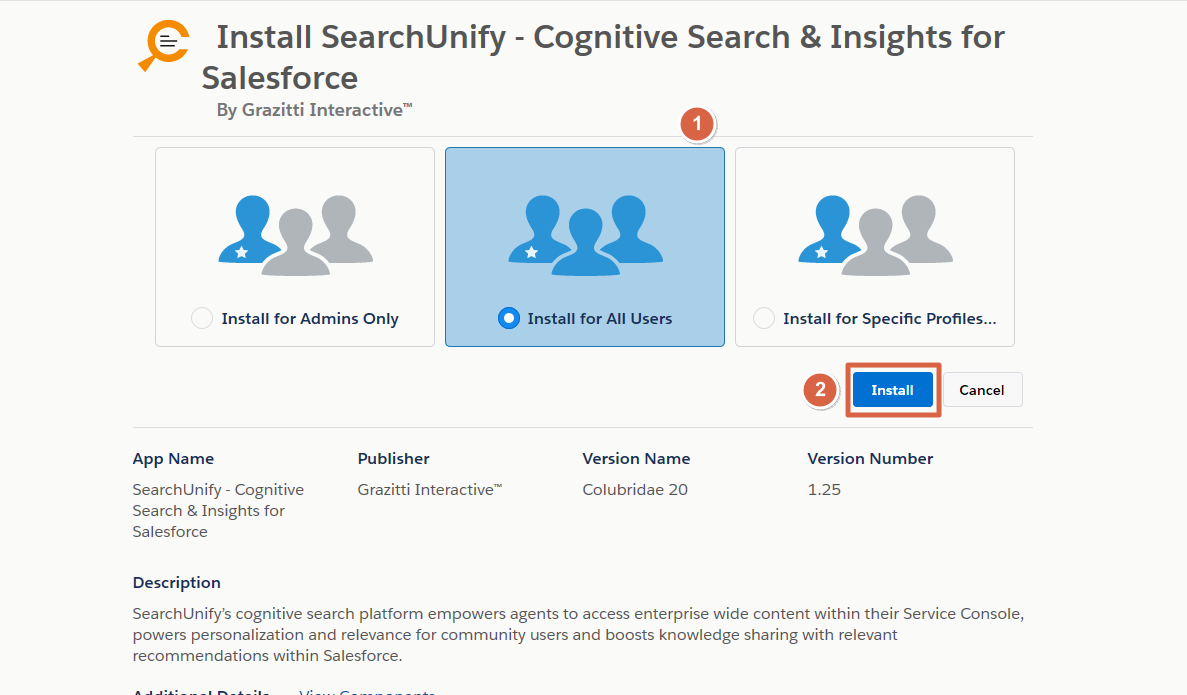
- Install the app for All Users. A warning might come up. Overlook it and proceed with installation.


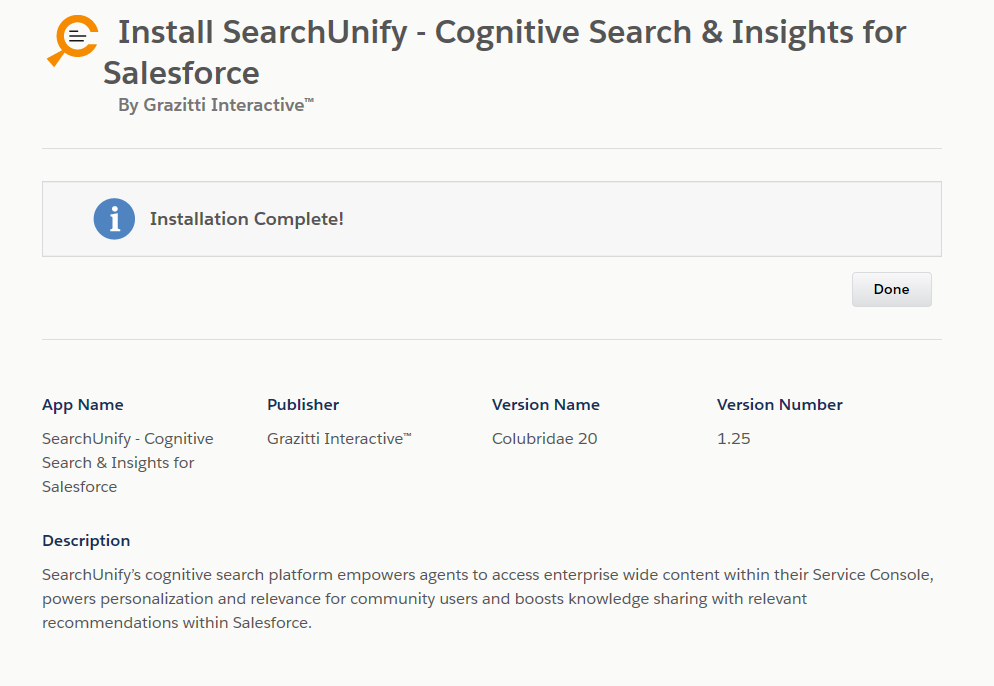
In the end an Installation Successful message will greet you.
Configure Your Client
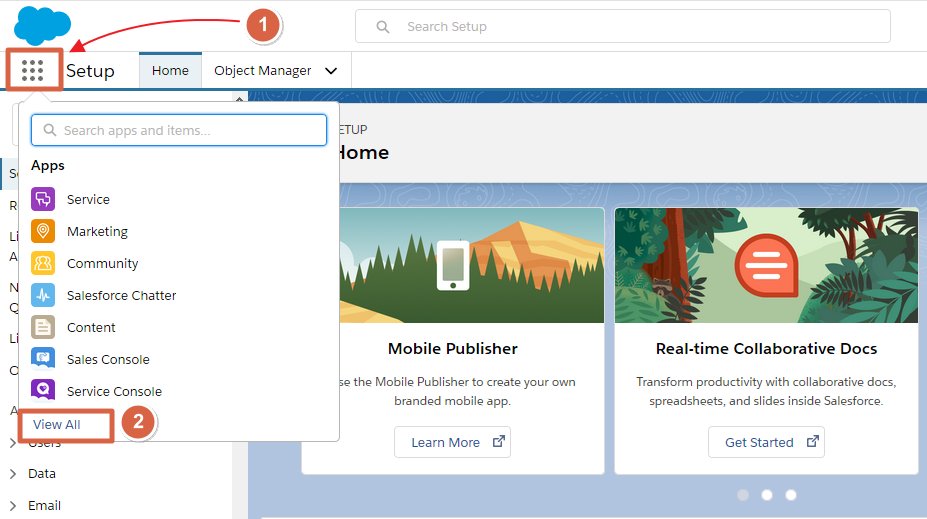
- Click Salesforce App Launcher and then View All.
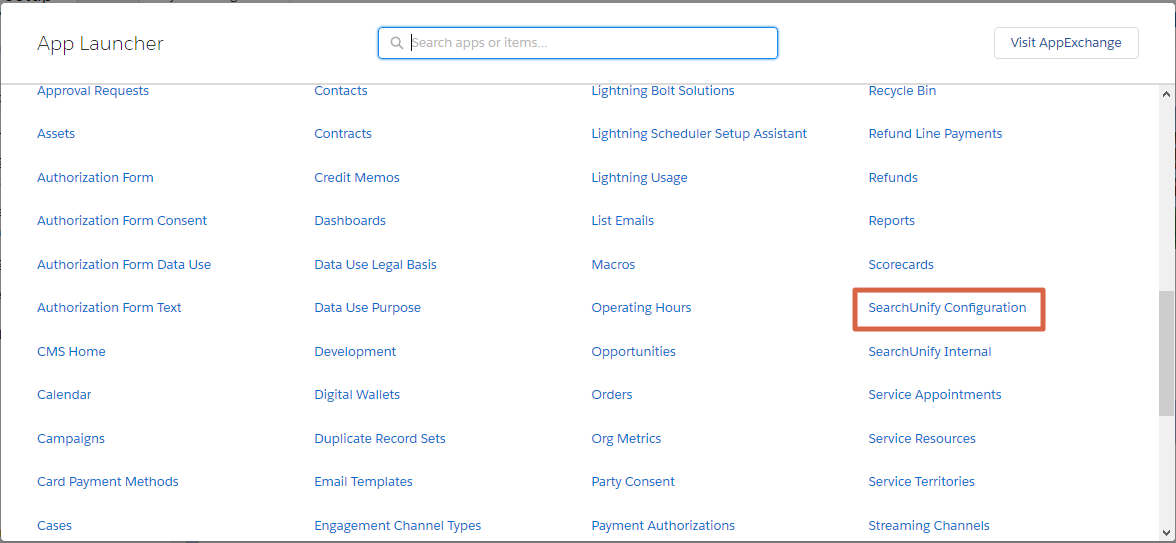
- Find SearchUnify Configuration and click it open.
- Create a remote site using URL on the Search Configuration screen.
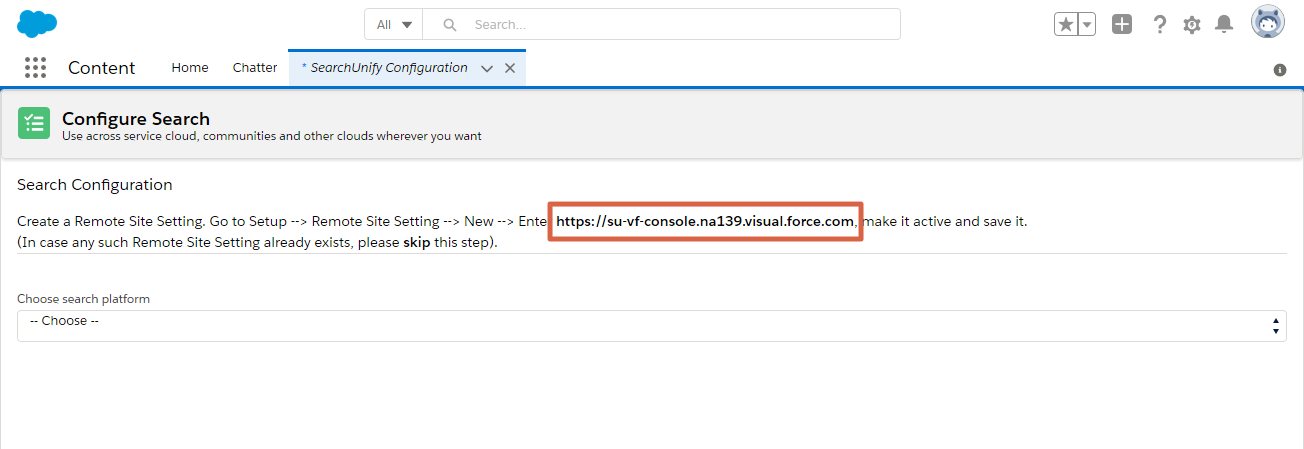


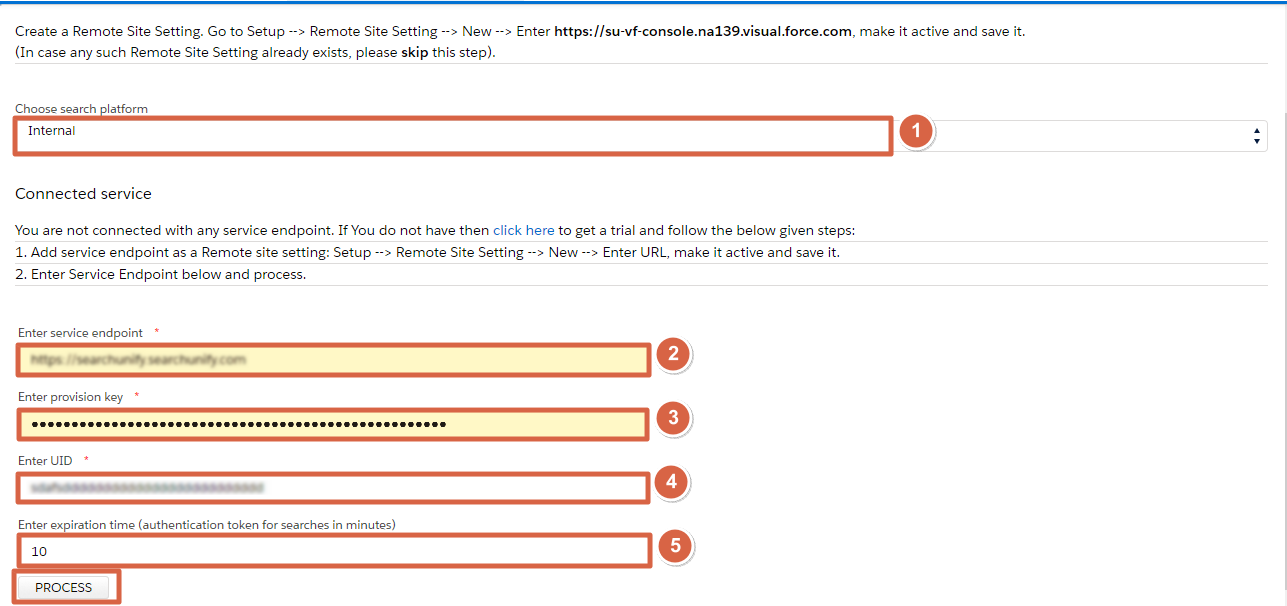
- Select Internal from Choose Search Platform. A configurations page will appear. Enter the details and click Process.
- Enter Service Endpoint. It is your SearchUnify instance URL.
- Enter Provision Key. You can get it from your SearchUnify representative.
- Enter UID. It is your search client ID.
- Enter jwt token expiration time(time should be in minutes). Enter any integer. The suggested value is 120.

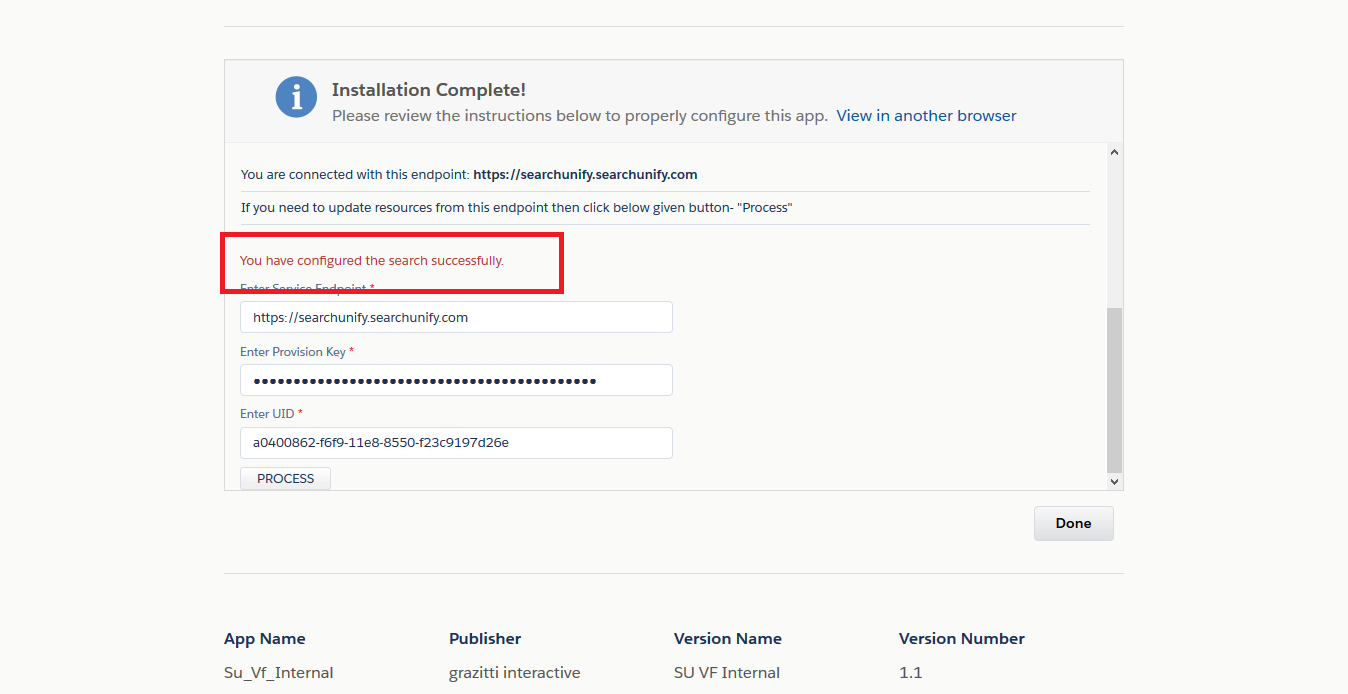
- Spot this message to confirm a successful configuration.

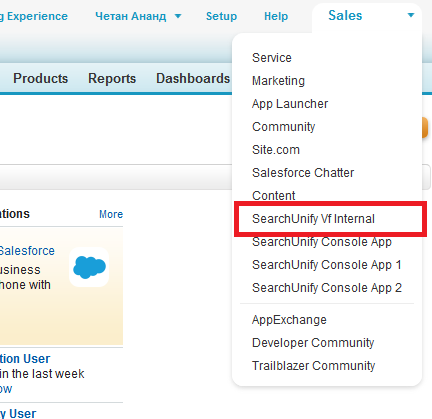
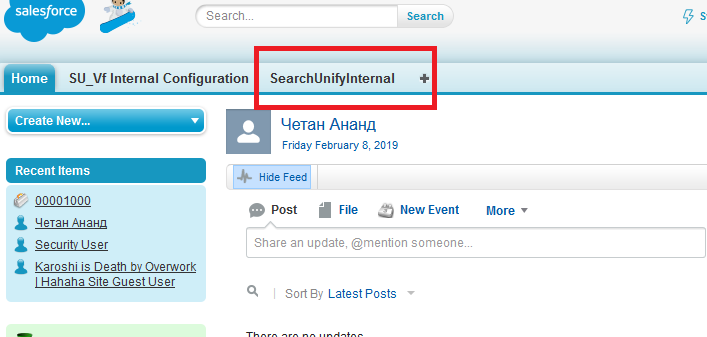
- From the app launch menu, go to SearchUnify Vf Internal.

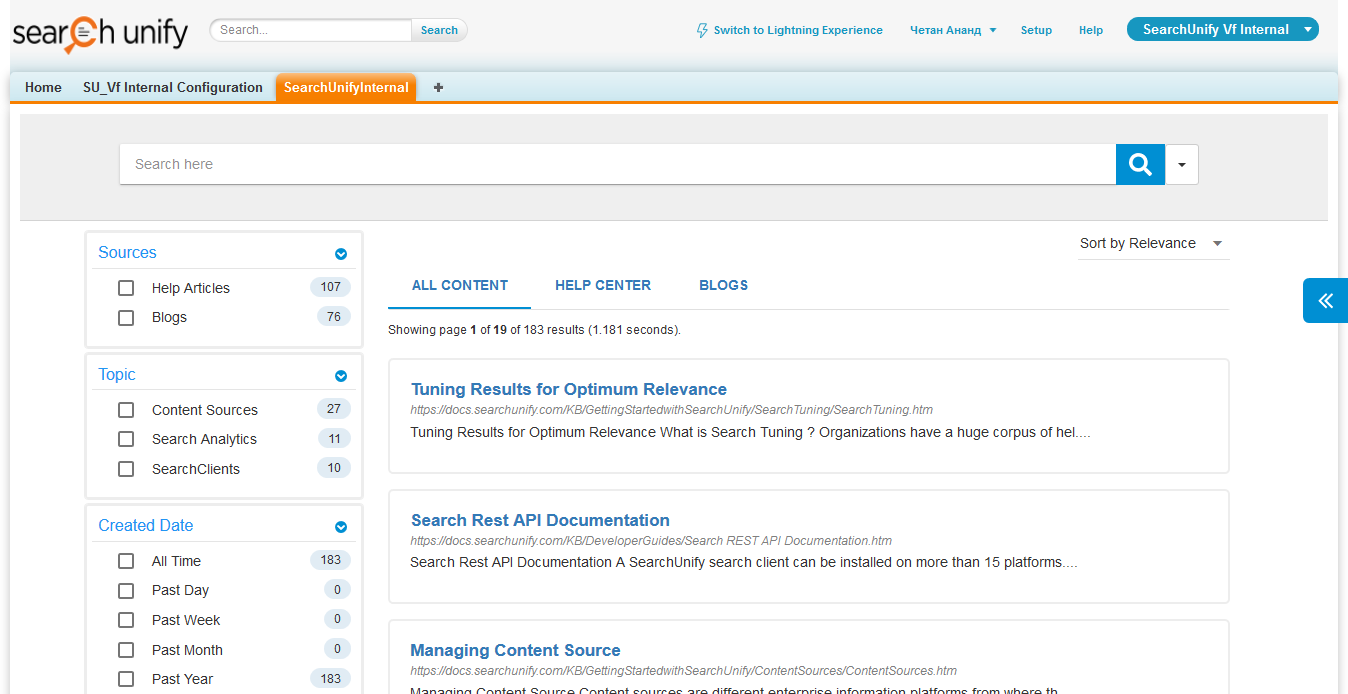
- Click SearchUnifyInternal to launch the search client.

- Start searching.

Last updated: Friday, February 26, 2021
Was this article helpful? Send us your review at help-feedback@searchunify.com