Install a Search Client in Zendesk Support
Find tickets faster in Zendesk Support. This article walks you through the process of installing a SearchUnify search client in a Zendesk Support instance.
Prerequisites
- Set up and configure Zendesk Support
- Download the Zendesk Support search client
Installation
- Open
Zendesk_support.zip.
- Open
manifest.json.
- Replace
ticket_sidebarwithnav_bar.
- Save the file.

- Log into Zendesk and click

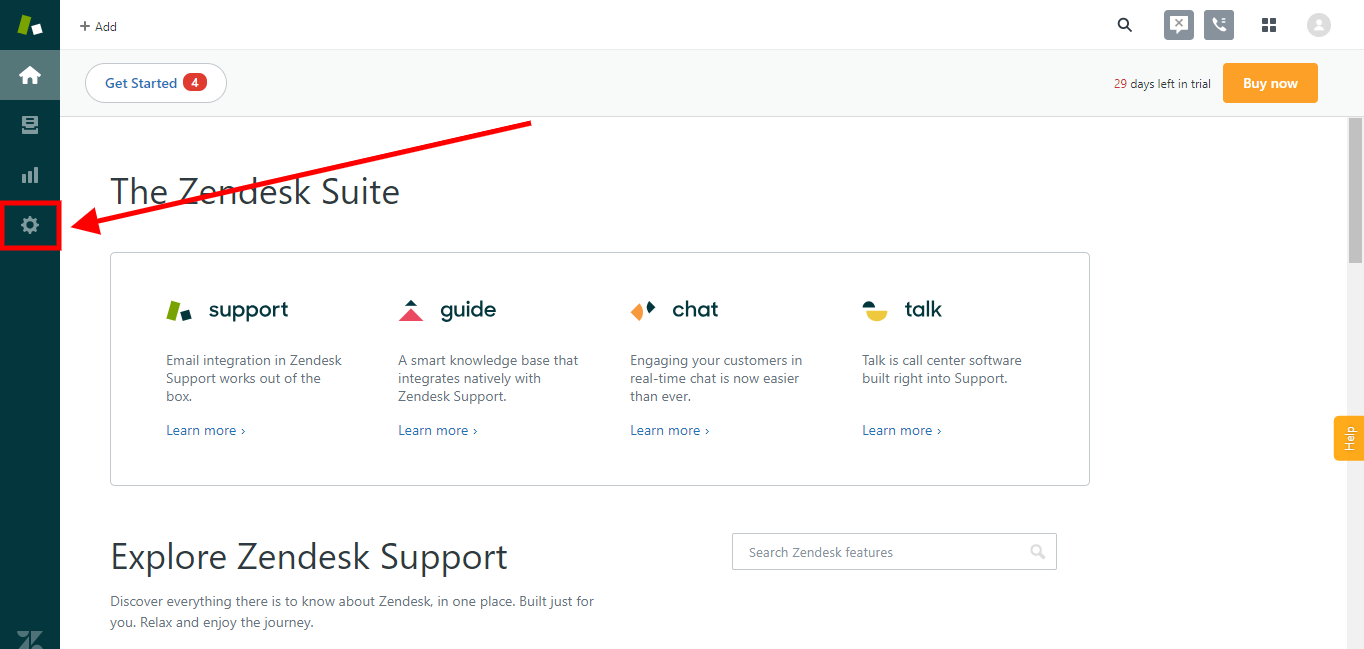
- Click Manage.

- Click Upload private app.

- Enter an App Name and upload
Zendesk_support.zipusing Choose File.Zendesk_support.zipwas extracted when you had unzipped the search client in step one.
- Press Upload.

- A pop-up will appear. Confirm Upload.

- Click Install. (Setting up Role and Group restrictions is optional.)

- The installation was successful if you can spot the search client in Currently Installed.


Last updated: Friday, June 10, 2022
Was this article helpful? Send us your review at help-feedback@searchunify.com