Connect the Virtual Agent to a Search Client
SearchUnify (SU) provides a platform where you can create virtual agents that truly help your customers accomplish everyday tasks, such as logging tickets or finding resolutions to commonplace queries. Bot name, chat window appearance, conversations, and capabilities are all configurable. If you have identified your business goals you can deploy a functional virtual agent in a matter of a few hours using SU's no-code interface. The first step, which is its creation, takes up no more than 60 seconds in SearchUnify. The harder part is to document the specific tasks the chatbot will deal with. Let's cover them one at a time.
Select Search Clients
Selecting a search client for a virtual agent can be likened to finding a home for it. You are essentially deciding where the virtual agent will spend its time interacting with your employees and customers. Selecting Salesforce Community signals that the virtual agent will be set up on a Salesforce Community and picking Website means it will be on standby on your website, perennially anticipating users to break the ice and give it a chance to assist them.
Rationale of Connecting a Virtual Agent with a Search Client
Virtual Agents help users accomplish tasks. The assistance comes in the form of text messages, article link sharing, and handing off complex queries to human agents. Each response is configurable, as you will see in Create Dialogs and Stories in Conversation.
Behind the scenes, AI and NLP are responsible for much of the heavy lifting. AI detects patterns in conversations and suggests new intents to admins and the job of NLP is to deconstruct user utterances and trigger the most relevant response during a conversation. Both technologies are smart to begin with, but their performance becomes more impressive when they are fed search data, which comes from the search client connected with your chatbot.
Influence of a Search Client on Virtual Agent Behavior
Search client data gives your virtual agent its identity. If the virtual agent is connected with a search client installed on a physics community it will sound nerdy. The one getting its search data from a ticket logging platform may come across as fussy.
But the most visible impact is the choice of the tongue. Your virtual agent can greet users with a Привет! (Hello!), ask them Que voulez-vous? (What is it that you want?) and bid 再见 (goodbyle) — all depending upon the search client language. If the search results are in French, your chatbot will become a Francophone, and if the search client language is set to Chinese, then the virtual agent can assist users from China, Singapore, Taiwan, and many other places where Chinese is spoken.
Select your search client wisely because, unlike other configurations, there is no way to pick a new one. The only way to change the search client is to create a new agent.
Picking a Name
Names come in handy when you are managing multiple agents chattering incessantly over several platforms all at once.

Choose the one that make sense inside your organization because users are not going to see it.

Unlike the search client, a agent's name can always been changed. To rename, go to Theme Editor > Settings.
Greeting the Users
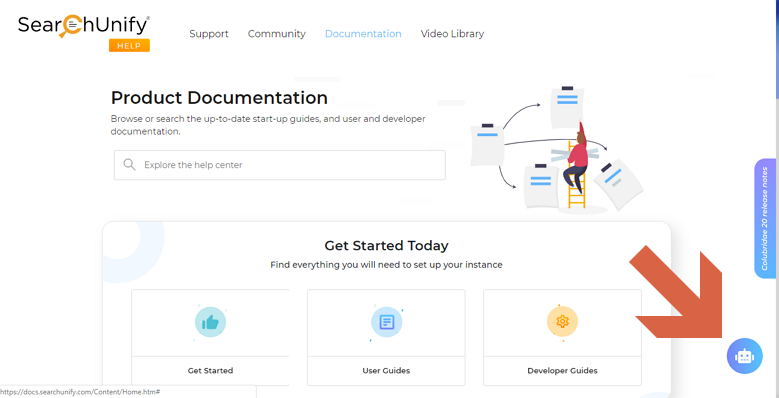
Once you have settled on a name, you can proceed to write the opening message, which can be a light-hearted greeting, such as Comment ça va ?, or a professional offer to help, such as the one seen in the next image.
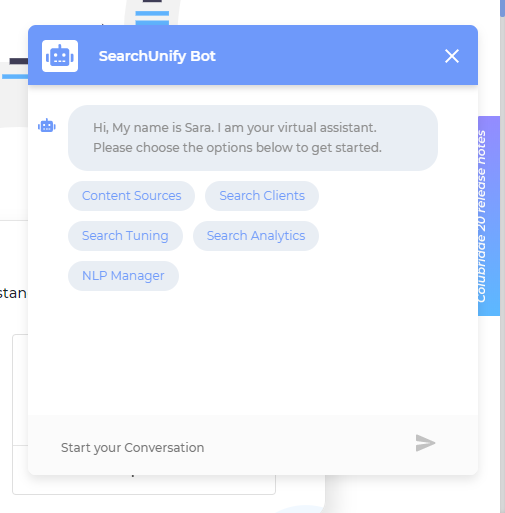
The welcome message with options is picked from Theme Editor > Settings > Response.
Import a Previous Agent
Cloning would be a more futuristic name. You can ignore this field if you are creating your first chatbot. For the experienced, import means copying the utterances, intents, entities, and conversations stored in a bot into the new bot that you are creating.
Create a Virtual Agent
Having covered the theory, we can walk through the steps of creating a virtual agent.
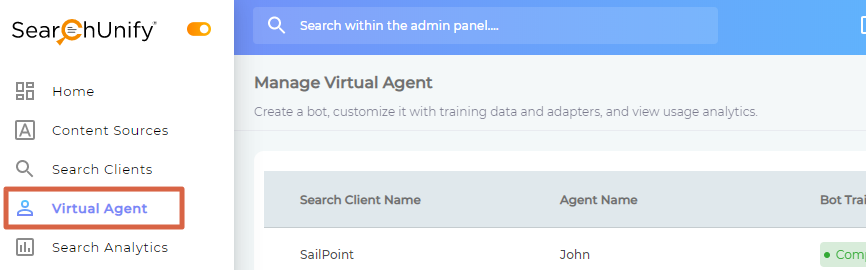
- From main navigation, go to Virtual Agent.
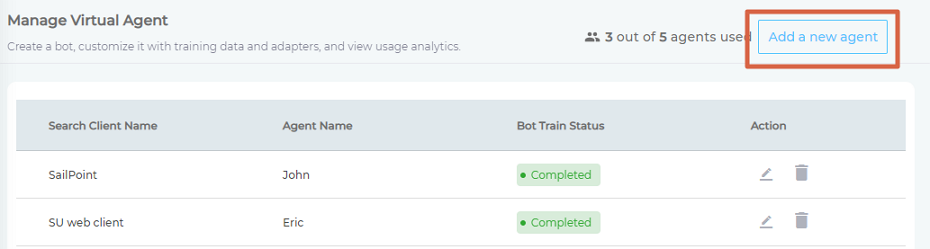
- Click Add a New Agent.
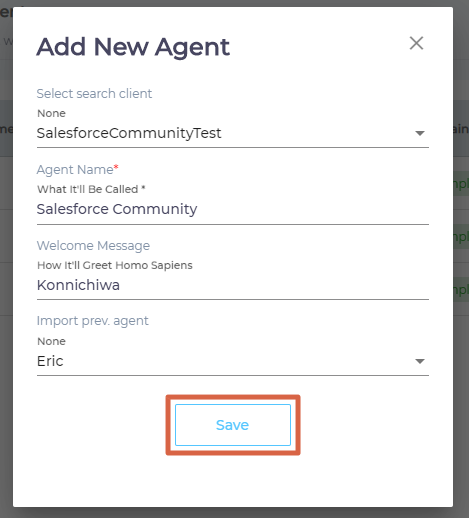
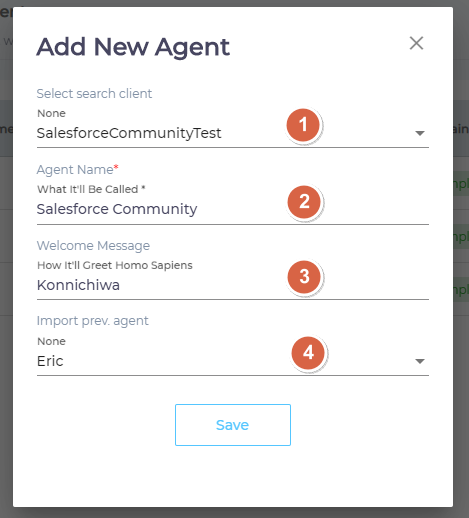
- Enter the details:
- Select Search Client. Virtual agents can be installed on a website, Salesforce org, Lithium community, Microsoft Dynamics instance, or another supported platform. If you are installing the virtual agent on a website, then choose the search client already installed on that website, if you are installing the agent on a Salesforce org, then choose the search client already installed on that org, and so on.
- Agent Name. A label for your virtual agent, not visible to the users.
- Welcome Message. The first greeting form the chatbot to the users.
- Import Previous Agent. Copy intents, utterances, entities, and conversations from an existing virtual agent.

-
Save your settings.


Related
Next step: Add Intents and Utterances
Last updated: Thursday, November 5, 2020