Use Litmos As a Content Source
Add Litmos as a content source using three easy steps:
- Step 1 - Click the ‘Content Sources’ tab on the left sidebar
- Step 2 - Click the ‘Add New Content Source’ button to view the content sources
- Step 3 - Select ‘Litmos’ tab to proceed
When you select the Litmos tab you will be redirected to the configuration screen. This is divided into three subsections:
- Authentication
- Frequency
- Rule
Use the steps below to connect litmos with SearchUnify
Step 1 - Authentication
Please use the api key authentication method in SearchUnify admin panel for connecting your litmos instance with Searchunify. You will need an api keys for this:
Steps for generating API key
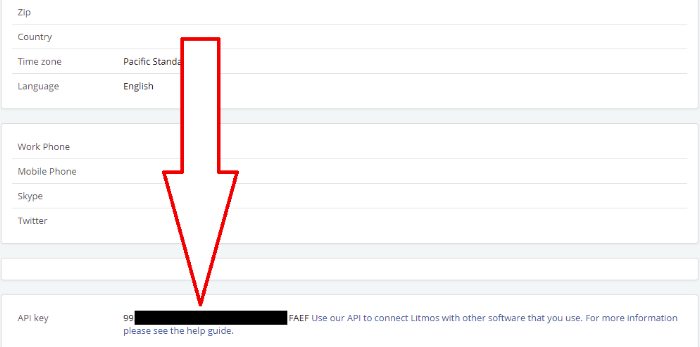
Click My profile & Settingsfrom the drop down menu at the top right corner of the screen.View the bottom of your profile
Enter details such as:
- Name - Enter the API name of the litmos object you want to add
- Client URL - Specify the URL of the litmos instance from where you want to fetch content
- Api Key - Enter the api key

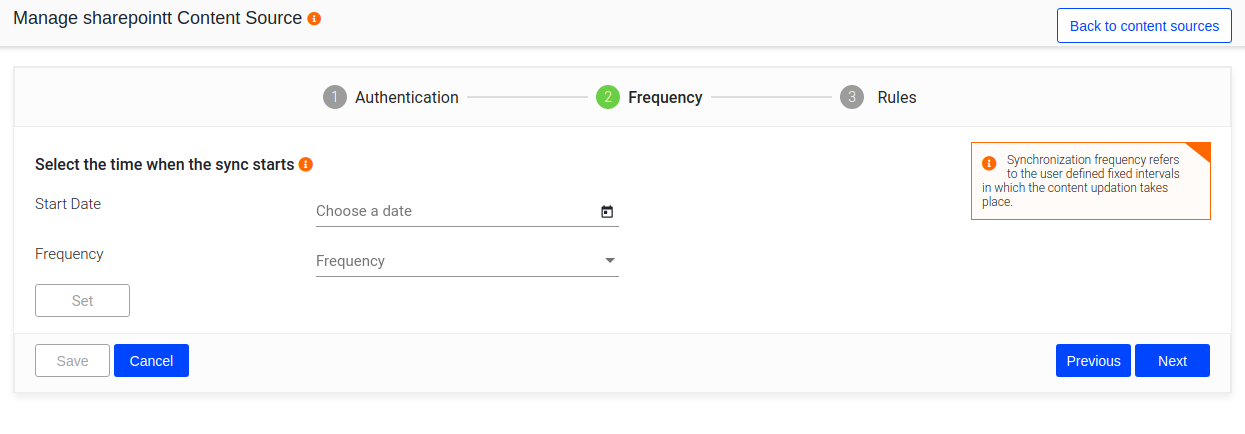
Step 2 - Frequency
Set the frequency, which includes
- Start date- It defines the date when the sync starts
- Frequency- It defines fixed intervals at which the content needs to be updated
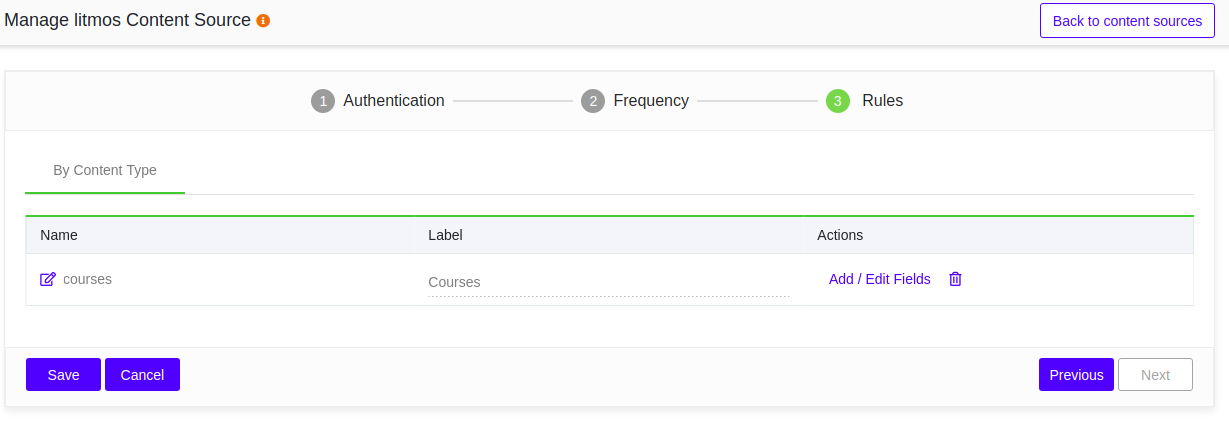
Step 3 - Rules
The Rules section is divided into two parts:
By Content Type tab allows you to sync information by content type.
We support Issue objects: This object will support all issues , bugs logged inside any jira project
Enter the following details:
- Name - Enter the API name of the object
- Label - Enter the label for the object
- Type - Select the type
- Searchable/Filterable - Select whether you want the field to be searchable (will appear in search results) or filterable (will appear in filters)
Last updated: Friday, February 26, 2021
Was this article helpful? Send us your review at help-feedback@searchunify.com
