Use Service Now As a Content Source
ServiceNow stores tickets and help content. You can connect it with SearchUnify to find three ServiceNow content types quickly: incidents, knowledge articles, and knowledge questions.
Establish a Connection
- Click Content Sources, then Add new content source, find ServiceNow, and click Add
- Select ServiceNow.
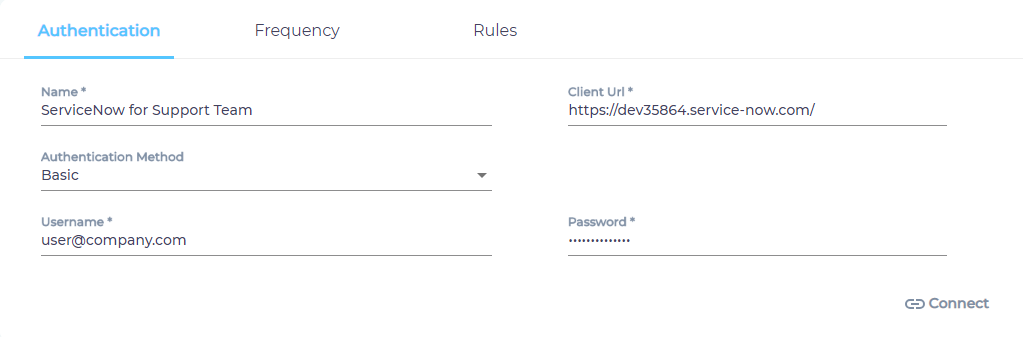
- Give your content source a Name.
NOTE.
Pick a descriptive name for easier management. For instance, "ServiceNow Tickets and Help" or "Support Team ServiceNow."
It's a good practice to stick to ASCII characters because non-ASCII Unicode characters display as a series of question marks (?). - Enter your ServiceNow instance URL in the Client URL field.
- Select the content language(s) from the Language dropdown.
- Select either Basic or OAuth for authentication.
- If you have selected Basic, then enter your ServiceNow instance user name and password and skip to step 9.

- If you have selected OAuth, then follow the instructions in Prepare Your ServiceNow Instance for OAuth Authentication to generate a Client ID and Client Secret.
- Paste your ServiceNow Client ID and Client Secret.

- Click Connect, then Allow, and finally Next.

Set Up Crawl Frequency
- Click
 to fire up a calendar and select a date. Only the data created or updated after the selected date will be indexed.
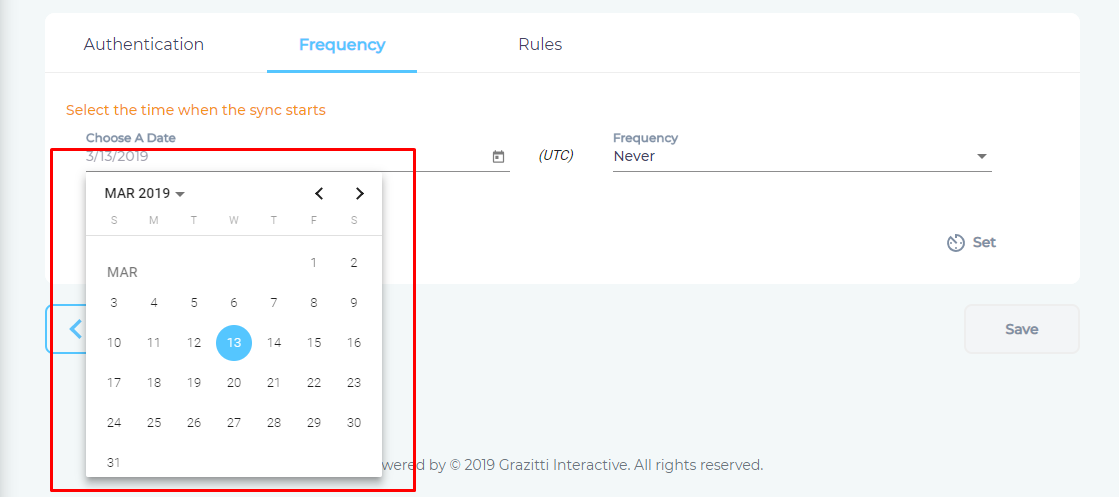
- Use the Frequency dropdown to select how often SearchUnify should index the data.

- Click Set.


Select Content Types and Fields for Indexing
- In the Rules tab, you can click
 to prevent a content type from being indexed.
 - Use
 to add, edit, or remove content fields and click Save.
 - Under By Projects, select the knowledge bases that should be indexed and click Save.
Last updated: Friday, February 26, 2021
Was this article helpful? Send us your review at help-feedback@searchunify.com