

An Overview of the Customize AI Agent Window
The Customize AI Agent window is a built-in code editor that lets developers and admins tailor the behavior and UI of their AI Agents.
Note: The feature is currently only available for AI Support Agent only.
From this interface, you can browse agent-specific files, update components, styles, and configuration logic, and then build and deploy the updated agent from a single place.
Prerequisites
Before you start, you should be comfortable with:
-
JavaScript and JSX (React)
-
Basic HTML and CSS
-
Understanding of how your AI Agent is embedded in the support experience (widget, console, or page)
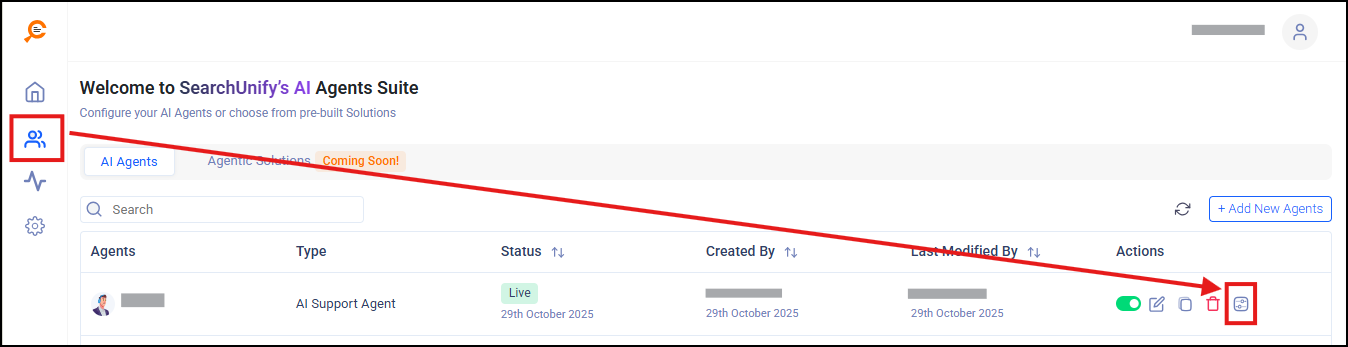
How to Open the Customize AI Agent Window
-
Navigate to the Agents screen in your SearchUnify instance. Click Customize Agent from the Actions column for the agent you want to modify.
-
The Customize AI Agent window opens in a new overlay, showing the file tree on the left and the code editor on the right.
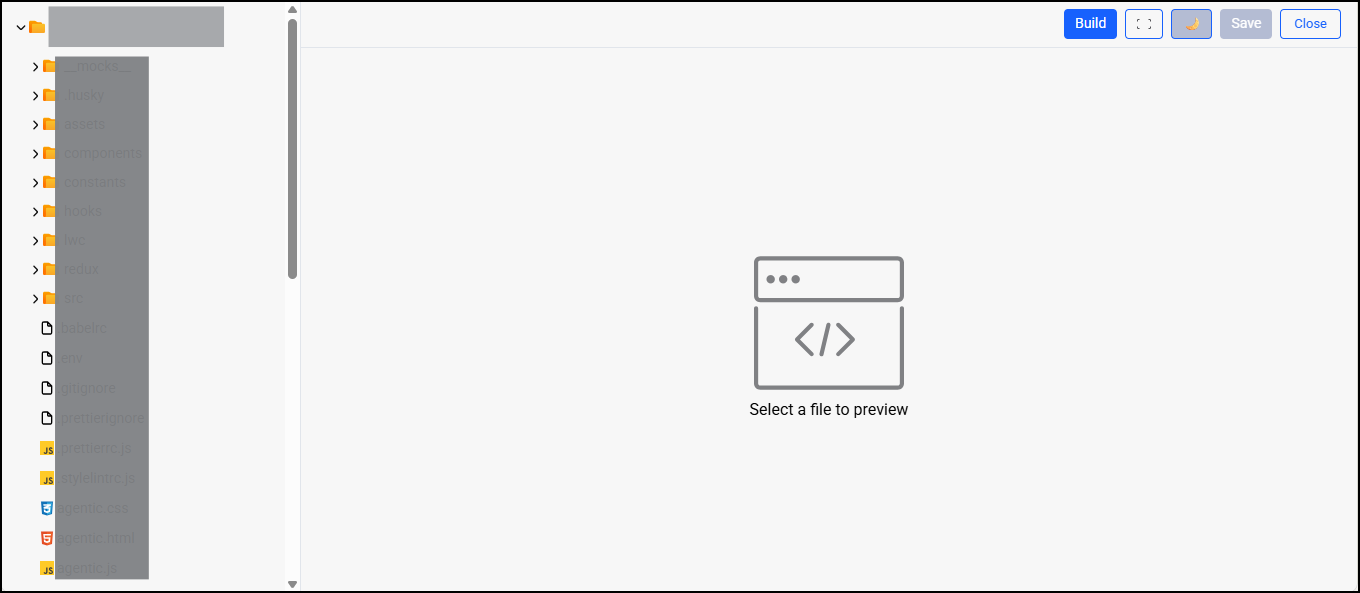
Fig: A snapshot of the Customize Agent window.
Layout of the Customize AI Agent Window
The window is divided into three key areas:
-
Folder & File Tree (Left Panel) shows all files and folders related to the selected AI Agent.
-
Code Editor (Center Panel) displays the script of currently selected file
-
Top Action Bar (Right Side) include:
-
Build – Compiles and prepares the updated AI Agent bundle.
-
Fullscreen - Displays the AI Editor window on the full screen of your device.
-
Day/Night Mode - Switches between day and night mode.
-
Save – Saves changes to the currently open file.
-
Close – Exits the Customize AI Agent window and returns you to the main UI.
-
Create New Files and Folders
You can also create a new folder and file by right clicking in the files menu. The file would contain the code of the component that you want to add.
Working with Files and Folders
Selecting a File to Edit
In the left tree, expand the relevant folder and click the file you want to modify (for example, components > feature-components > chat-search-experience-tabs > index.jsx). The file opens in the main editor area.
Editing the AI Agent
Once a file is open in the editor, you can:
-
Add or modify JSX to change the layout and elements shown in the AI Agent console or widget.
-
Update event handlers (e.g., onClick, onChange) to control how the agent responds to user actions.
-
Introduce new helper functions, hooks, or Redux actions to support advanced flows such as:
-
Switching between chat experiences or tabs
-
Toggling agent settings
-
Sending additional context (case details, user profile, etc.) to the AI backend
-
Tip: Keep changes focused and commit them to one component at a time so that it is easier to debug if something doesn’t work as expected.
Click on the Fullscreen button to maximize your current view to take up the entire screen.
Select Day/Night mode to switch the display between a light theme and a dark theme per your preference.
Recommended Folders for Customization
While you can browse all files, in most cases you will:
-
Update UI behavior and layout inside components and feature-components.
-
Adjust shared values or flags in constants.
-
Modify styling in agentic.css or component-level style files.
-
Update agent initialization, configuration, or top-level logic in agentic.js.0
Build or environment-specific files (if present) should generally be left unchanged unless directed by the product or engineering team.
Saving and Building Your Changes
Save
Clicking Save writes your changes to the current file in the agent’s codebase. Saving does not immediately push changes to the live environment; for that, you must run Build.
Build
Clicking Build when you are ready to prepare the updated AI Agent bundle.
The system compiles the relevant files and generates the assets required for the agent to run in production.
Close
Clicking Close exits the Customize AI Agent window. Any unsaved code will be lost, so always press Save before closing.
Best Practices & Recommendations
-
Back up before heavy changes: If possible, keep a copy of your current version or use version control so you can roll back if needed.
-
Test after every build: After building, verify the AI Agent in a test or staging environment to ensure:
-
The chat console loads correctly
-
Agent responses are generated as expected
-
No UI elements are broken due to layout or CSS changes
-
-
Keep components modular: Place new logic in dedicated components or hooks under components or hooks instead of mixing everything into a single file.
-
Avoid editing unknown core files: If you are unsure what a file does, consult your engineering or product team before modifying it.
This completes the high-level overview of the Customize AI Agent window. You can now use this interface to safely explore, edit, and deploy changes to your AI Support Agent’s behavior and experience.