

Deploying AI Escalation Manager: Installation in Zendesk
This article walks you through the process of installing the AI Escalation Manager to your Zendesk instance to enhance self-service with the SearchUnify Agentic Suite.
Prerequisites
-
Admin access to your Zendesk instance.
-
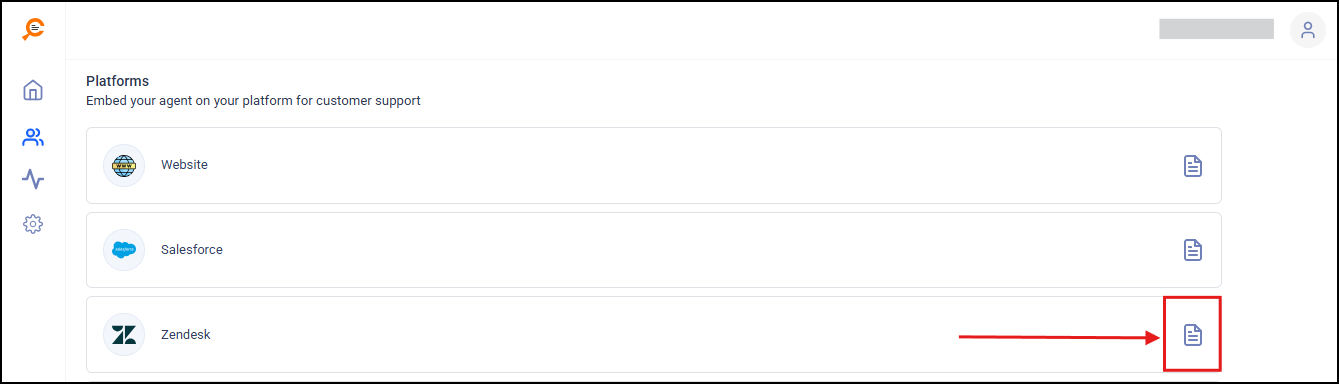
The CDN URL and AI Agent UID obtained from the Steps to Deploy instructions. Refer to the following screenshot to locate the said instructions.
Installation Steps
Step 1: Add a Webhook for Escalation Manager Agent
To enable the AI Escalation Manager in Zendesk, configure a webhook first. The webhook allows Zendesk to send data to SearchUnify when a comment is created on a ticket.
-
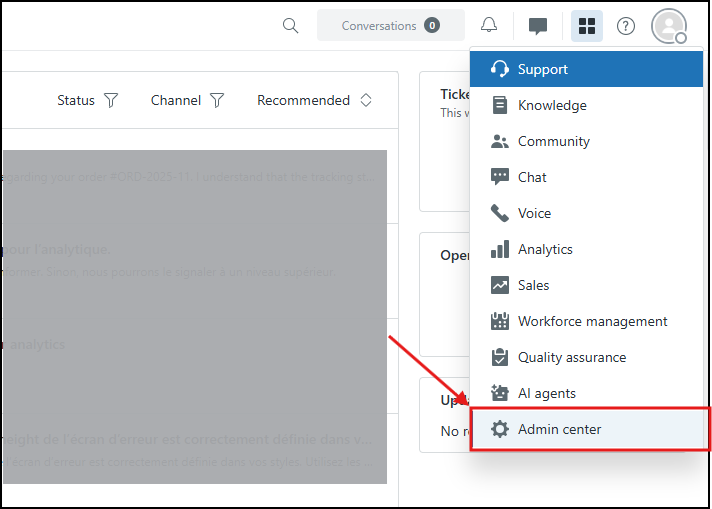
Log into your Zendesk instance and navigate to Zendesk Admin Center.
-
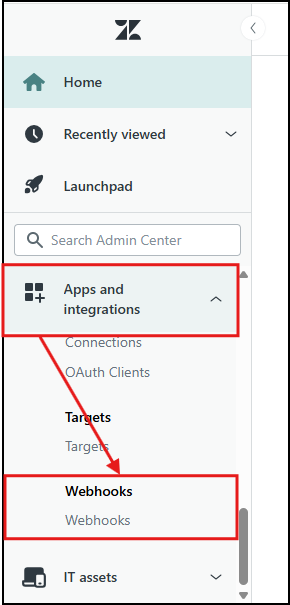
Navigate to Apps and integrations > Webhooks, and click on Webhooks.
-
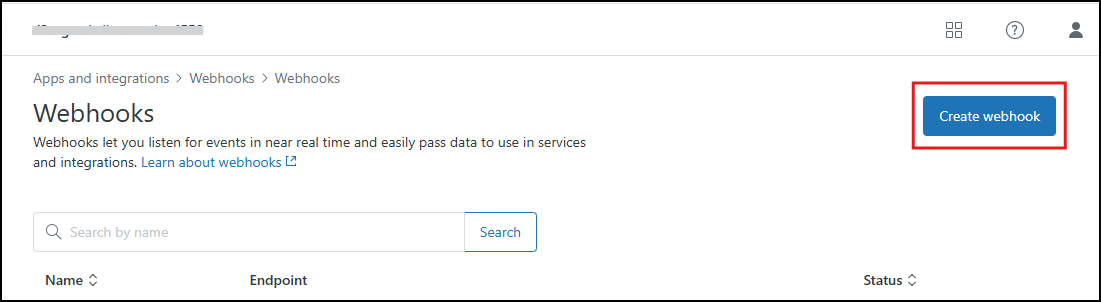
Click Create webhook.
-
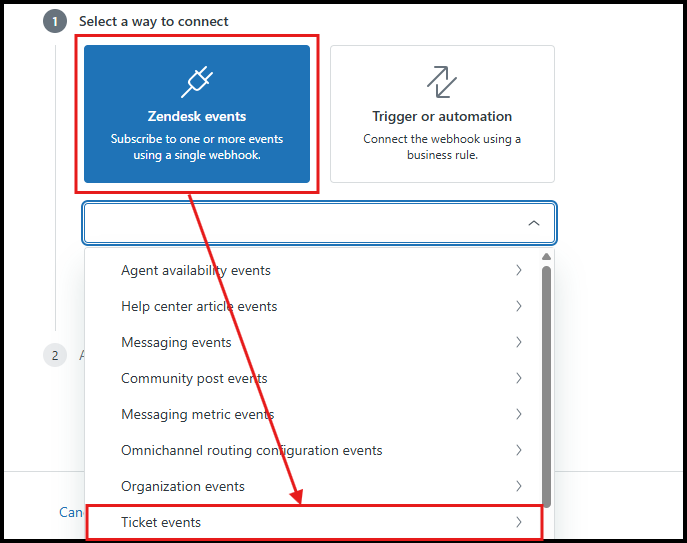
Select Zendesk events as Select a way to connect. In the next dropdown, select Ticket Events.
-
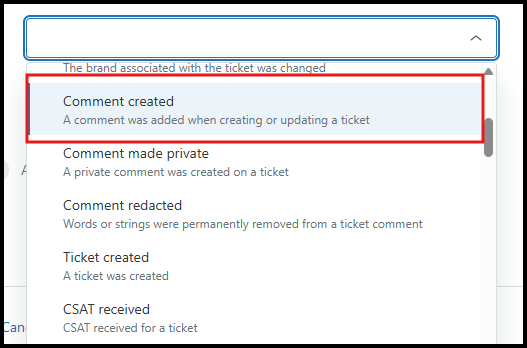
Subsequently select Comment created event type.
-
Click Next.
-
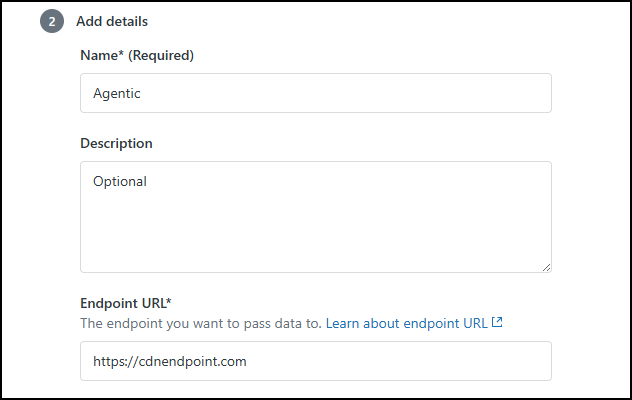
In the next step, add the following details:
-
Name: Enter a unique name for your webhook.
-
Description (Optional): Add a description for your webhook.
-
Endpoint URL: Enter the CDN URL provided in your Steps to Deploy instructions.
-
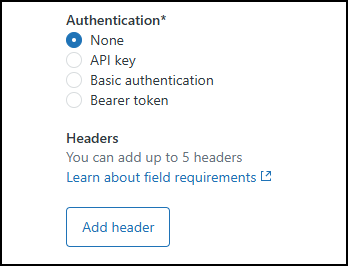
Authentication: Always select None.
-
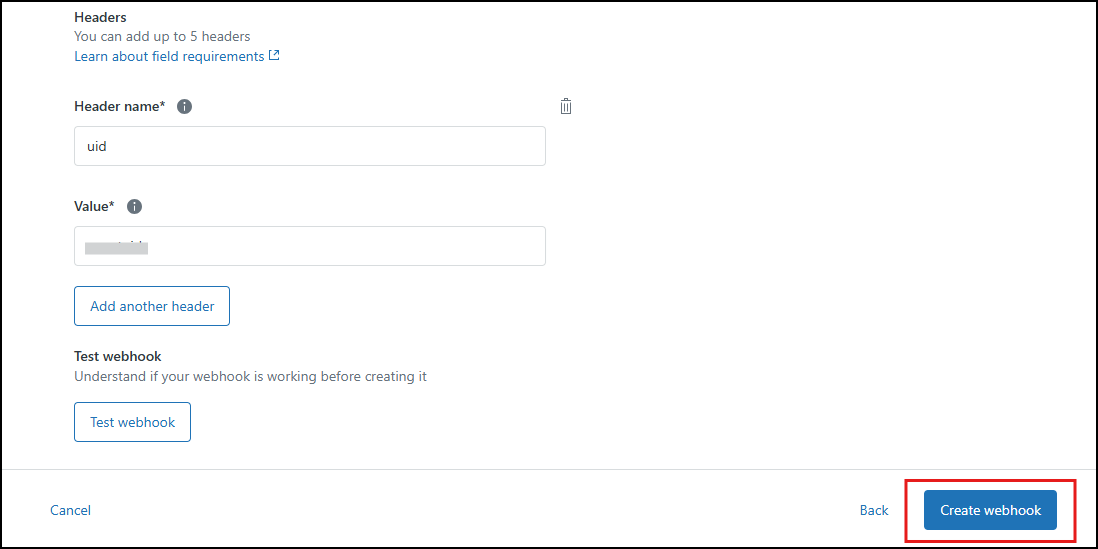
Under the Headers section, click Add header.
-
In the Header name field, enter a unique name.
-
In the Header value field, enter your unique Agent UID given in the Steps to Deployment instructions.
-
-
-
Click Create Webhook to complete creating the webhook.
The webhook is now added and will trigger the AI Escalation Manager when a new comment is posted.
-
Alternatively, you can use Test webhook to test the functionality of the webhook.