Set up Community Helper
Community Helper is an entire team of support reps wrapped into a nifty bot. Once installed, it keeps looking for new threads that haven't been answered in time. Then, using its NLP analyzers, search capabilities, and built-in templates, it answers the original poster. An admin can set up the time Community Helper will wait before jumping in; from as 10 minutes to 3 days.
This article walks you through the installation and setting up of Community Helper.
NOTE
Community Helper works only on Salesforce and Khoros communities.
An admin can set up one bot for each community.
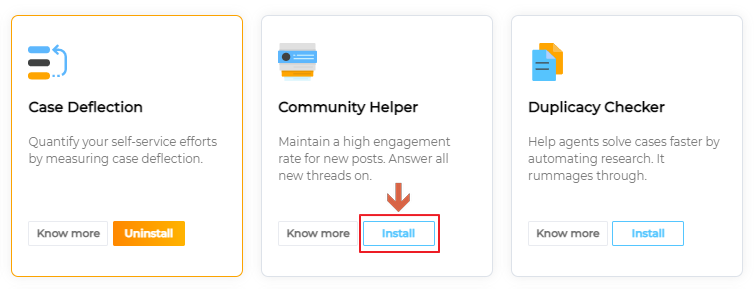
Install Community Helper
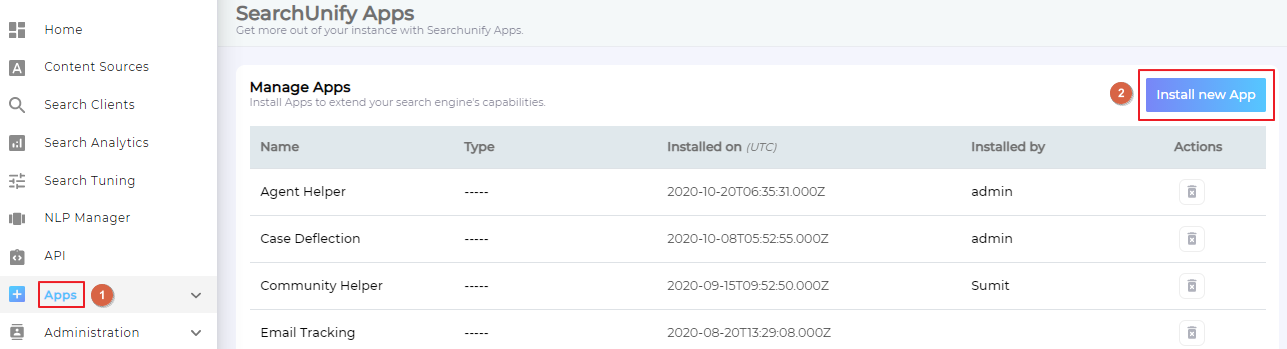

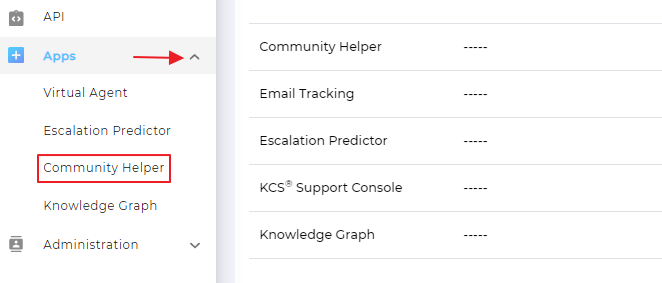
If the installation was successful, a new tab will appear in the main navigation.

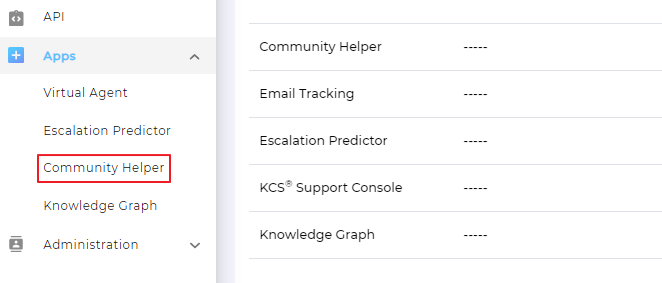
Create Your First Bot
- From main navigation, click Community Helper.
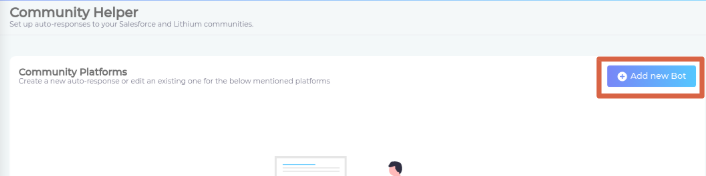
- An admin can create a new bot for each community. To start, click Add New Bot.
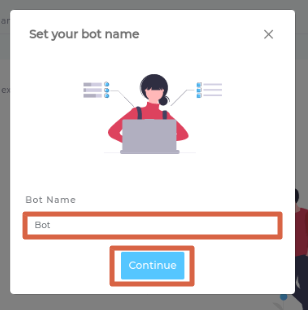
- Each bot has a label to help admins distinguish one from another. Give yours a label and click Continue.
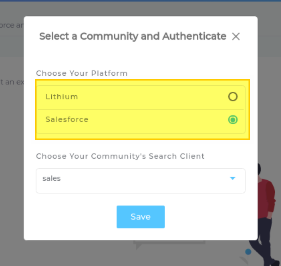
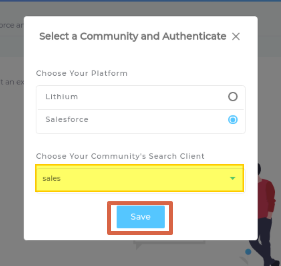
- Check the community where the bot will work. Colubridae '20 supports two platforms: Salesforce and Khoros.
- Pick a search client and click Save to create the bot.
Why should I choose a search client?


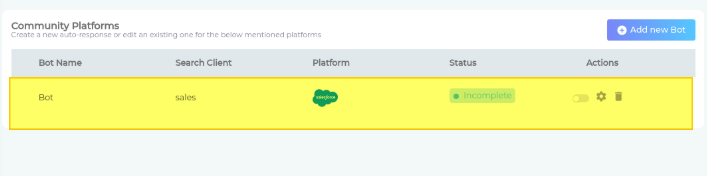
If bot creation was successful, then you should be able to see it on the Community Helper screen.
Authorize Yourself
The first step to authorizing your identity is to open edit settings which can be done by clicking ![]() .
.
Next, follow one of the following processes.
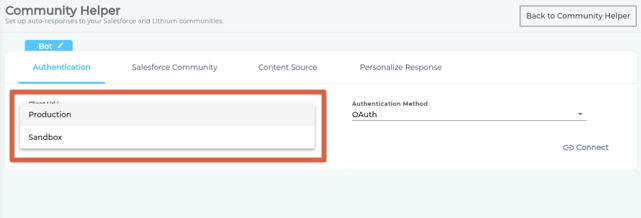
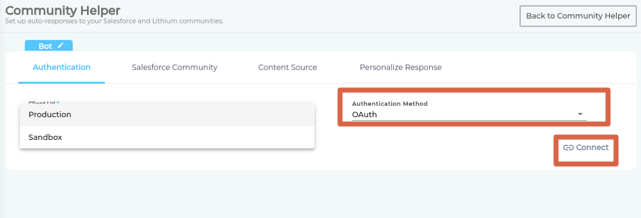
- Pick either Production or Sandbox in Client URL.
- Select OAuth in Authentication Method and click Connect.
- A dialog will open, asking you to log into your community. Sign in to authorize.
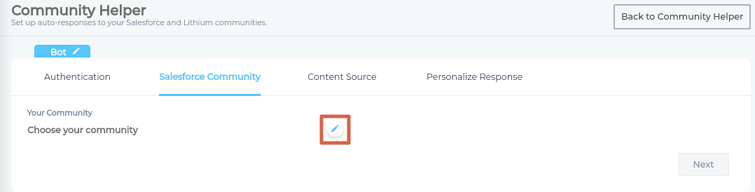
- On successful authorization, a dropdown will appear. Click
 on Choose Your Community.
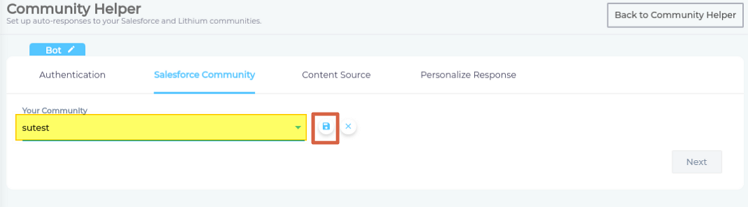
- Select your community and save.

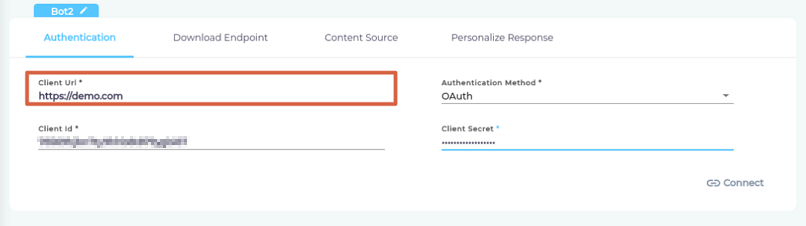
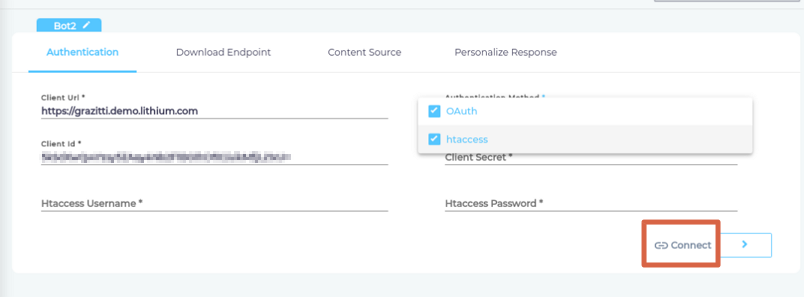
- Enter your community address in Client URL.
- Select either OAuth or HTAccess to authorize yourself. The first method requires a client ID and a client secret. The second method requires an SearchUnify admin to enter, besides a client ID and client secret, HTAccess username and HTAccess password.
- Click Connect.
- A dialog will open, asking you to log into your community. Sign in to authorize.


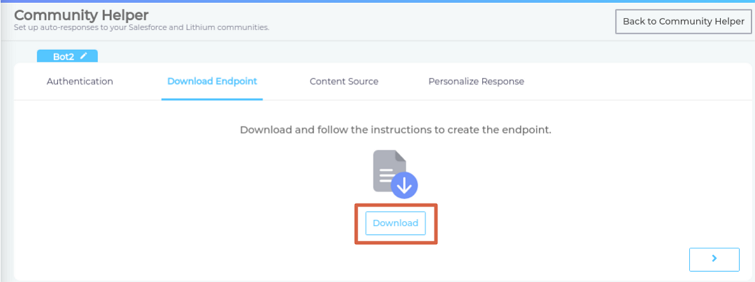
After authorization, you will be taken to a Download Endpoint screen.
Create an Endpoint
The instructions to creating an endpoint have been packaged in a text file which you can get by clicking Download.
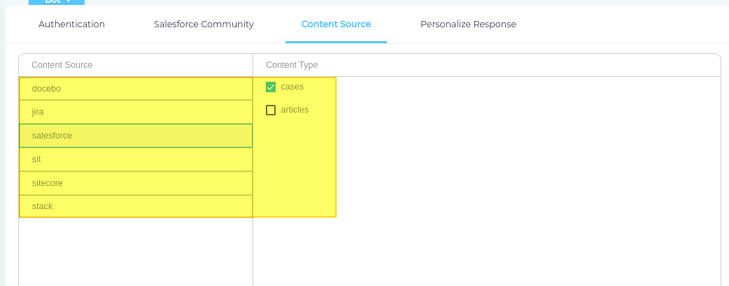
Select Content Sources
The bot assists community users by suggesting them knowledge articles, solved threads, and other documents stored in your content sources. On the Content Source screen, an admin can define the scope of a bot's search, that is if the bot should look into all your content sources or only a select ones.
Compose Templates
-
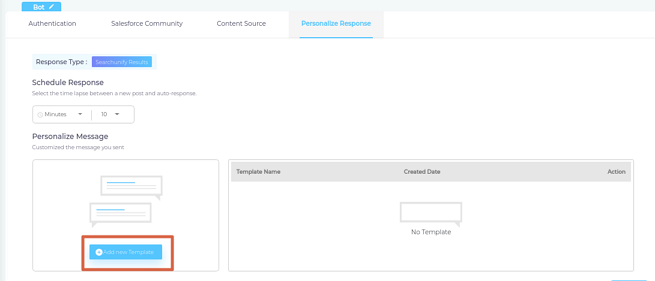
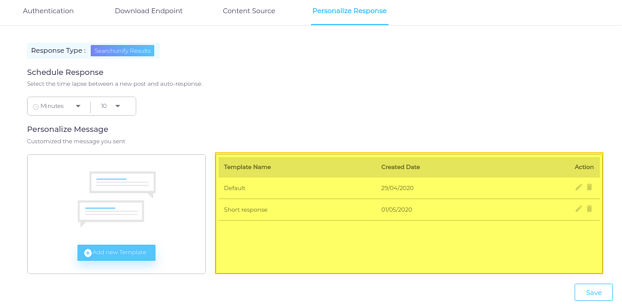
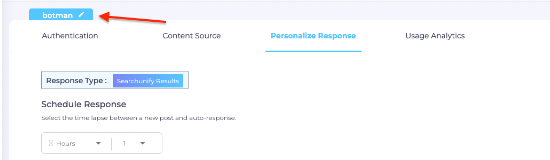
The first step in drafting a template is to decide when the bot should spring into action and publish a response. It can be decided on the Personalized Response screen in the Schedule Response section.
-
Next, click Add New Template.
-
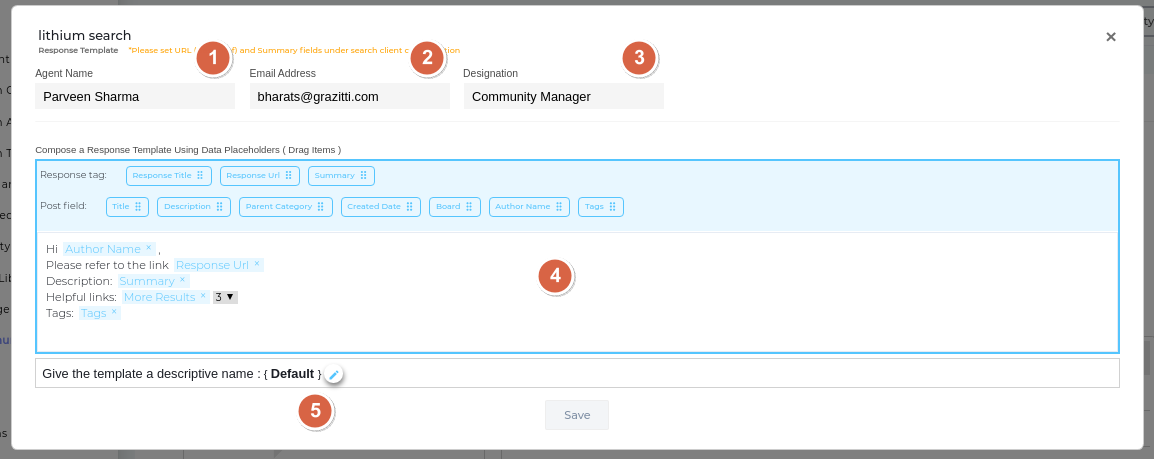
A dialog will open. Enter the details to create a template.
-
Agent Name. Bot's name on the community. It will be visible to the community members.
-
Agent Email. Bot's email address on the community. It will be visible to the community members as well.
-
Designation. Bot's job profile on the community. It will be visible to the community members.
Create a Response. A text box where you can compose a template using response tags and response fields as placeholders.
Response Tag. The response tags are the properties of the top results the responder will find. In the image, you can see three properties: Response Title (a placeholder for the title of the first search result), Response URL(a placeholder for the web address of the first search result), and Summary (a placeholder the meta description of the first search result). Drag them to their place in your template. Check out "Why Should I Choose a Search Engine?" to learn what a responder is.
Post Field. The Post fields are the properties of your Khoros or Salesforce community and depend much on the set-up. Some communities might have only post fields while others can have up to 10. In the image are seven post fields: Title, Description, Parent Category, Created Date, Board, Author Name, and Tags. You can use one, two, or all of them.
PREREQUISITES When choosing Post field tags, be sure that:
A) The Feed Item object is present within your content source and has been incorporated into the Community Helper Search Client.
B) Each selected tag had undergone a successful crawl and subsequently integrated into the content source configuration when setting up the Search Client configuration.
-
Template Name. A label for your template. It will help you distinguish when you have several of them.
-
-
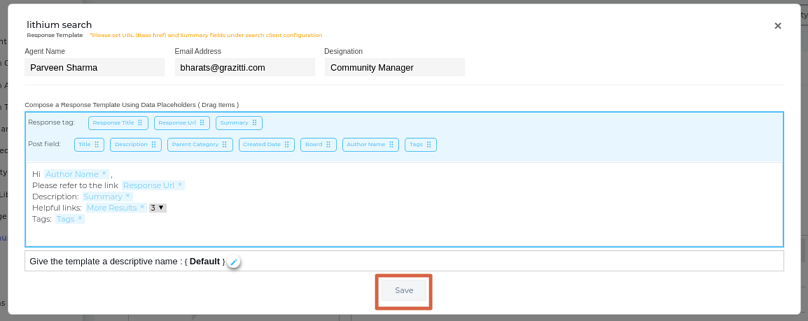
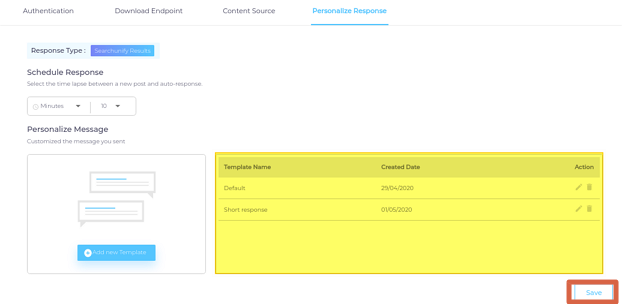
Save your template.
-
OPTIONAL. Repeat the steps 1-4 to create more templates.
-
Save your template(s).
-
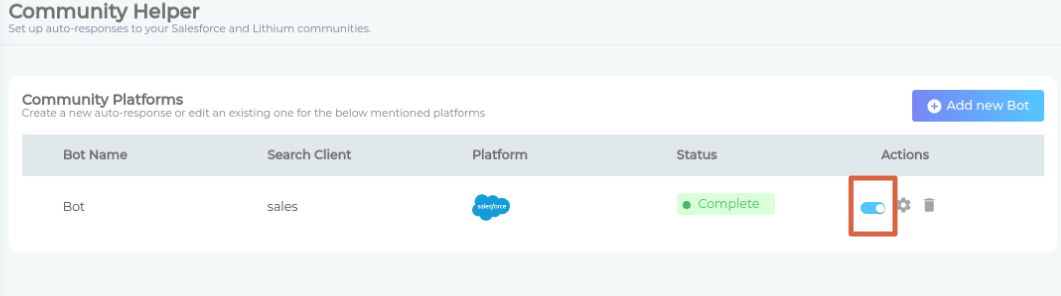
On the Community Manager screen, activate the bot.

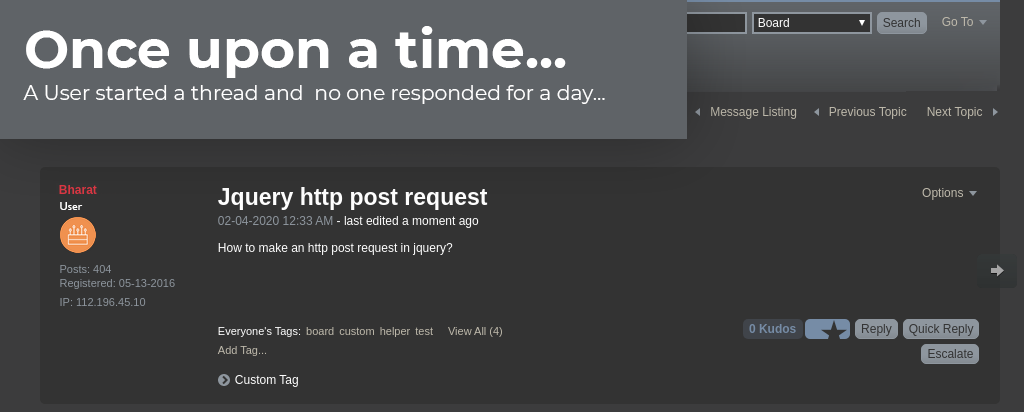
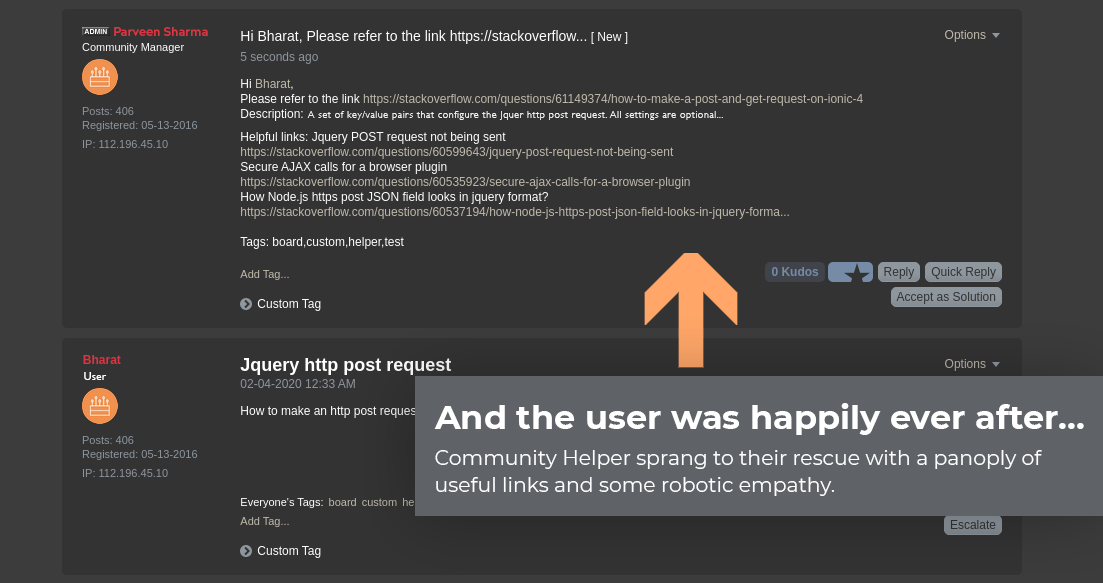
Result
A community bot in action.

Troubleshooting
The core components of a Community Bot are its language analyzer and responder. The language analyzer discerns the topic of a new thread by extracting keywords from the initial post. These keywords are then relayed to the responder. The responder, in turn, searches for these keywords in your content sources using the selected search client.
Response tags represent the properties of the top results that the responder retrieves. As shown in the image, there are three properties: Response Title (a placeholder for the title of the first search result), Response URL (a placeholder for the web address of the first search result), and Summary (a placeholder for the meta description of the first search result). Drag these tags to the appropriate places in your template.

Post fields are properties unique to your Khoros or Salesforce community, and their availability largely depends on the community's setup. Some communities may have only a few post fields, while others could have as many as 10. The image displays seven post fields: Title, Description, Parent Category, Created Date, Board, Author Name, and Tags. You have the flexibility to use one, two, or all of these fields.
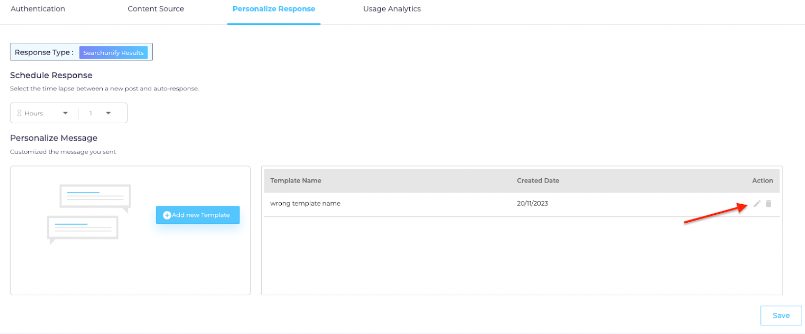
Select the edit icon at the top of the screen where the current bot name is displayed. Then, enter the new name and click Save.
To edit a template name, click the edit icon located in the action column of the templates list. Then click the edit icon next to the current template name to make your changes.