Upload Icons (Thumbnails) for Use on Search Clients
You can show the provenance of a document on a search results page with an thumbnail or icon, which is prefixed to the title and can be unique for each content type. Adding thumbnails helps your employees and customers skim through search results faster. A common use involves visually distinguishing your official and community content sources.
Before we venture into linking icons with content sources, you will need to upload some. Uploading is straightforward.
Uploading Icons
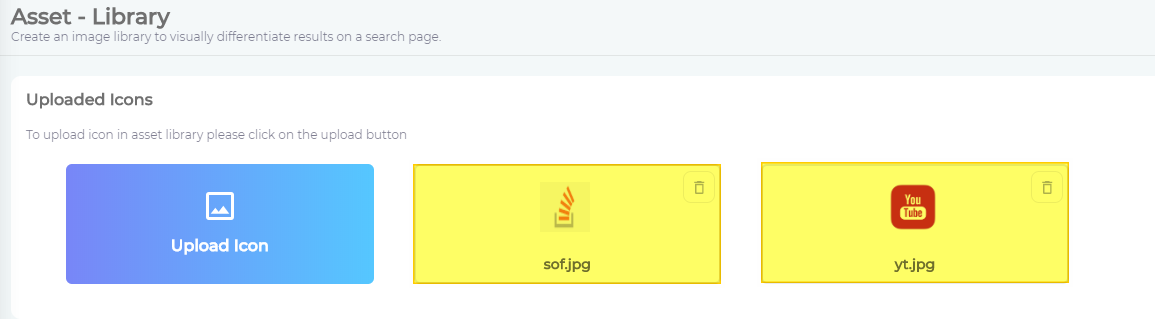
- Go to Asset Library.
- Use the Upload Icon tab to add icons to your Library one at a time.
For the sake of demonstration, two icons have been uploaded: StackOverflow and YouTube.
Now, let's link these icons with content sources.
Linking Icons with Content Sources
- Go to Search Clients and click
 to select a platform for editing.

- Navigate to content sources.
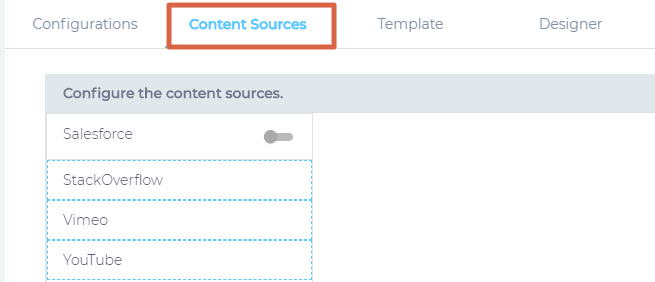
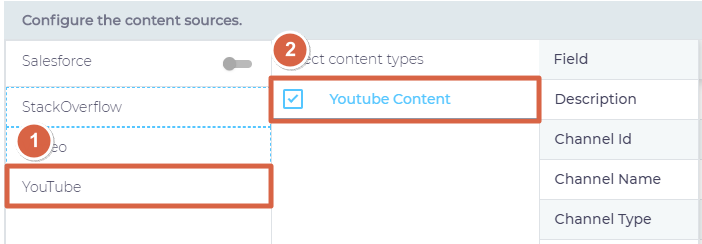
- Select a content source and content type.
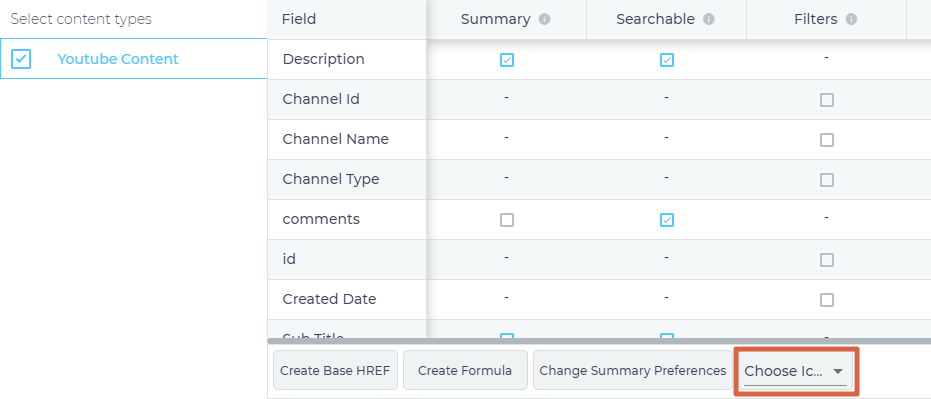
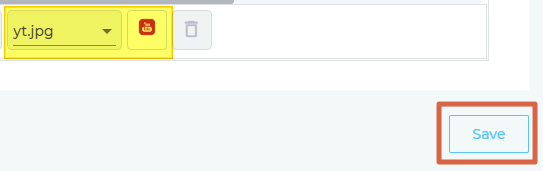
- Use the Choose Icon dropdown to choose an icon. The chosen icon will be linked to the content source and content type selected.
- OPTIONAL. Repeat steps 3 and 4 to connect the remaining content sources with other icons.
- Save your settings.


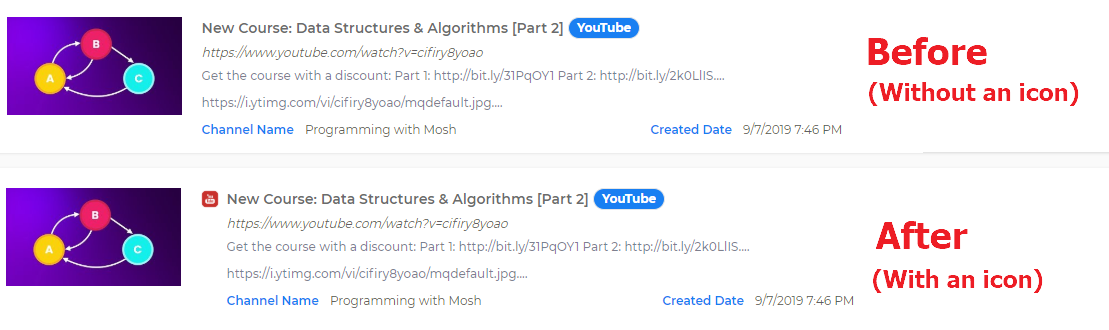
Reload your search results page. You should be able to see icons next to search results titles. The icons will only be available on results that are stored on content sources linked to one or another icon.
Changing or Removing an Icon from a Content Source
You might want to change icons or disconnect them from content sources for multiple reasons:
- Updated branding guidelines
- Use of new icons
- Decision to display only icon-less search results pages
Whatever you reason, you can change or remove an icon quite easily.
Change an Icon
- Follow the first three steps of Linking Icons with Content Sources.
-
Use the Choose Icon dropdown to select a new icon.
- Save your settings.
Remove an Icon
- Follow the first three steps of Linking Icons with Content Sources.
- Click
 to delete the icon.
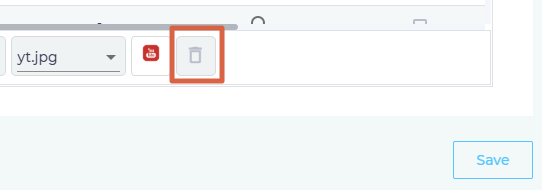
- Save your settings.
