

Google OAuth 2.0 Setup: Obtain your Google API Client ID and Client Secret
If you are an existing SearchUnify user and you migrate your instance to Q2 '25 or newer versions, your YouTube and Google Drive content sources will continue to work. However, you will see the following error on your YouTube and Google Drive content sources in case you haven't authenticated them with OAuth 2.0.

Fig: A snapshot showing the OAuth 2.0 setup issue on the Manage Content Sources screen.
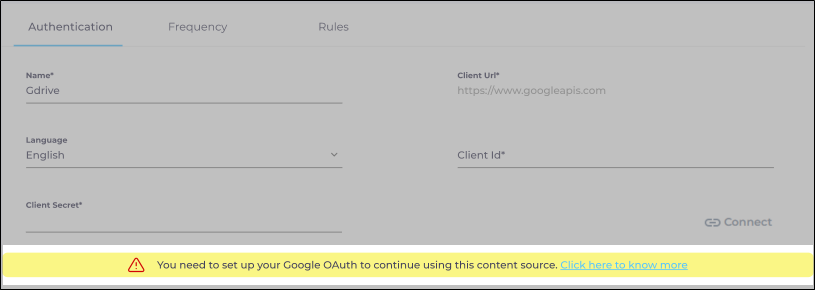
Fig: A snapshot showing the OAuth 2.0 setup pending on the YouTube/Google Drive content source Authentication screen.
We recommend you set up OAuth 2.0 on your Google account and re-authenticate your content sources using the Client ID and Client Secret.
This article provides step-by-step instructions on how to obtain Google API Client ID and Client Secret. These credentials are essential for authenticating Google Drive and YouTube content sources.
Prerequisites
-
A Google Cloud Platform (GCP) account
Obtaining the Client ID and Client Secret
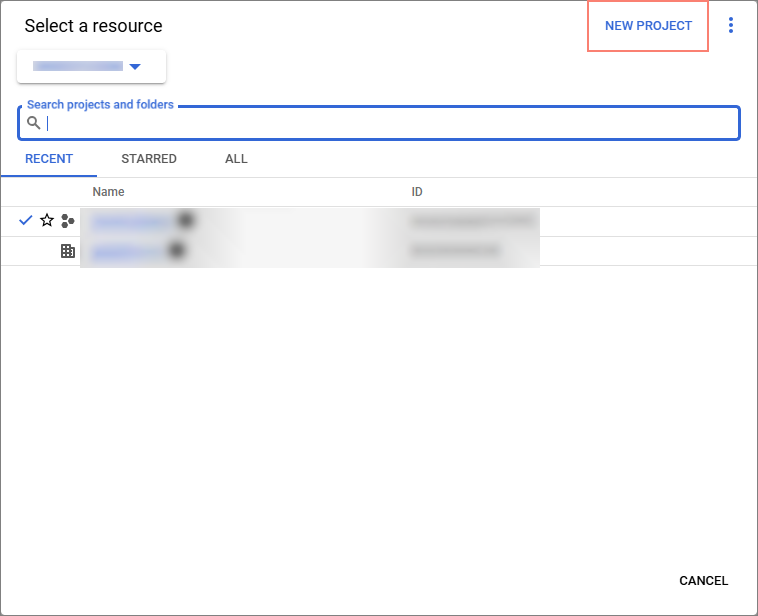
Select or Create a GCP Project
Navigate to the Google Cloud Console.
-
If you have an existing project, click on the Project drop-down (usually located near the top-right of the page) and select your desired project.

-
If you do not have a project, click New Project. Subsequently, enter the required details to create a new project.
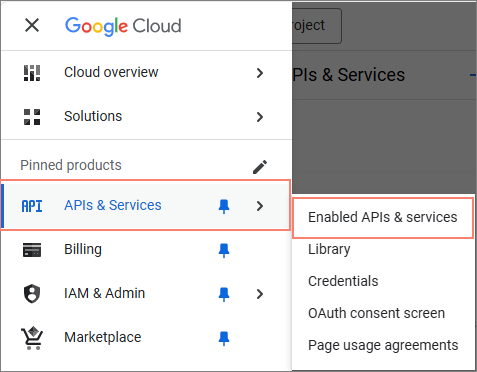
Enable the Required APIs
Ensure that both the Google Drive API and YouTube Data API v3 are enabled for your project.
To enable these APIs:
-
Navigate to APIs & Services > Enabled APIs & Services.
-
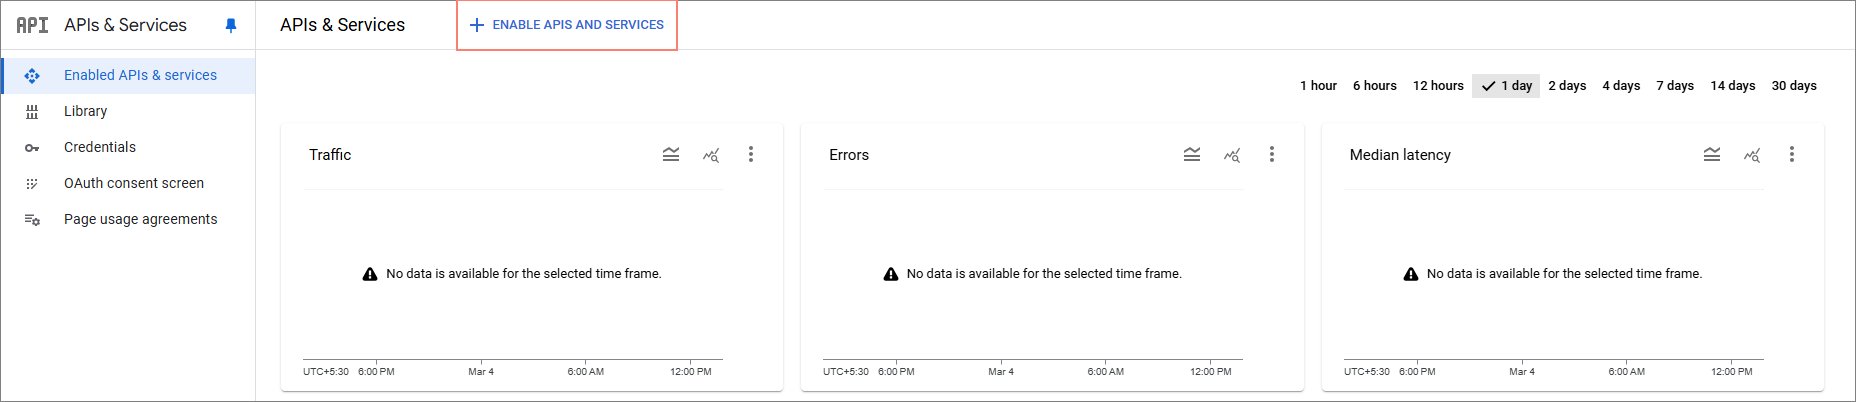
Click ENABLE APIS AND SERVICES.
-
Search for the required APIs, such as Google Drive API and YouTube Data API v3. Select the API in the search results and click Enable.
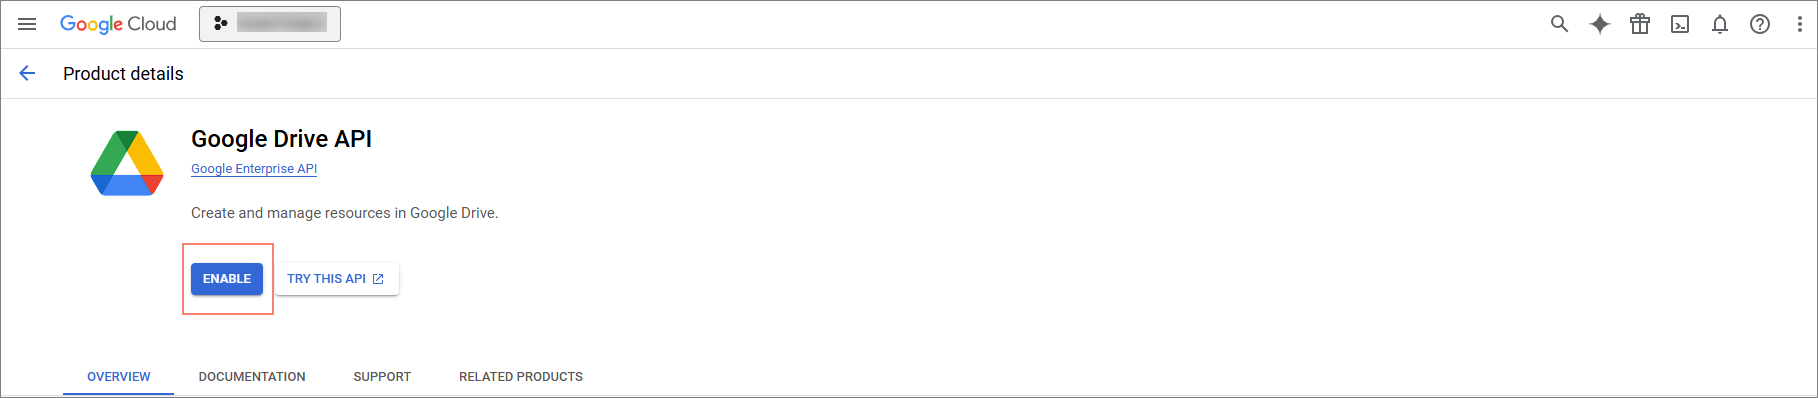
Similarly, enable YouTube Data API v3 as well.
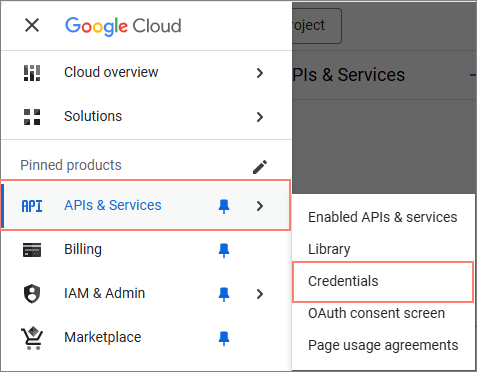
Create Web Application Credentials
-
In the Cloud Console, navigate to APIs & Services > Credentials.
-
Click on Create Credentials and select OAuth Client ID.

If prompted, you may need to configure the Consent Screen at this stage. If not, you can proceed directly to Step 3.
Configure the Consent Screen
-
Click Configure Consent Screen.
-
On the OAuth Consent Screen tab, fill in the required details:
-
App Information: Provide a Name and a Support Email.
-
Audience: Choose one of the following options:
-
Internal: Only users within your organization (those with an email address under your company domain) will be able to authenticate the app.
This means only your organization's users will be able to authenticate their Google Drive or YouTube accounts with SearchUnify.
-
External: Any user with a Google account will be able to authenticate the app.
This means any Google account user will be able to authenticate their Google Drive or YouTube accounts with SearchUnify.
When you select External as the audience, two additional options will appear for further configuration:
-
Test Mode: Use this mode to restrict app access to a limited set of test users that you specify.
You must manually add users to the Test Mode. The limit for test users is 100. This allows you to conduct thorough testing with a controlled group before making the app publicly available.
-
Publish App: This makes the app available to all users based on your selected audience (Internal or External).
-
-
-
Contact Information: Provide email addresses where Google can send notifications regarding changes to your project.
-
-
Click Finish and Continue.
-
Then, click Create and Save your changes.
-
-
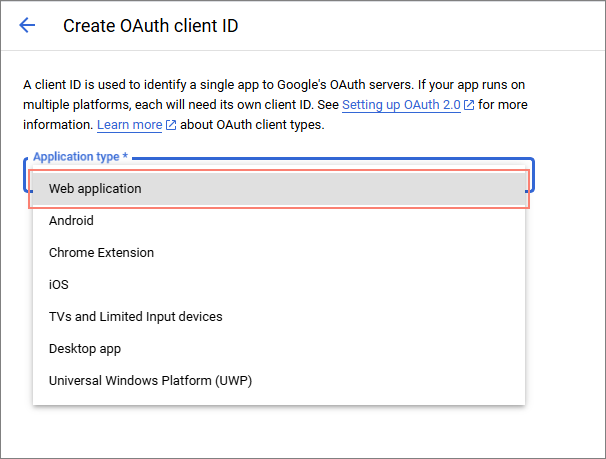
Select Web application as the Application type.
-
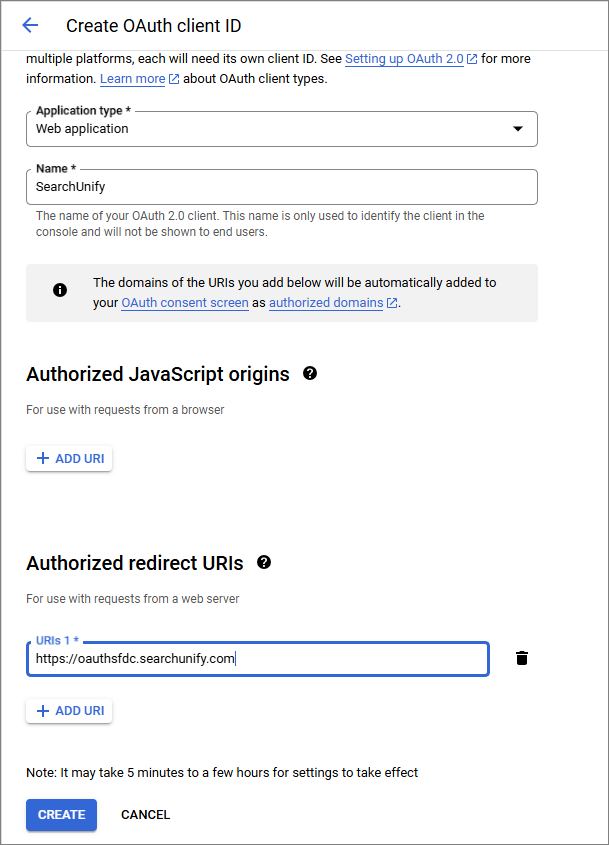
Fill in the following details:
-
Name: Give a unique identifier to your OAuth Client ID.
-
Authorized redirect URIs: Add https://oauthsfdc.searchunify.com to authorize SearchUnify to access the data from the respective content source.
-
-
After entering the required details, click Create to generate the OAuth Client ID.
Save Your Client ID and Client Secret
Once you've created the OAuth Client ID, you will see the Client ID and Client Secret.
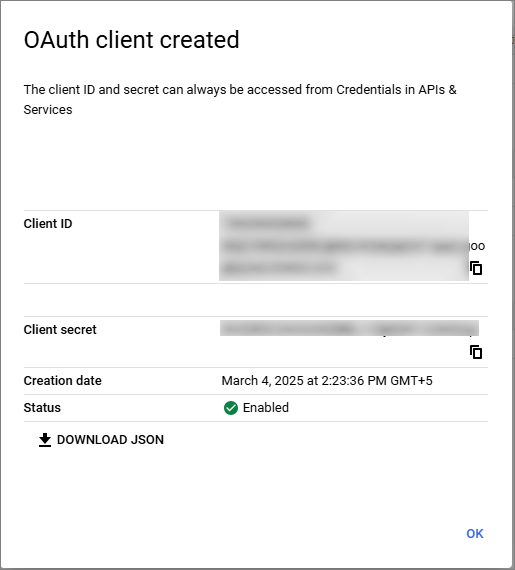
Save these values, as you will need them to authenticate your Google Drive and YouTube Content Sources.