

Create an OAuth 2.0 Application in Microsoft Dynamics
To use Microsoft Dynamics as a content source, an admin needs to supply four critical pieces of information: Client URL, Client ID, Client Secret, and Tenant ID.
While getting the Client URL is straight forward, obtaining the remaining three requires creating an OAuth 2.0 application.
Create an OAuth 2.0 Application
- Log into
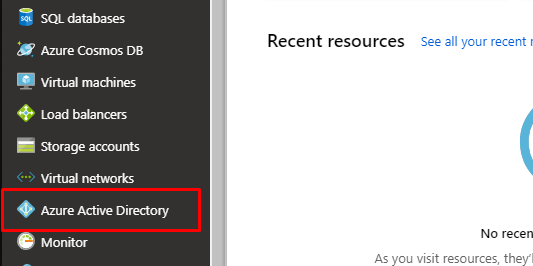
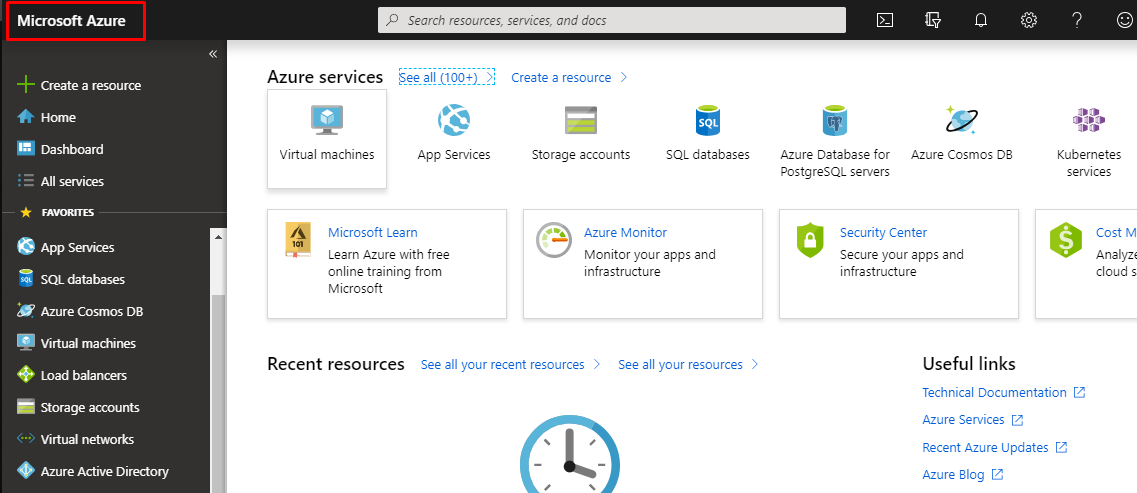
https://portal.azure.com/. - Navigate to Azure Active Directory from the left navigation menu.00
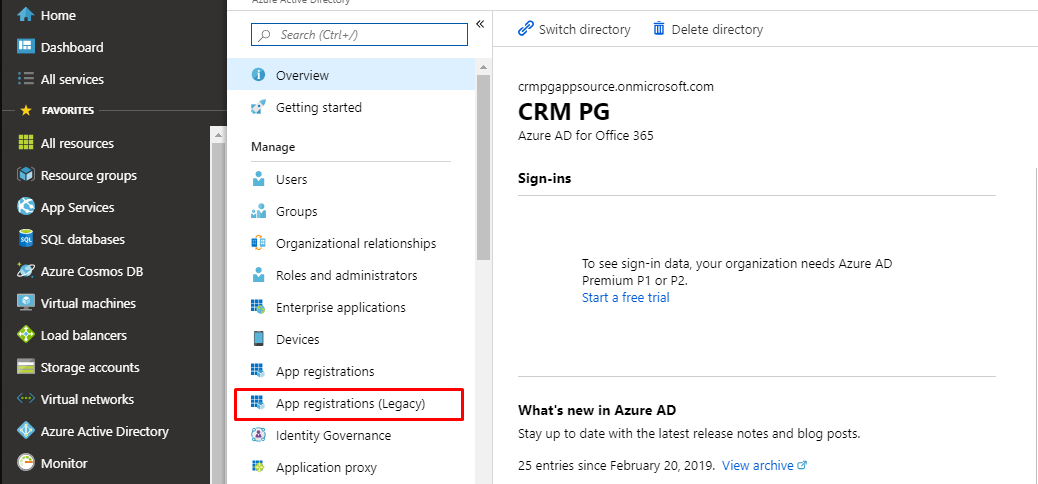
- Launch App Registrations (Legacy).
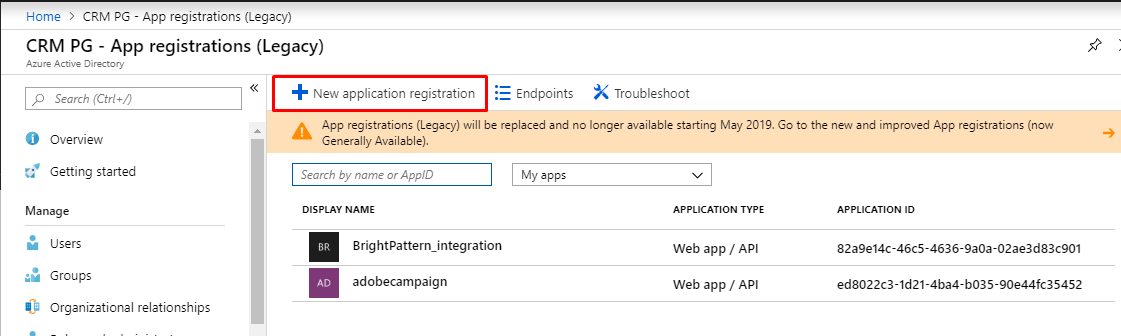
- Open New Application Registration.
- Give your application a name.
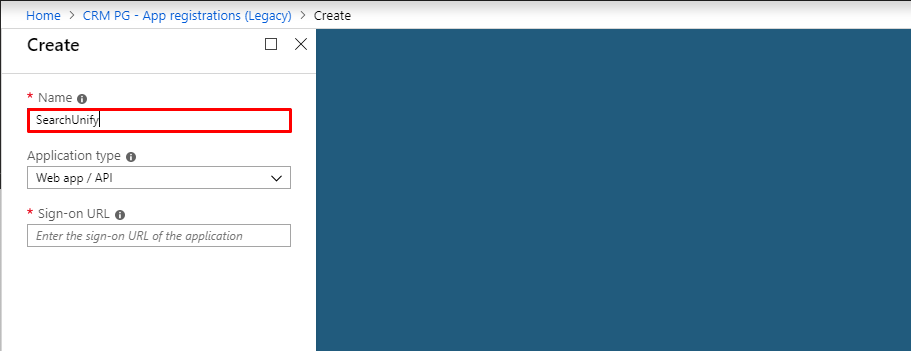
- Select
Web app/APIin Application type.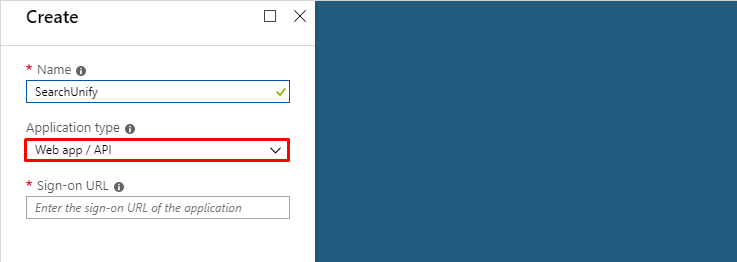
- Insert
https://oauthsfdc.searchunify.comin Sign-on URL.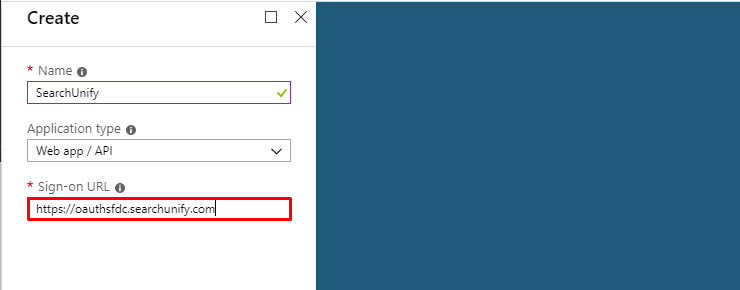
- Click Create.
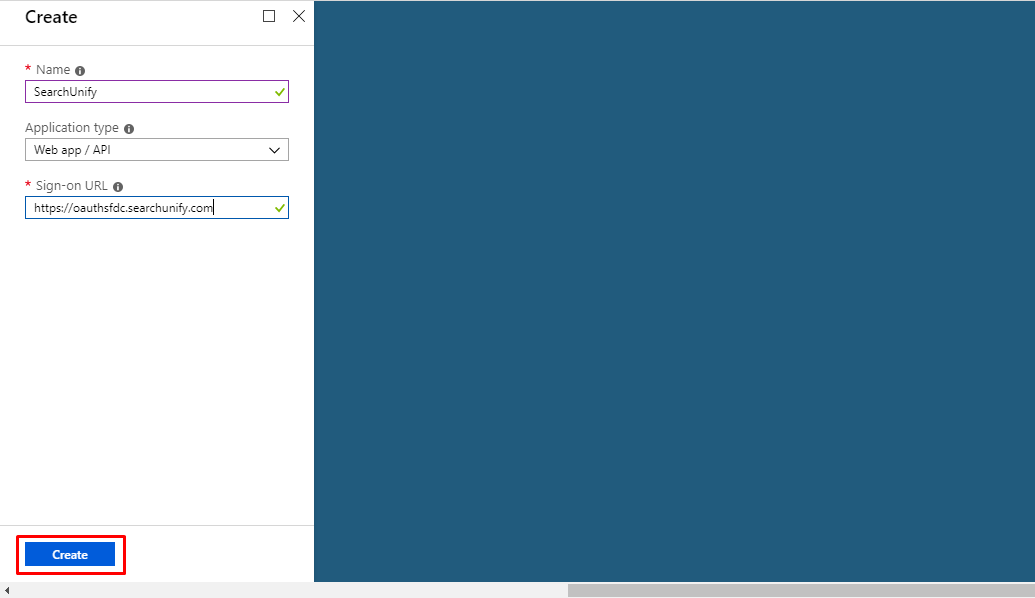
You have successfully created an OAuth 2.0 application.
Obtain Client ID
- Return to the dashboard.
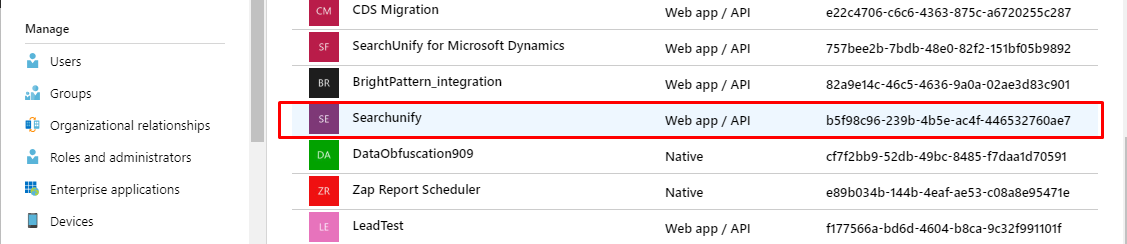
- Click Azure Active Directory, followed by App Registrations, and finally All Applications.
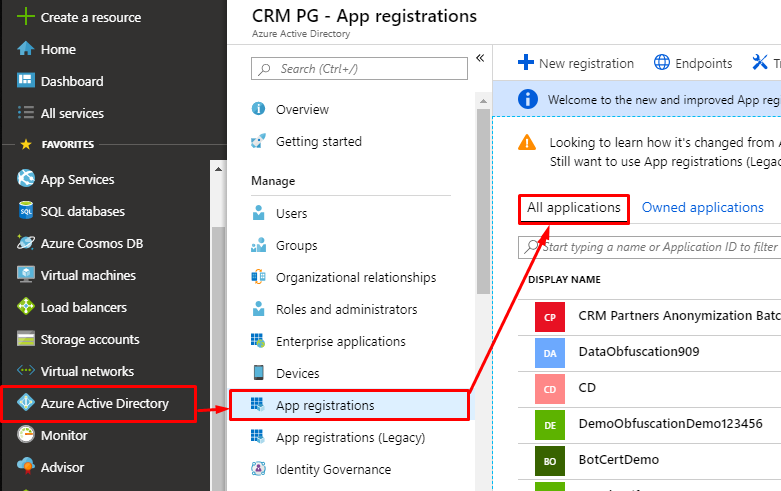
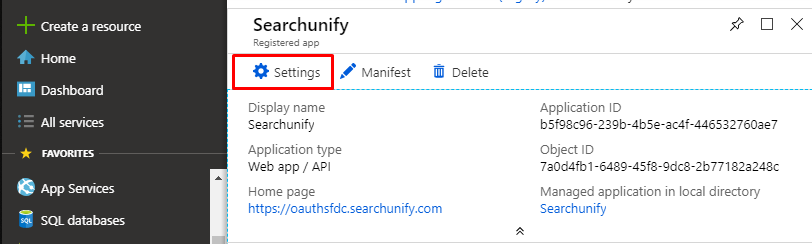
- Scroll down to find your app and click it to open.
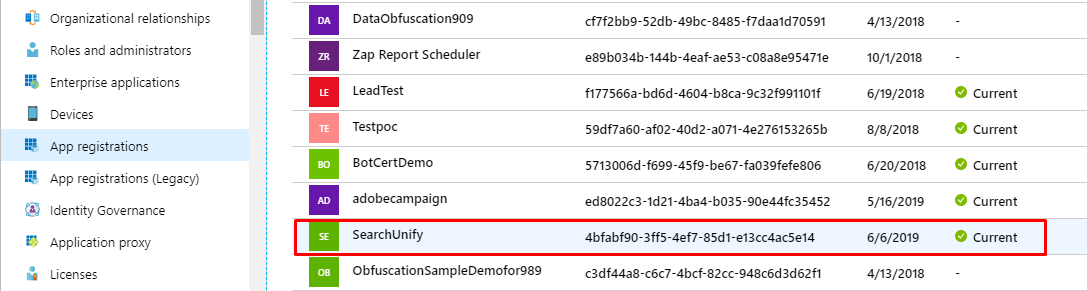
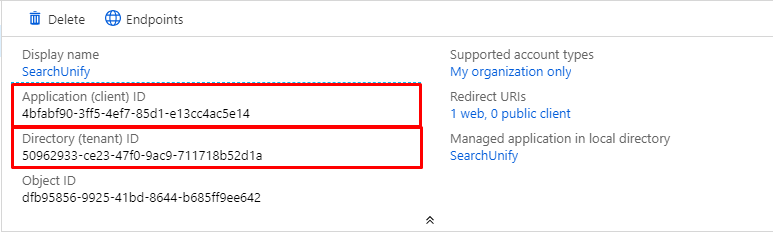
The client ID and tenant ID are on the screen.
Obtain Client Secret
- Return to the dashboard.
- Click Azure Active Directory, followed by App Registrations (Legacy), and select All apps from the dropdown.
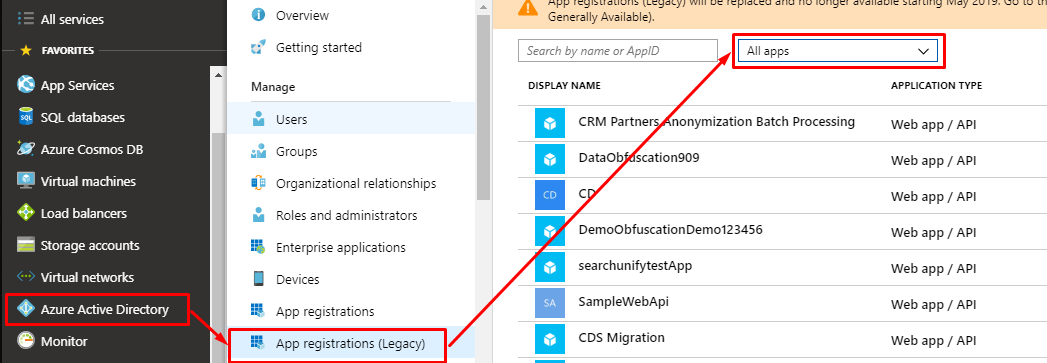
- Scroll down and click on your app.
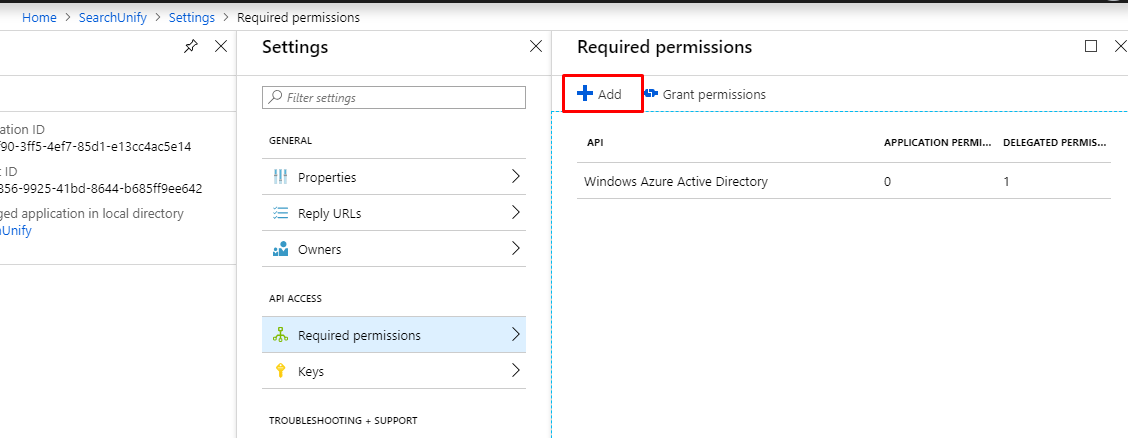
- Open Settings.
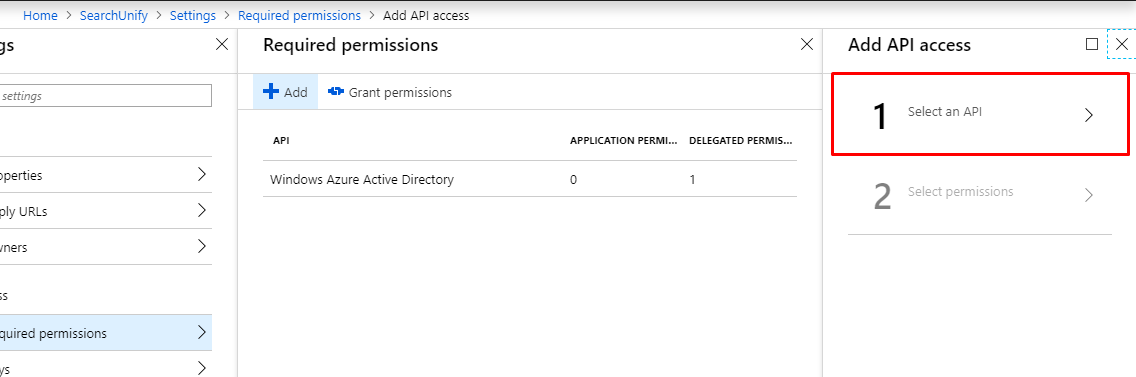
- Launch Required Permissions and click Add.
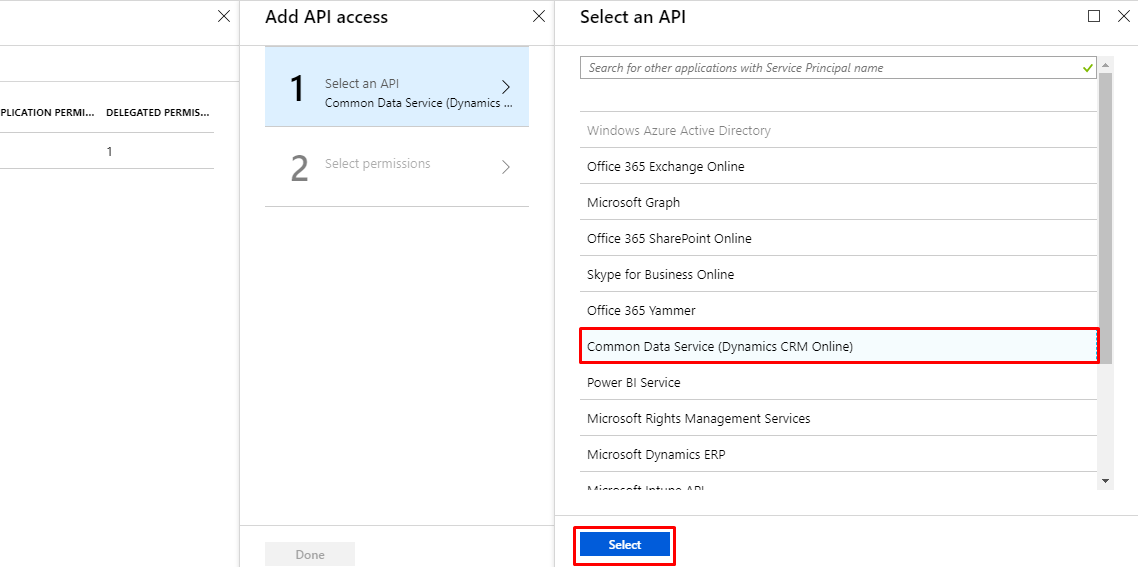
- Expand Select an API.
- Pick Common Data Service (Dynamics CRM Online) and then click Select.
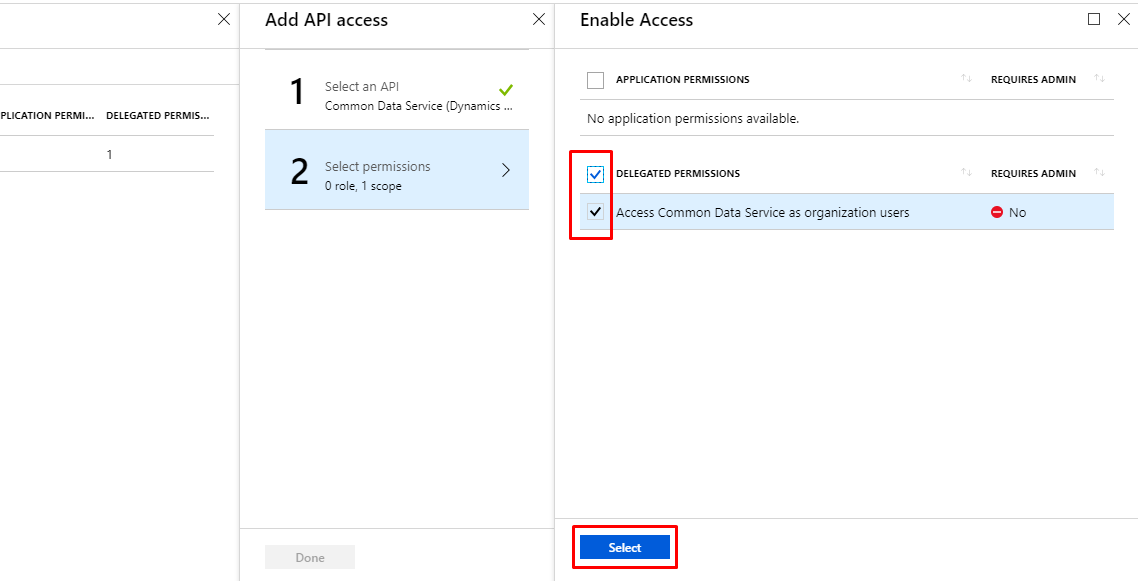
- Check all Delegated Permissions and then click Select.
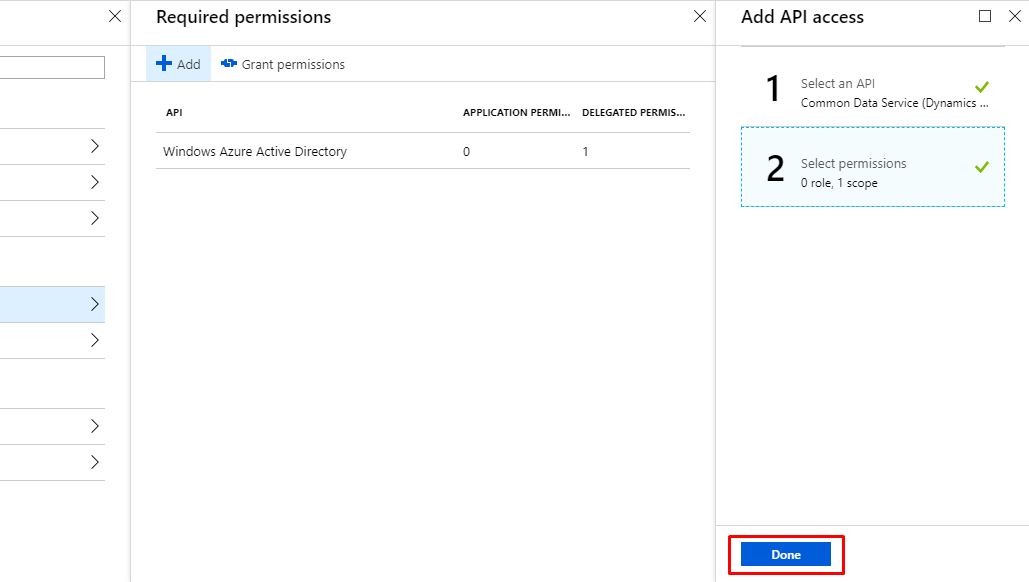
- Click Done.
- Example the Keys tab.

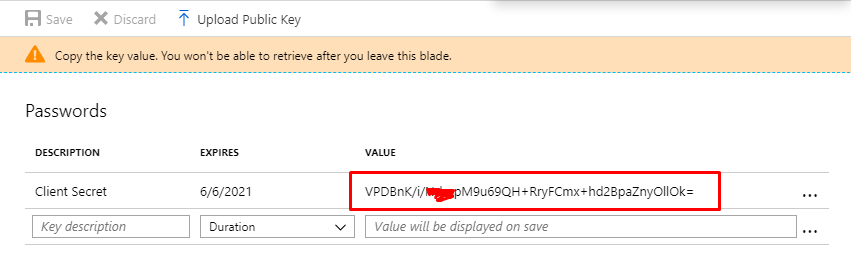
- Enter a name in Description, select when the password will expire in Duration and click Save.
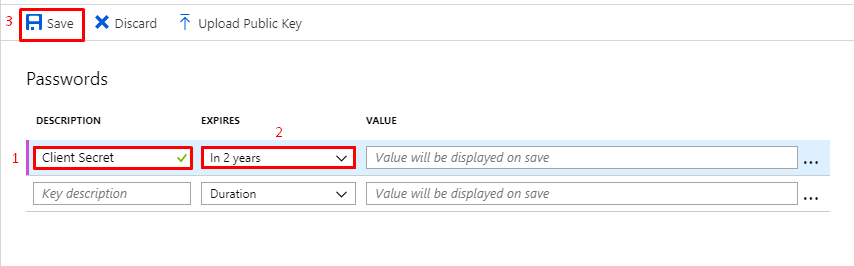
- Copy your client secret and store it safely. It cannot be viewed again.
You have obtained the client ID, client secret, and tenant ID now.