Obtain Client ID and Client Secret for SharePoint Authentication
Client ID and Client Secret are required to authenticate SearchUnify-SharePoint connection through OAuth. To obtain the ID and secret, you have to create an app or authenticate an existing app, create a secret ID, and assign the app permissions.
Create an app
Only Microsoft Azure admins can create the app to establish a connection. Other users will get an error.
NOTE. If you already have an app and want to merely authenticate it, then jump to the next section Authenticate an Existing App
-
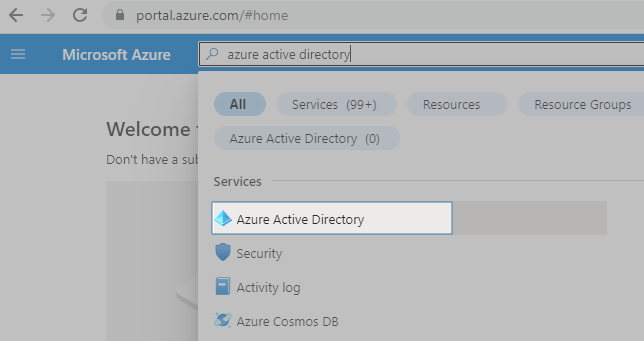
Sign into Azure.
-
Switch to the tenant where the application will be registered.
-
Find Microsoft Entra ID.
-
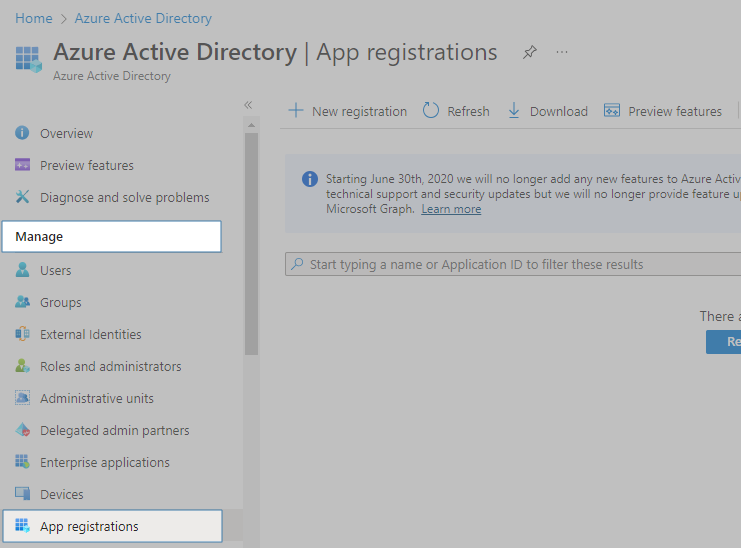
In Manage, open App registrations.
-
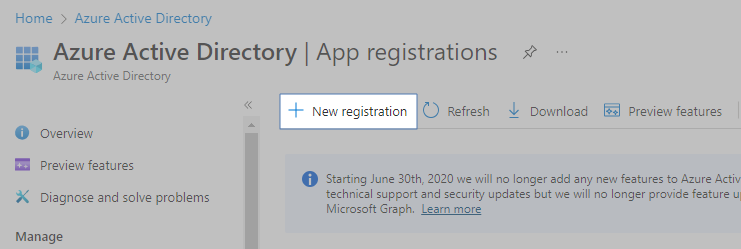
Click New registration.
-
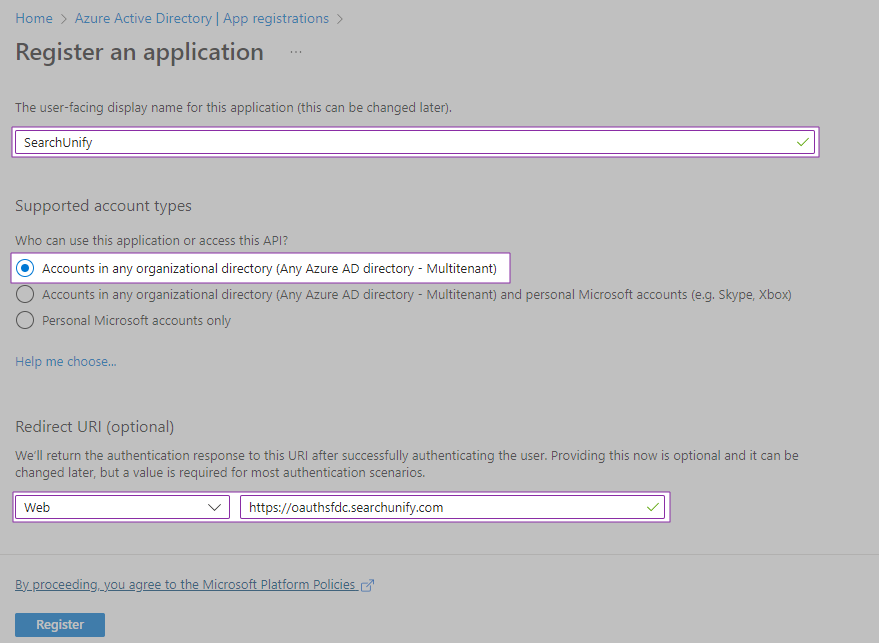
Enter registration details:
-
In the top field, enter app name. In the image, "SearchUnify" is used for illustration.
-
Select an appropriate account type in Supported account types. In the image, "Accounts in any organizational directory (Any Azure AD directory - Multitenant)" has been chosen.
-
In Redirect URI, chose type Web and enter its value https://oauthsfdc.searchunify.com, as it is shown in the image.
-
-
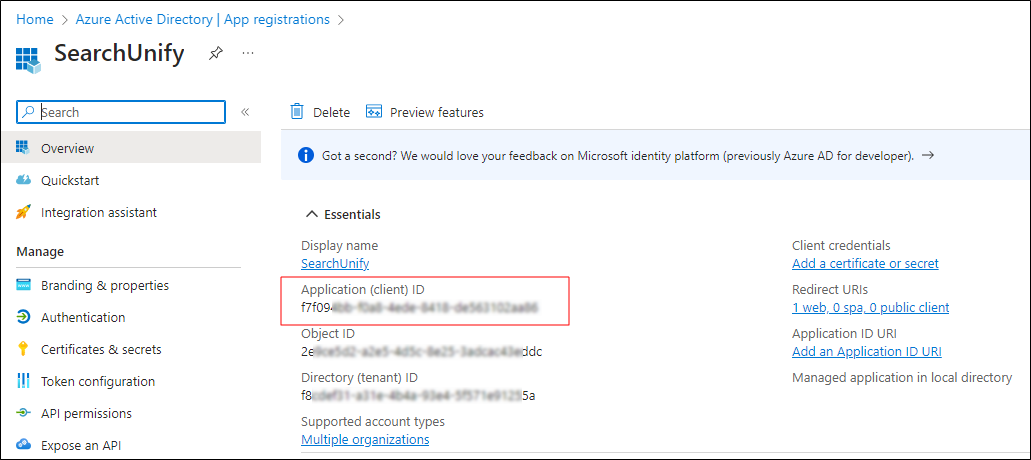
Click Register. You will be taken to the application page. Copy the Client ID from there.
Authenticate an Existing App
If you don't have an app, then return to the previous section "Create an App" and skip this section.
-
Sign into Azure.
-
Switch to the tenant where the application will be registered.
-
Find Microsoft Entra ID.
-
In Manage, open App registrations.
-
Find your app and open it.
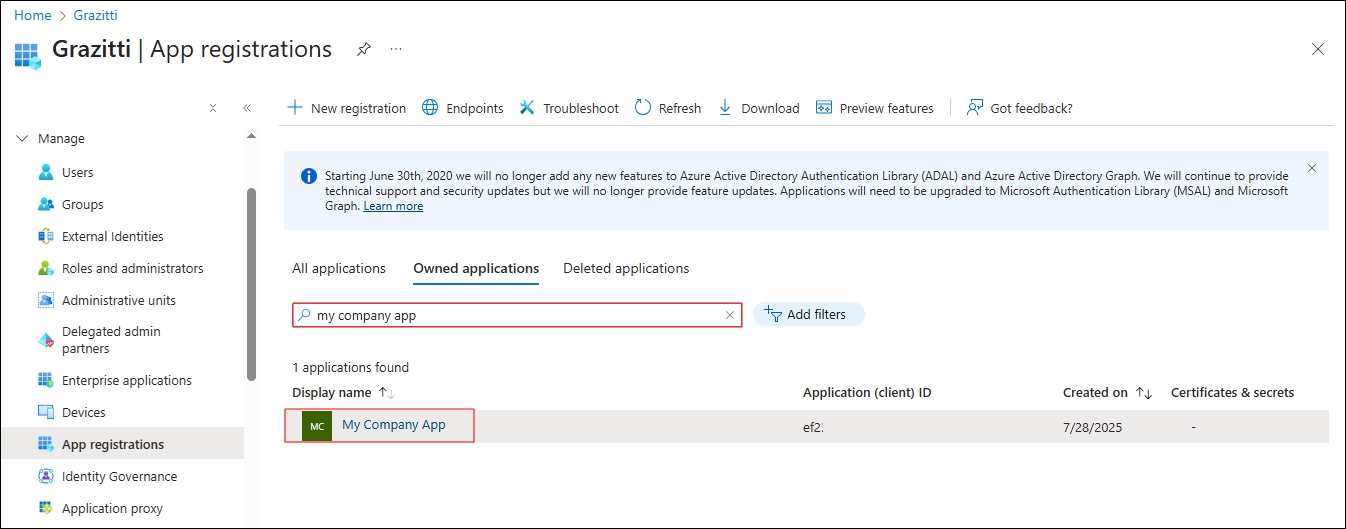
Fig. In this image, "My Company App" has been selected for illustration.
-
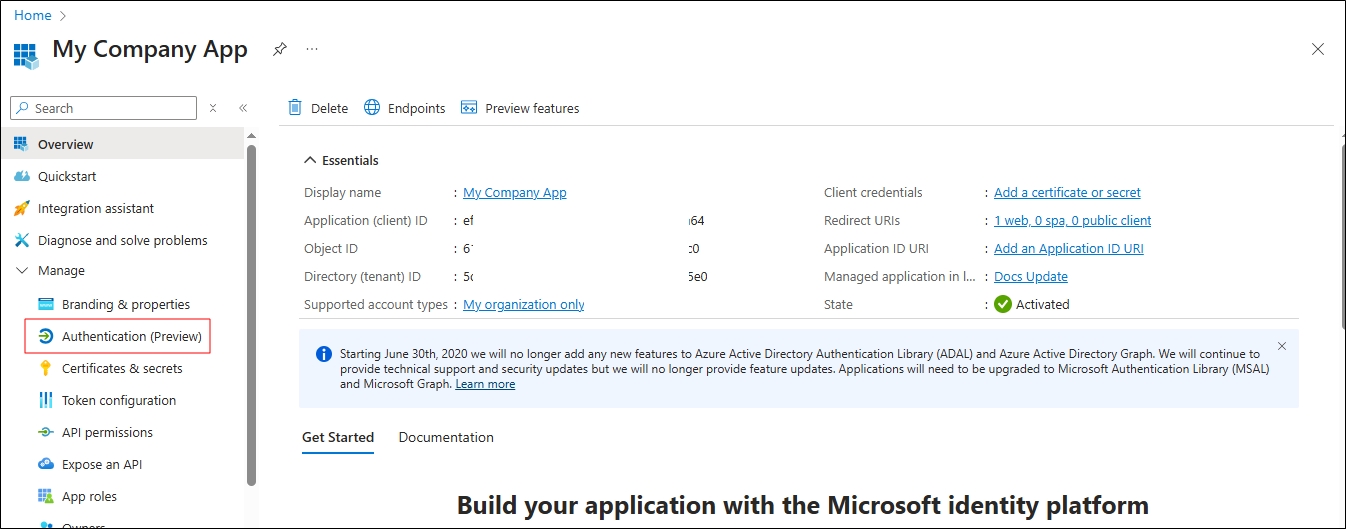
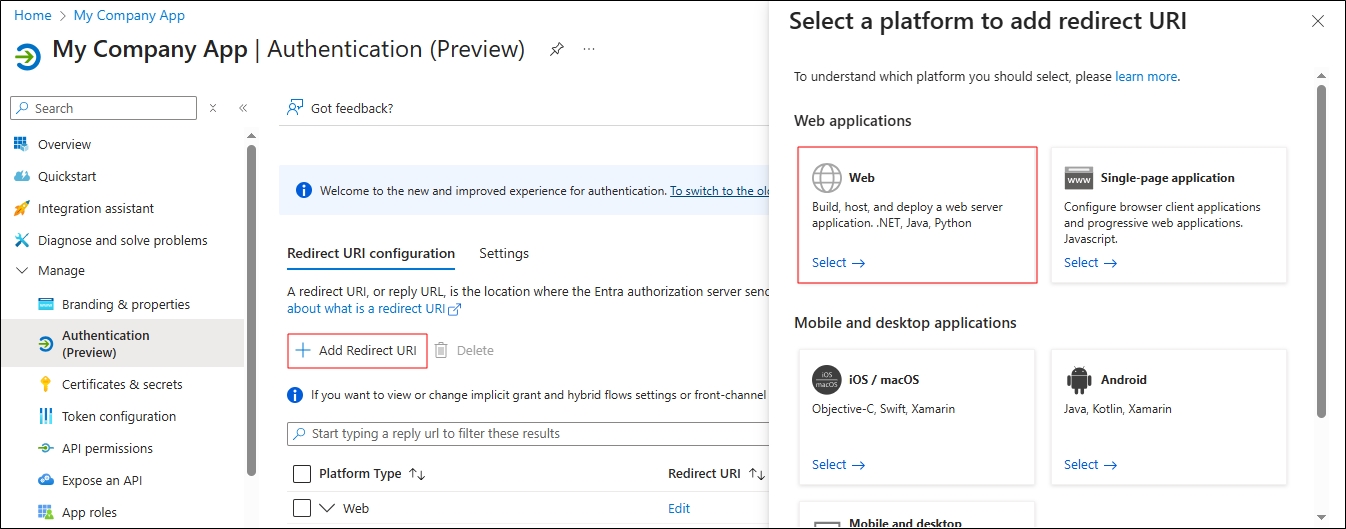
Click Authentication (Preview).
-
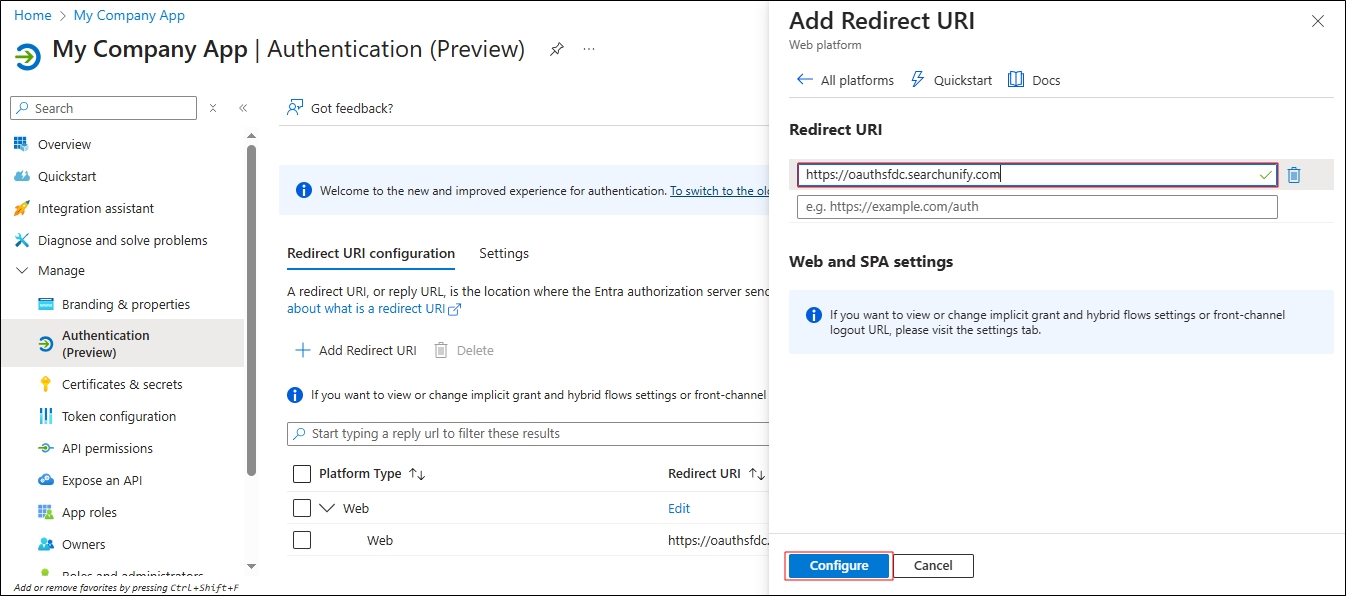
Click Add Redirect URI and select Web.
-
In Redirect URI, add https://oauthsfdc.searchunify.com, and click Configure.
NOTE. You will not be able to add https://oauthsfdc.searchunify.com if it's already a Redirect URI in the select application.
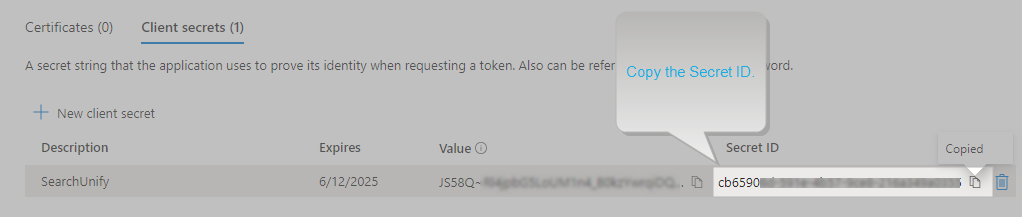
Get the required value (secret ID)
The secret ID needed for authentication is stored in the Value field.
-
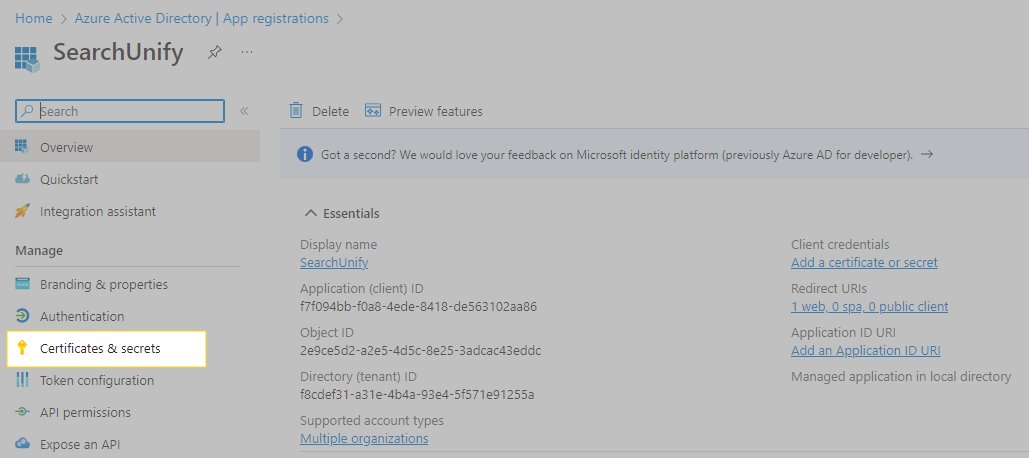
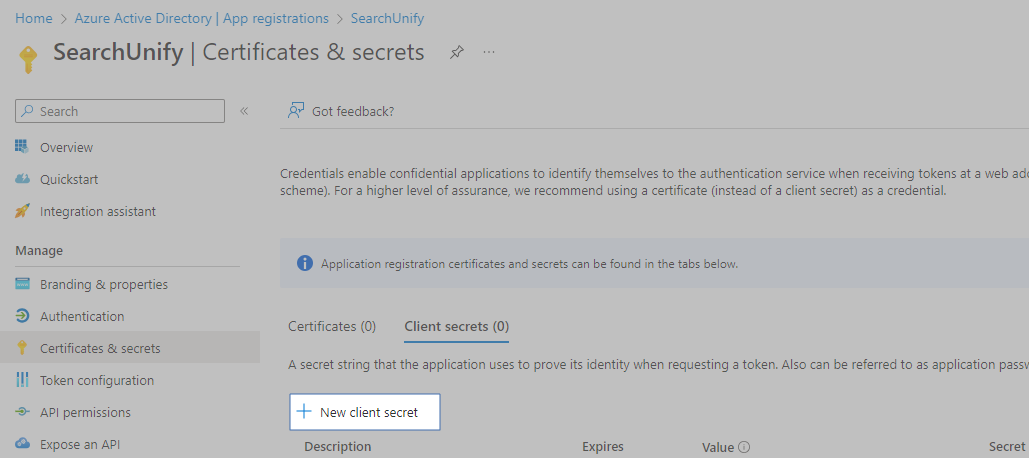
On the application page, click Certificates & secrets.
-
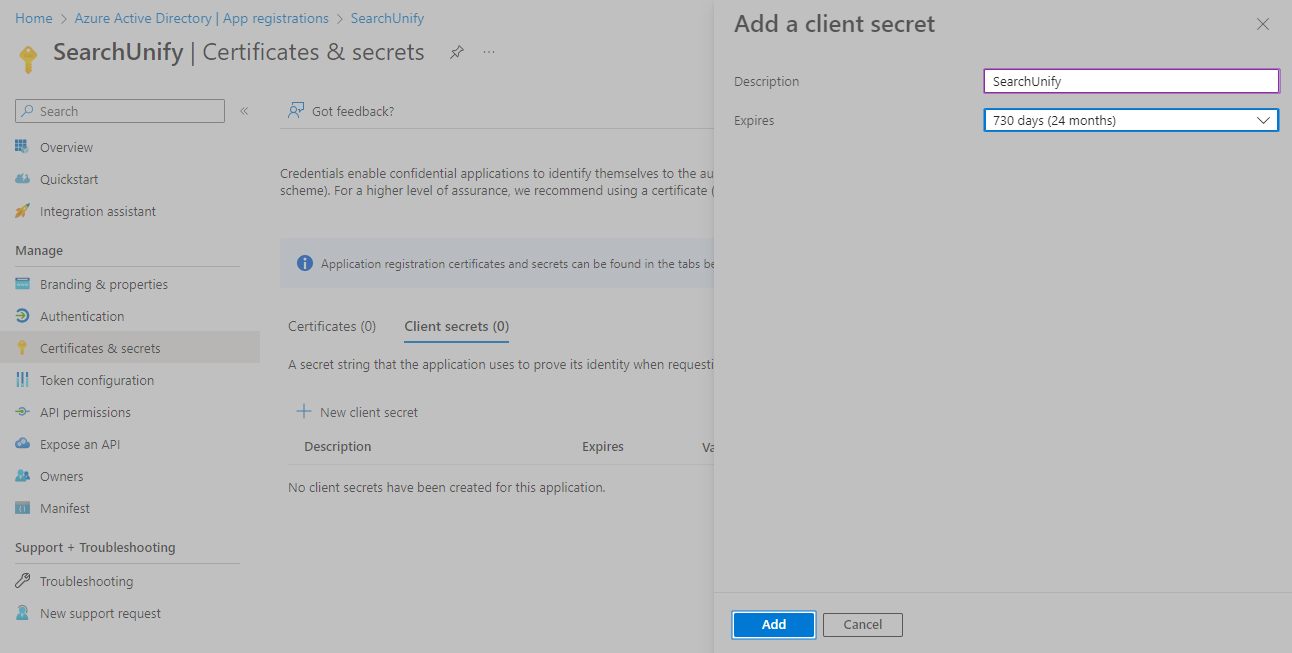
Click New client secret.
-
Enter a short text in Description and set Expires to "24 months (730 days)". Then, click Add.
-
Copy the required Value.
NOTE. This is the first and last time you will see the required value on the app. Please copy it and store it for further use.
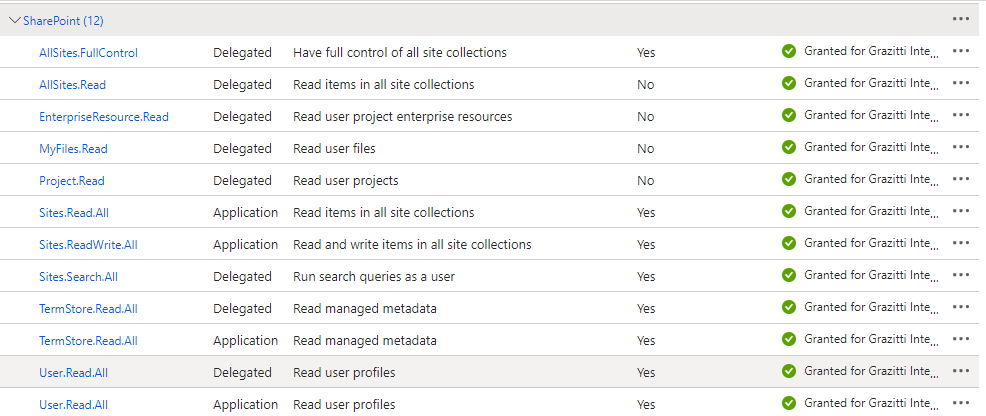
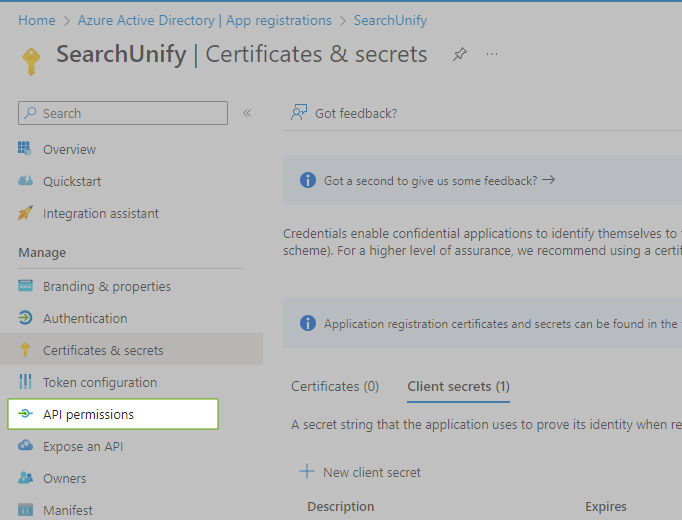
Assign API permissions
-
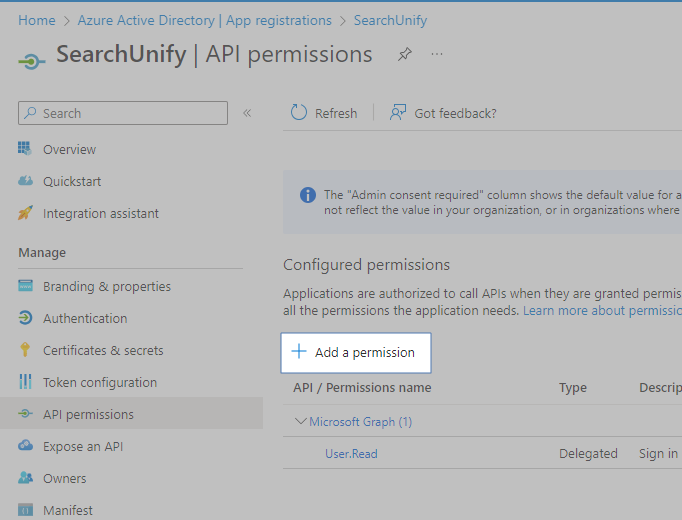
Go to Manage > API permissions.
-
Click Add a permission.
-
Scroll down to find SharePoint. Open it.

-
Select Delegated Permissions.
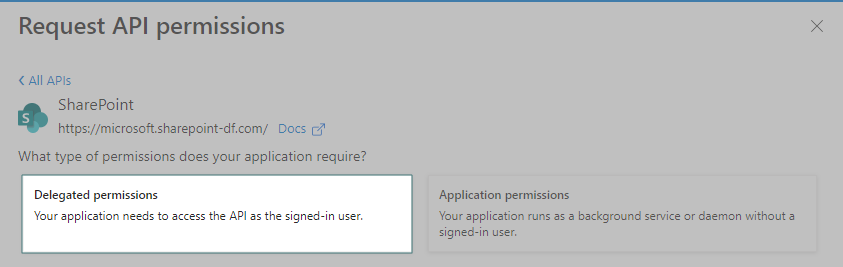
-
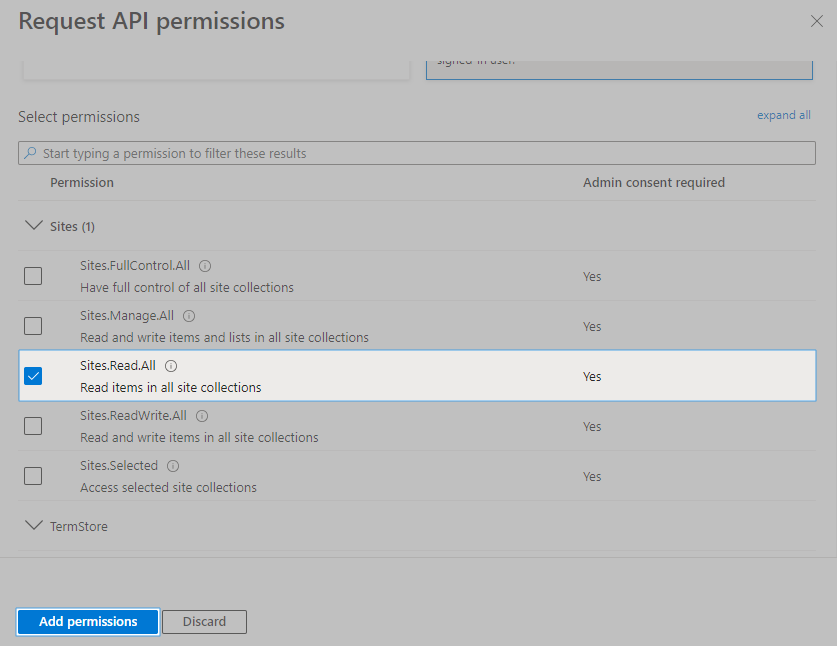
Check AllSites.Read, TeamMember.Read.All, GroupMember.Read.All, Team.ReadBasic.All, and User.Read.All. Then, click Add Permissions.

-
Click Add a permission and scroll down to find SharePoint.
-
Select Applications Permissions.

-
Check Sites.Read.All, TeamMember.Read.All, GroupMember.Read.All, Team.ReadBasic.All, and User.Read.All. Then, click Add Permissions.
-
Click Add a permission again. Open Microsoft Graph
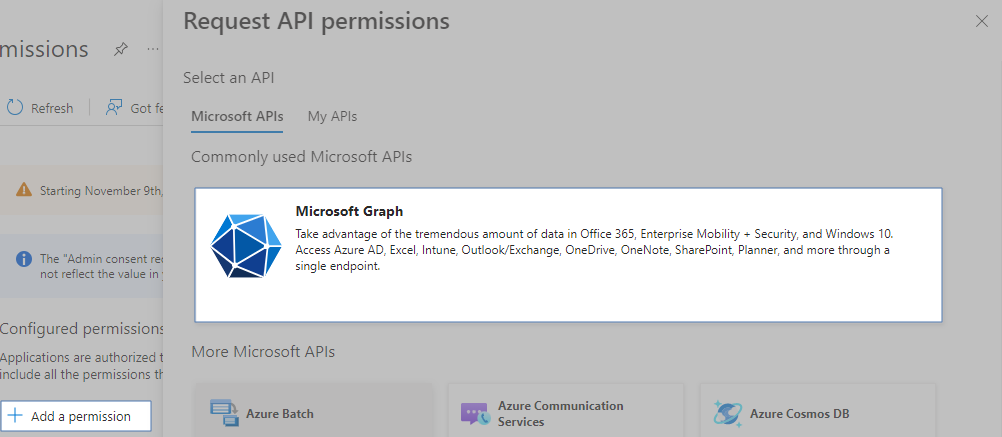 .
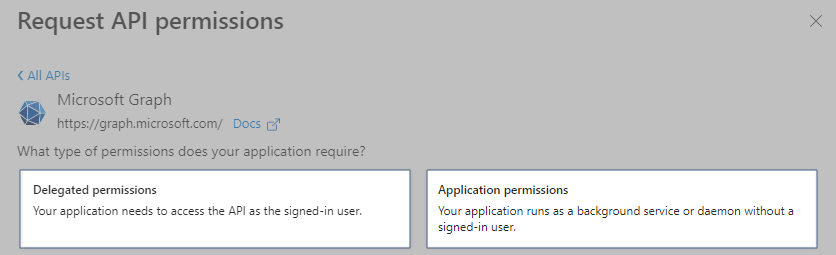
. -
Check Sites.Read.All, TeamMember.Read.All, and User.Read.All first in Delegated permissions and then in Applications permissions.
`
-
Click Grant admin consent to permit both Delegated and Application apps.