

Taxonomy
The Content Annotation feature in Content Sources is used to categorize content sources data into predefined categories using tags. The tagging is automatic, but the work of defining the tags is manual. This article walks you through the process of creating tags. You will learn to configure:
-
Values, which are the tags used for annotating content sources. For example, product names are values.
-
Entities, which are clusters of values. For example, all product names can be clustered into an entity "Products".
See also: Automatic Text Classification with Content Annotation.
Insert Entities and Values in Taxonomy
-
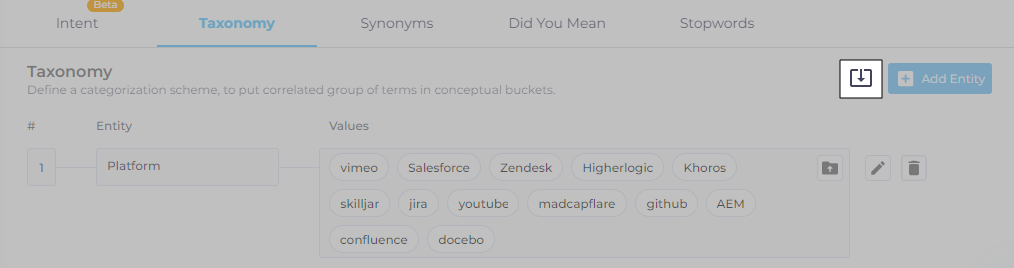
Navigate to NLP Manager and click Taxonomy.
-
Click Add Entity.
-
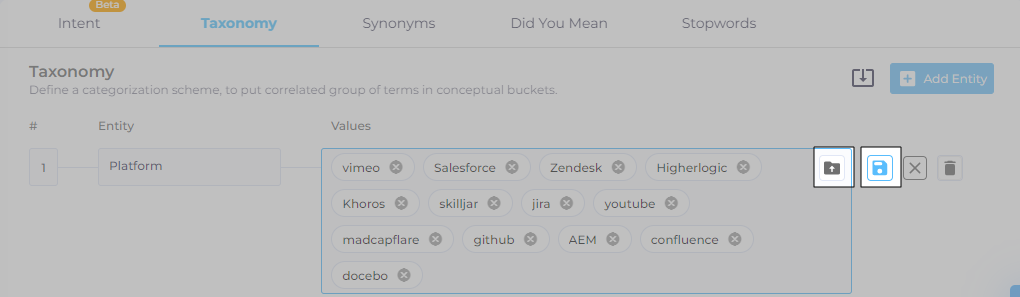
Name an entity in the Entity field and give it values in the Values field. Each value is a tag and each entity is a cluster of values (tags). Each case in your ticketing system is a value and the cluster of chose cases is an entity. In the next image, the platforms supported by SearchUnify are the values and together they form an entity called Products.
-
Once you have inserted the values, click
 to save.
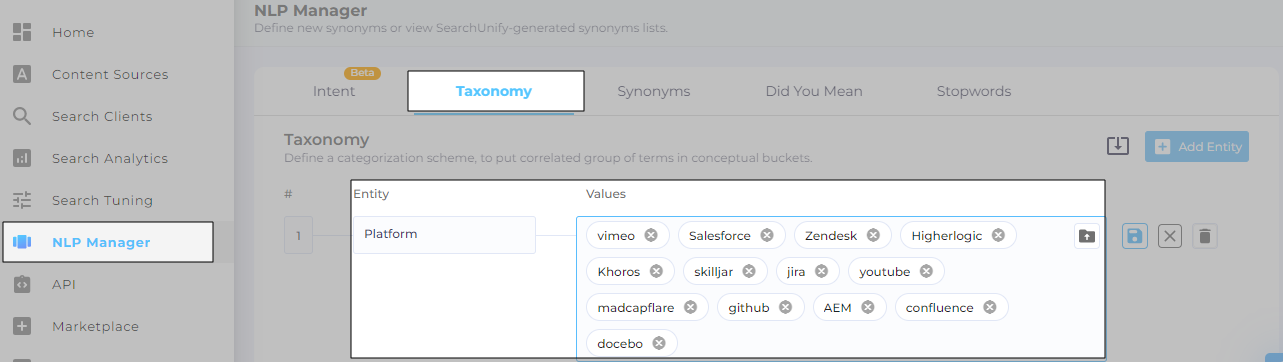
Insert Values in Bulk
The instructions for inserting entities and values from Add Entity work well if you have to add few items, each with a handful of values. For those wanting a more thorough annotation scheme, Taxonomy provides bulk entity upload.
-
Prepare a file with values. Each line in has only one value. Download a sample file by clicking
 .
.
-
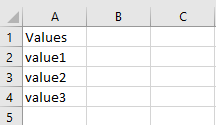
Here's what a sample file looks like.
-
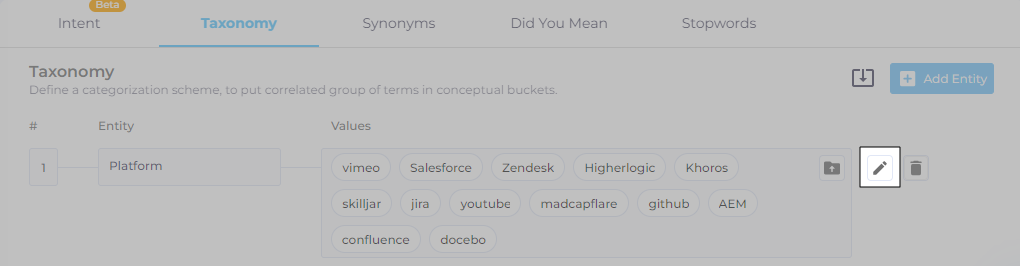
Click edit on an entity.
-
Upload your file using
 . Then click
  .
.
Edit and Delete Entities
Entities can be edited and deleted when new data pours in and the old data gets stale.
-
To change entity name or add or delete values from an entity, click
 make the changes, and click
  to save your settings.
 -
To stop editing midway, click
 .
.
Click ![]() to remove an entity.
to remove an entity.