

View Salesforce Community Customer Journeys
Adding a Customer Journey component on the case details page provides agents with a holistic view of the journey undertaken by a user before creating a case. The component tracks user journeys through Salesforce Community and SUVA and shows them on the case details page.
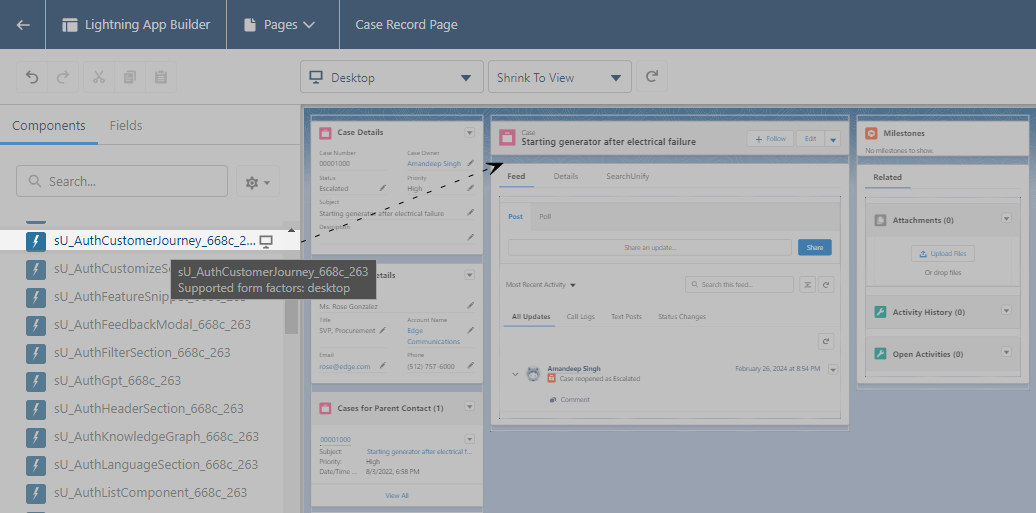
To insert the Customer Journey component on the case details page, use the sU_AuthCustomerJourney_ABCD component, where ABCD is the first four letters of your Search Client UID.
When a Profile has edit-access to the Case Object, all the Assigned Users in the Profile can view customer journeys. This article explains how to give edit-access to the Case Object to a Profile. Then the article explains how to insert the sU_AuthCustomerJourney_ABCD component on the case details page.
NOTE.
The customer journey will only show on the case details page if a case is created via case form where SearchUnify is installed.
Give a Profile Edit-Access to Case Object
- Go to Profiles from the Quick Find Box and open a profile.
- Scroll down to find Field-Level Security and View the Case field.
- Click Edit.
- Give SearchUnify Session ID edit access to profile that covers support reps and Save your settings.
Now the profile's assigned users can view case journeys.
Insert Customer Journey Component
-
Open a case page and click
 > Edit Page.
 -
From the Components > Custom section, drag sU_AuthCustomerJourney_ABCD and drop it on the page where you want to view the customer journey details. At last, click Save.