Install a Search Client in Microsoft Dynamics
Find information faster on Microsoft Dynamics with SearchUnify. This article walks you through the process of installing a SearchUnify search client in Microsoft Dynamics.
PREREQUISITES
Download the search client.
Install a Search Client in Dynamics
-
Log into Microsoft Dynamics and open Advanced Settings.
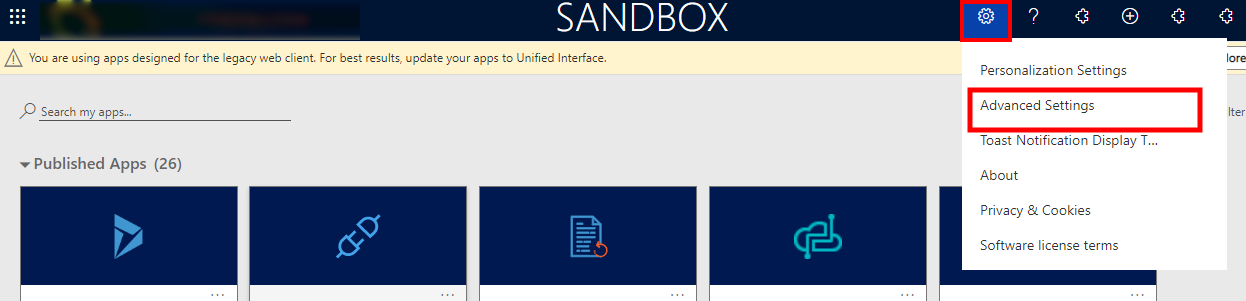
-
Open Customizations.
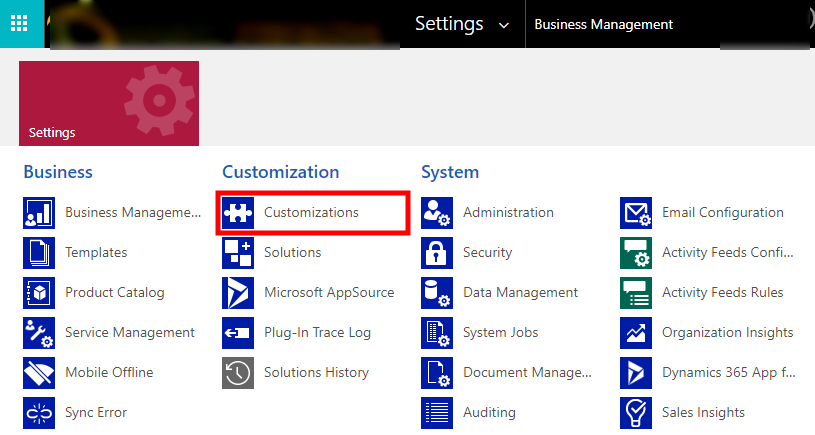
-
Go to Solutions.
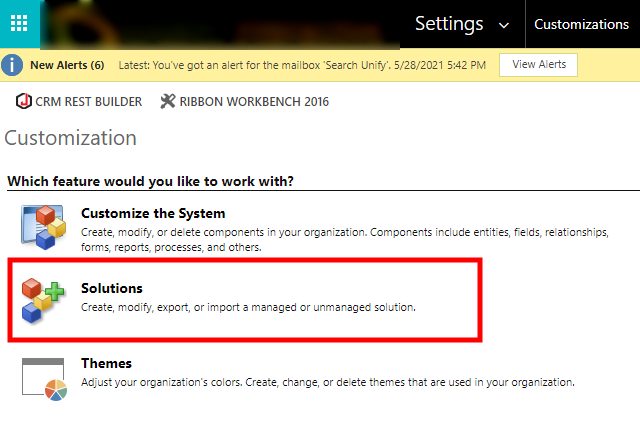
-
Using Import, upload the downloaded Microsoft Dynamics search client. It should be a zip file.

-
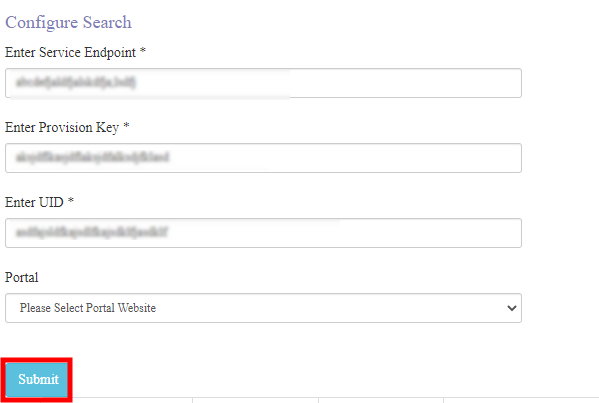
Once the upload is complete, you will find a configuration screen. Enter the details and click Submit.
-
Enter Service Endpoint. The web address of your SearchUnify instance.
-
Enter Provision Key. A secret key linked to your SearchUnify instance. Contact a CSM to obtain it.
-
Enter UID. The search client ID of the uploaded search client. It can be found in readme.
-
Portal. The place where search client is going to be installed.
-
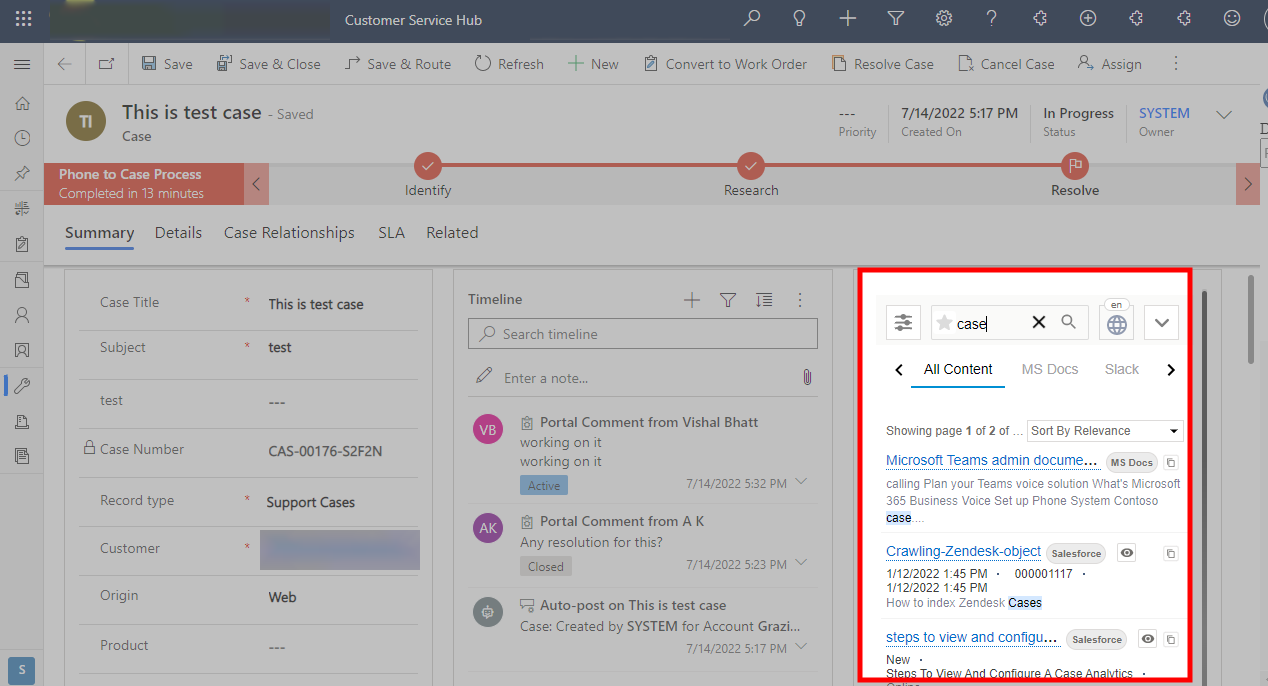
The search client has been installed. To use it, from Apps go to the portal where the search client has been installed.
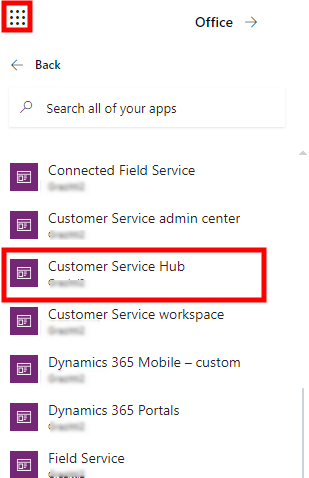
Open a case page. The search client is in the right panel.