

Install a Search Client in NICE CXone
A search client on a NICE CXone (formerly MindTouch) instance is installed in three steps. Create a NICE CXone search client, create a custom template page, and go to the page where the search client is going to be installed to insert the link to the custom template page into DekiScript.
Create a NICE CXone Search Client
-
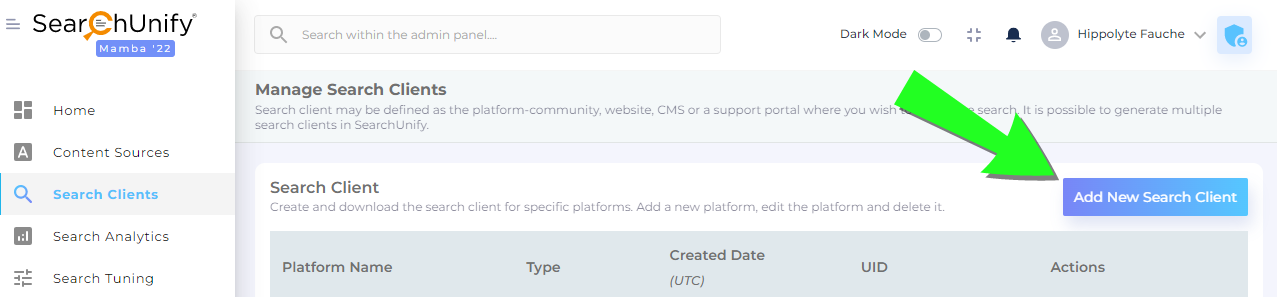
Go to Search Clients and click Add New Search Client.
-
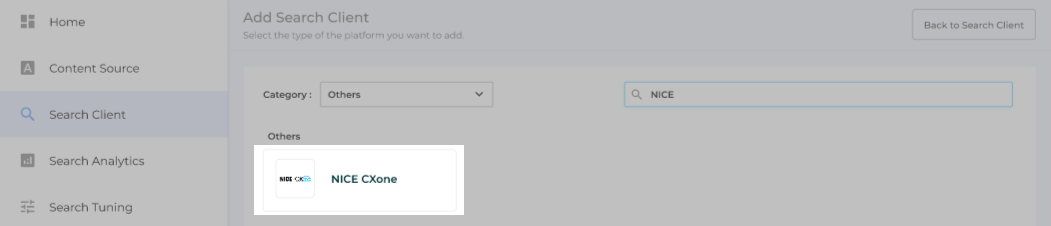
Look up NICE CXone and open it for configuration.
-
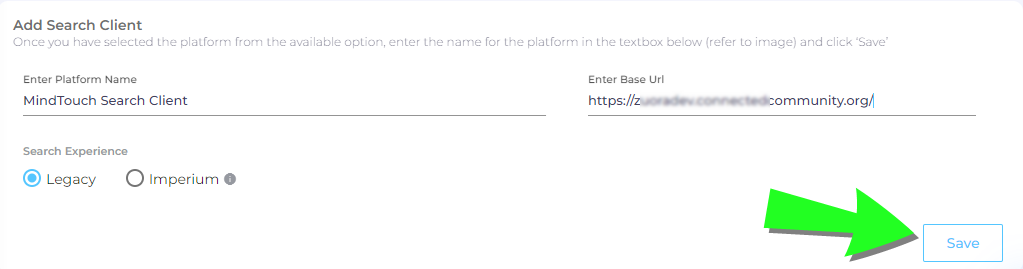
In Enter Platform Name, give your search client a Label.
-
In Enter Base URL, enter the web address of your NICE CXone instance.
-
Select either Legacy or Imperium. The latter is faster, but only the former has support for virtual agents. After making the selection, click Save.
-
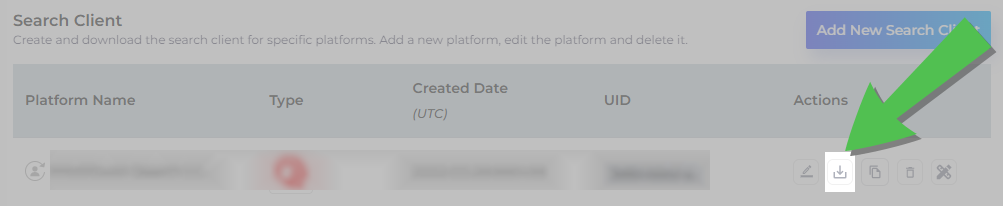
Clicking Save returns you to the Search Clients screen where you can download the search client.


Create a Custom Template Page in NICE CXone
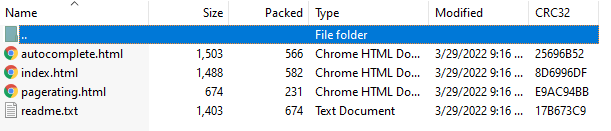
Extract index.html from the downloaded search client. The script is inserted into the custom template page.
-
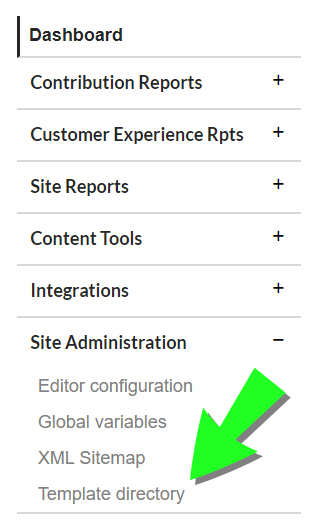
Log into your NICE CXone community as an admin. Find Site Tools and click Dashboard.
-
Open Template directory from Site Administration.
-
Click New in Templates.
-
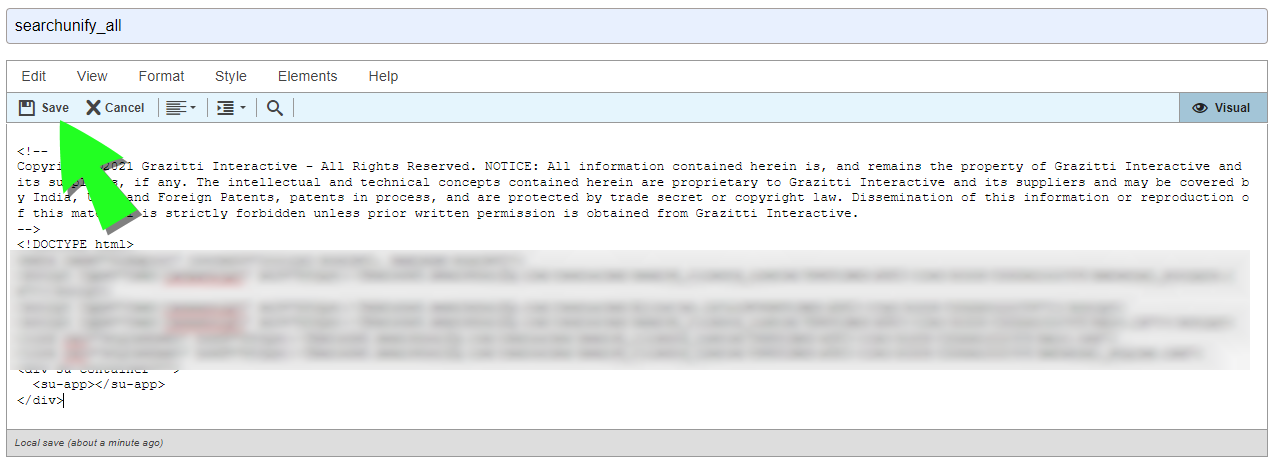
Give the page a name (searchunify_all) and switch to HTML mode.
-
Copy the code from index.html, paste it into the editor, and click Save.


Activate Search on a Page in NICE CXone
-
Go to the page where the search will be installed and click New.
-
Expand DekiScript.
-
Insert the following code snippet into DekiScript.
Copytemplate('MindTouch/Controls/PageOverview');
template('Template:Custom/searchunify_all',{
placeholder: 'Search our Knowledge Base',
page: 'searchunify_all'
}); -
Click Save to view search on the Home page of your NICE CXone community.

