

An Overview of the Search Client Editor
Search Client Editor is an interface editor that is useful for developers to create and customize the user interface (UI) of SearchUnify’s frontend components for the search page. Admins can use this tool to modify virtually every aspect of the Search Client, including the search box, page rating widget, scroll behavior, bookmarks, and more.
Search Client Editor is available for all search client platforms, including Salesforce, Web App, Higher Logic Vanilla, Khoros, and others. It provides admins with the flexibility to enhance the user experience according to their preferences.
Prerequisites
-
Familiarity with HTML, CSS, and JSX.
How to launch the Search Client Editor
To launch the Search Client Editor, go to Search Clients and click Customize search client to launch the editor window.

Fig: A video representation of how to open Search Client Editor
The Search Client Editor looks the same for all Search Client platforms; the exception being Salesforce search clients.
Key features of the Search Client Editor, include:
-
A tree view to help navigate through files and folders.
-
The ability to create new folders or files.
-
Admins can compare files (diff) against the currently deployed release.
-
The option to re-upload or force-upload all Search Client files to S3.
-
The ability for admins to pull new files or folders from the standard search client (from the currently deployed release).
Search Client Editor for the Salesforce Search Clients (Salesforce Console and Salesforce-Powered Community)

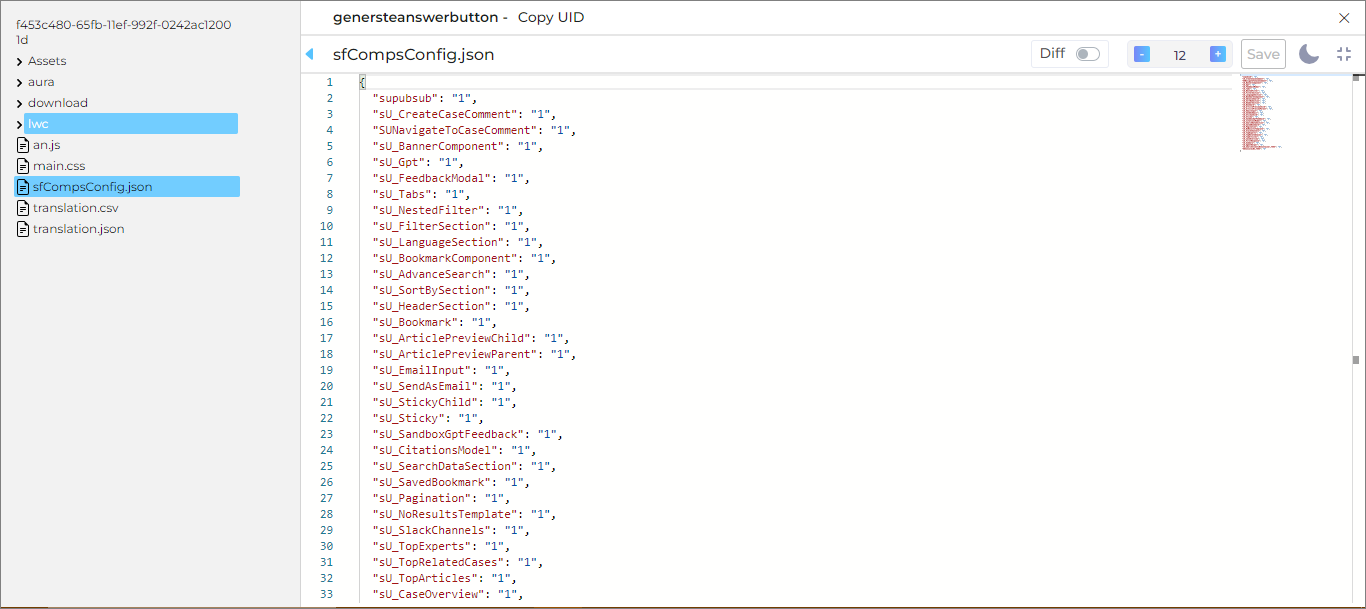
Fig: A snapshot of the Search Client Editor for Salesforce Search Clients.
Create New Files and Folders
You can also create a new folder and file by right clicking in the files menu. The file would contain the code of the component that you want to add.
Note: The name for creating a file should be in this format: [Name].[Extension]. For example Test.jsx.

Overview of the Search Client Editor in Salesforce Search Clients (Editing a File)
Points to remember before making any change in any file in the Search Client Editor
Support for Aura Components has been depreciated. So, you can only create folders and files in the LWC folder.
You can save your .svg assets in the Assets folder.
To start, select a component file for customization. You can create new LWC components or edit the existing ones. You can ignore the files of the Aura components.
Fig: A video representation of how to open a file for editing in Search Client Editor for Salesforce Search Clients.
Now, when you have opened the file that you want to customize, modify the script to change the search interface.
The elements that you can utilize based on your requirements:
-
Hide the navigation menu bar. A user can hide the side navigation bar to see the code view on the full screen.
-
Zoom In/Out. You can zoom in or out the code file per your convenience.
-
Night Mode. You can switch between the Night and Day modes of the code screen per your convenience.
-
Full Screen Mode. It enables you to see the Search Client Editor in full screen mode.
Important features that help admins in the Search Client Editor are:
-
Diff Editor
-
Toggling it on splits the view in two windows; 1) Custom UID File and 2) Standard Codebase File.
-
Custom UID File shows the markup with customized code while Standard Codebase File shows the code of the standard product release. This way, admins can identify the customized markup. Also, the files highlighted in orange color indicates that those files are different from the standard codebase. You can review these files as well.
For illustration, the following video shows how the difference is shown in the editor.
-
Save
-
When you have done the customizations to the code file, you just have to press Save. This automatically pushes the updated file to S3 and Docker.
After saving the changes in the file, you just have to re-process the SearchUnify package in your Salesforce instance for the changes to reflect in your search component in Salesforce.
-
Docker vs S3 Bucket
-
When a Search Client is created, the code of the search client is stored locally on the Docker container.
While S3 bucket is used to fast-serve the Search Client, if a user is accessing the search client from California, the search client will be served to the user from the California bucket so that the speed of the search client is changed accordingly. Different S3 buckets have different CDN links that work based on the nearest server for a better experience.
There is a file named sfCompsConfig.json file in the Search Client Editor. It shows all the components included in the SearchUnify package. You can mark the value as ‘1’ for the components that you want to process, else you can give the components value ‘0’.

Search Client Editor for React-based Search Clients

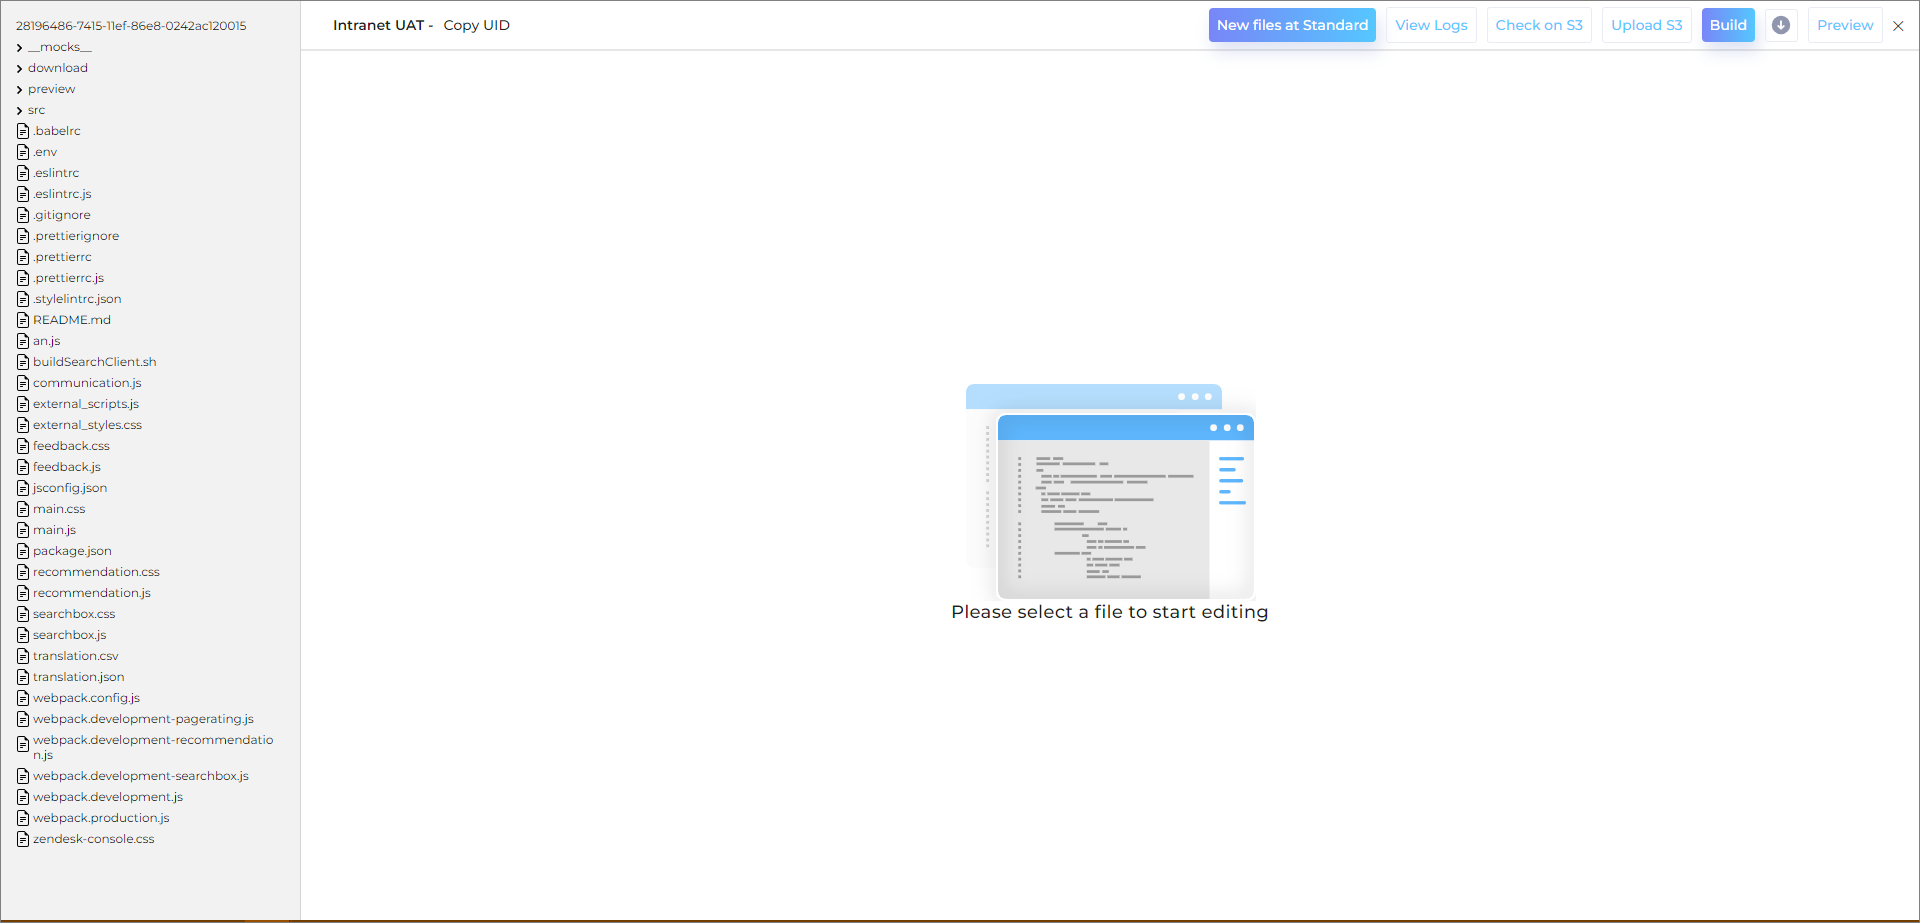
Fig: A snapshot showing the Search Client Editor for React-based Search Clients.
Create New Files and Folders
You can also create a new folder and file by right clicking in the files menu. The file would contain the code of the component that you want to add.
Note: The name for creating a file should be in this format: [Name].[Extension]. For example Test.jsx.
Explore the Search Client Editor in Salesforce Search Clients (Editing a File)
Points to Remember before Making any Change in any File in the Search Client Editor:
While you can view every file and folder related to your search client here, there are some files that are best left unchanged. Specifically, certain build files such as Main.js, App.js, Feedback.js, recommendations.js, and searchbox.js are generated at runtime. Therefore, it is recommended not to modify any files outside of the Src repository.
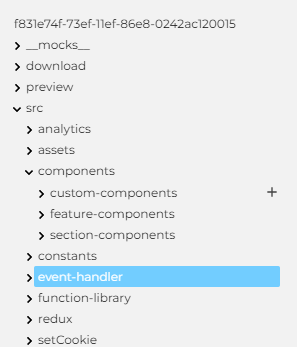
All the component files relevant to your search client are located in the Src > Components folder.
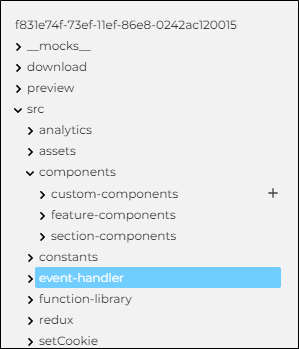
This folder contains three subfolders:
-
Custom-components: Lists the custom components currently in your search client. If no folders exist, you can create new custom .jsx components for your search page. We, however, discourage using this for new components as you can directly edit all the files related to the search client.
-
Feature-components: Includes all feature component files such as advanced-search, bookmarks, citations-portal, and did-you-mean.
-
Section-components: Contains all the files for the sections visible on the search page, including content-tile, list-view, grid-view, meta-data, etc.
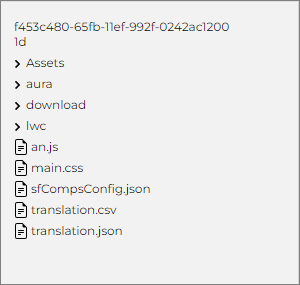
For Salesforce search clients, the required components are located in the respective folders, Aura and LWC.

Note: The naming convention is designed to make it easier for SearchUnify admins to identify the purpose of each component.
Explore the Search Client Editor in React-based Search Clients (Editing a File)
Features that are common in the Salesforce-based and React-based search clients, including Hide. Zoom In/Zoom Out, Diff Editor, Save, Night Mode, and Fullscreen. All these features have been explained in the previous sections.
There are several additional features in the React-based Search Client Editor that you can utilize based on your requirements. Let’s walk you through the use of these features:
-
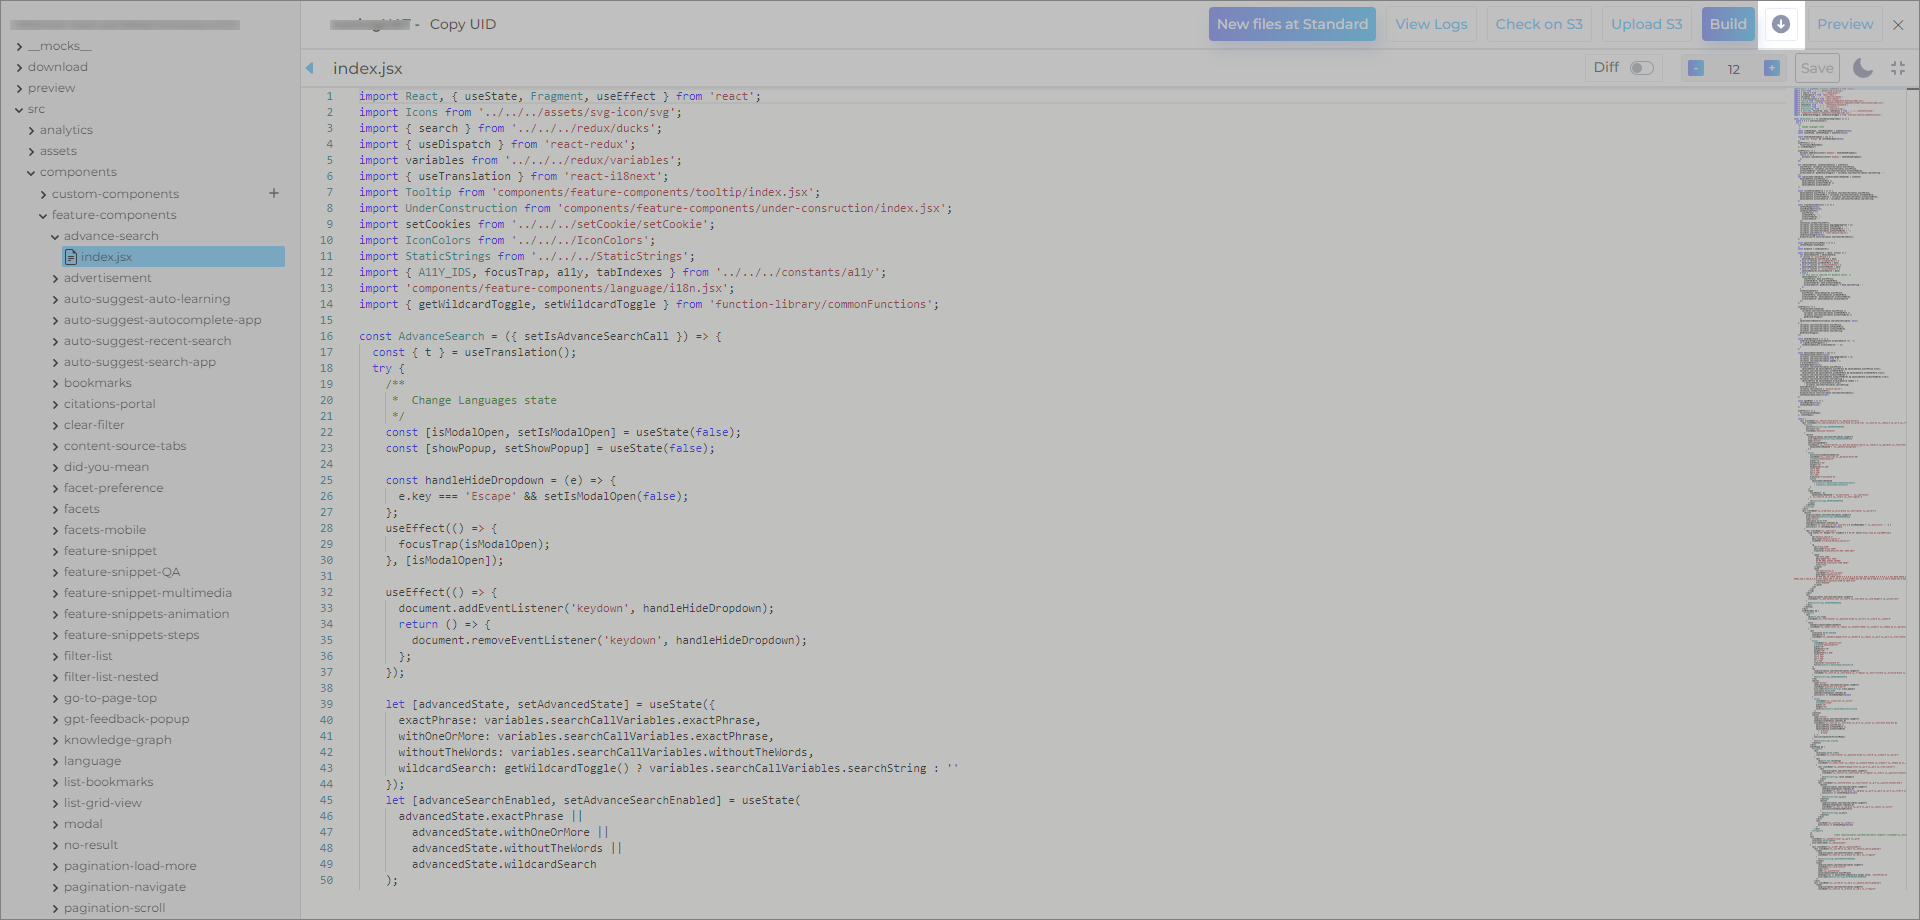
Download
If you prefer another editor, you can download the search client code file using the Download button and import the code file into the editor of your choice.
Fig: A snapshot highlighting the Download button in React-based Search Client Editor
-
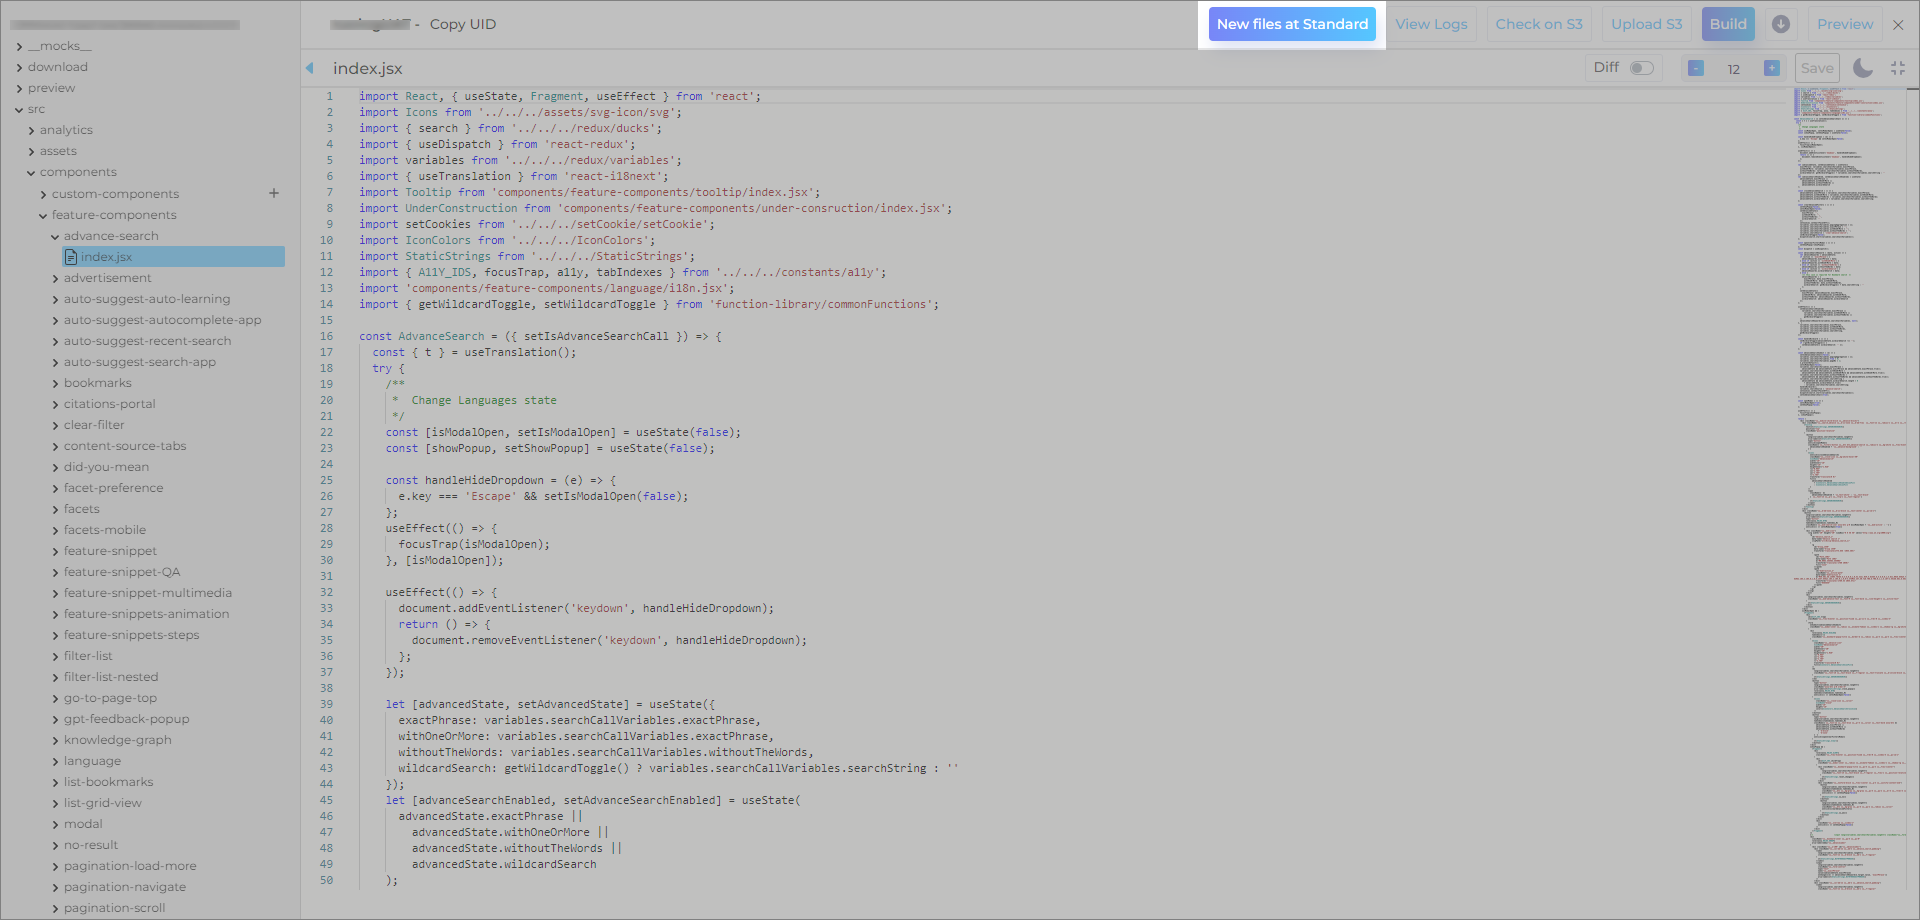
New Files at Standard
There may be cases where a fix for an issue has been applied to the standard code base, or a new feature has been added to the release your SearchUnify instance is using, but your search client was created prior to those updates being implemented in the standard code base.
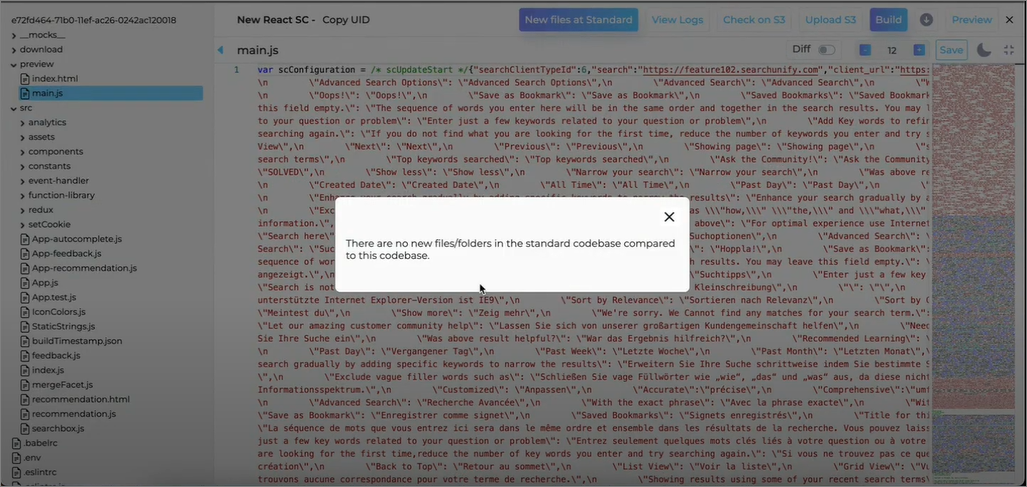
Fig: A snapshot highlighting the New Files at Standard button in React-based Search Client Editor.
You can use New Files at Standard to check your Custom UID File against the Standard Code and use the new files that have been added later into the standard code.
You can then merge the new files to the Custom UID File.
Difference between Diff Editor and New Files at Standard
Diff Editor New Files at Standard Diff Editor only works to identify the common files between the custom file and the standard code file. New Files are Standard works to identify the new files in the standard code and allows you to add the new files to the custom UID file. -
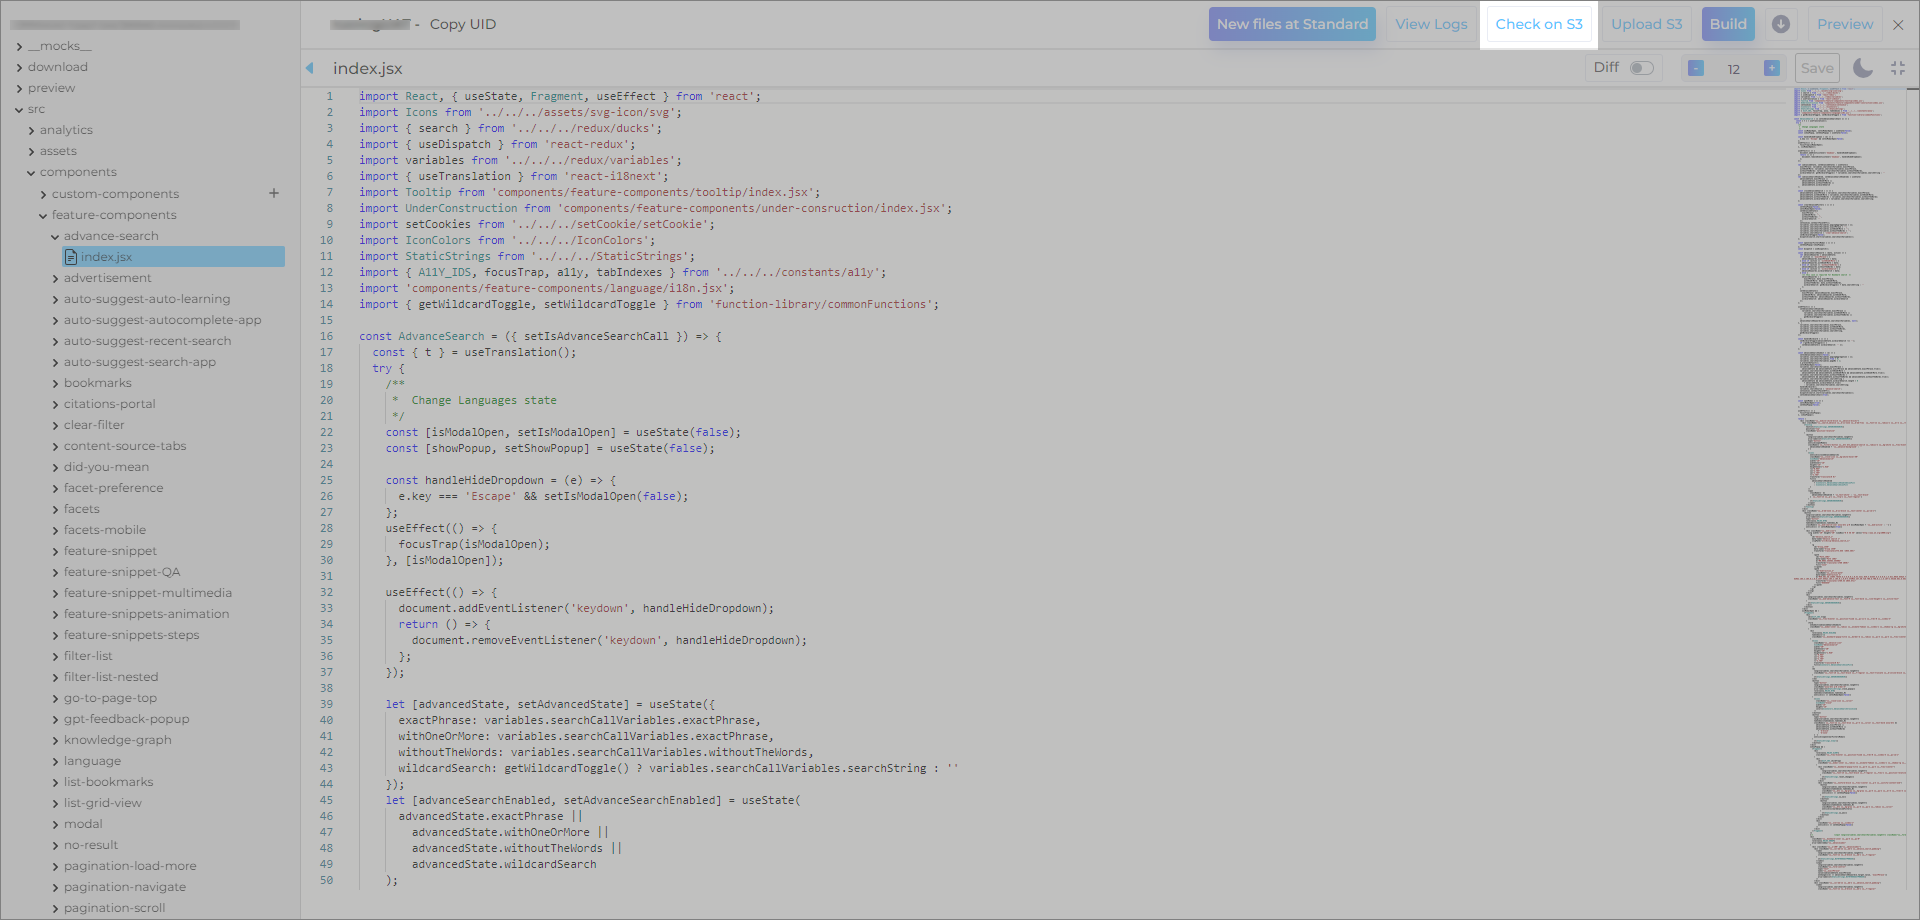
Check on S3
Rarely, there could be instances where your build files (main.js, feedback.css, main.css, etc.) on S3 could be inconsistent or not updated compared to the Docker files. This could happen if S3 bucket was down during the build. This could cause mismatch in the expected behavior of the search client in real time.
Fig: A snapshot highlighting the Check on S3 button in React-based Search Client Editor.
Check on S3 compares the S3 build files against the Docker files based on the timestamp of the build. If the main files are shown in green, that means the files are in sync. However, if the build files are shown in red, that would mean the files are not in sync.
-
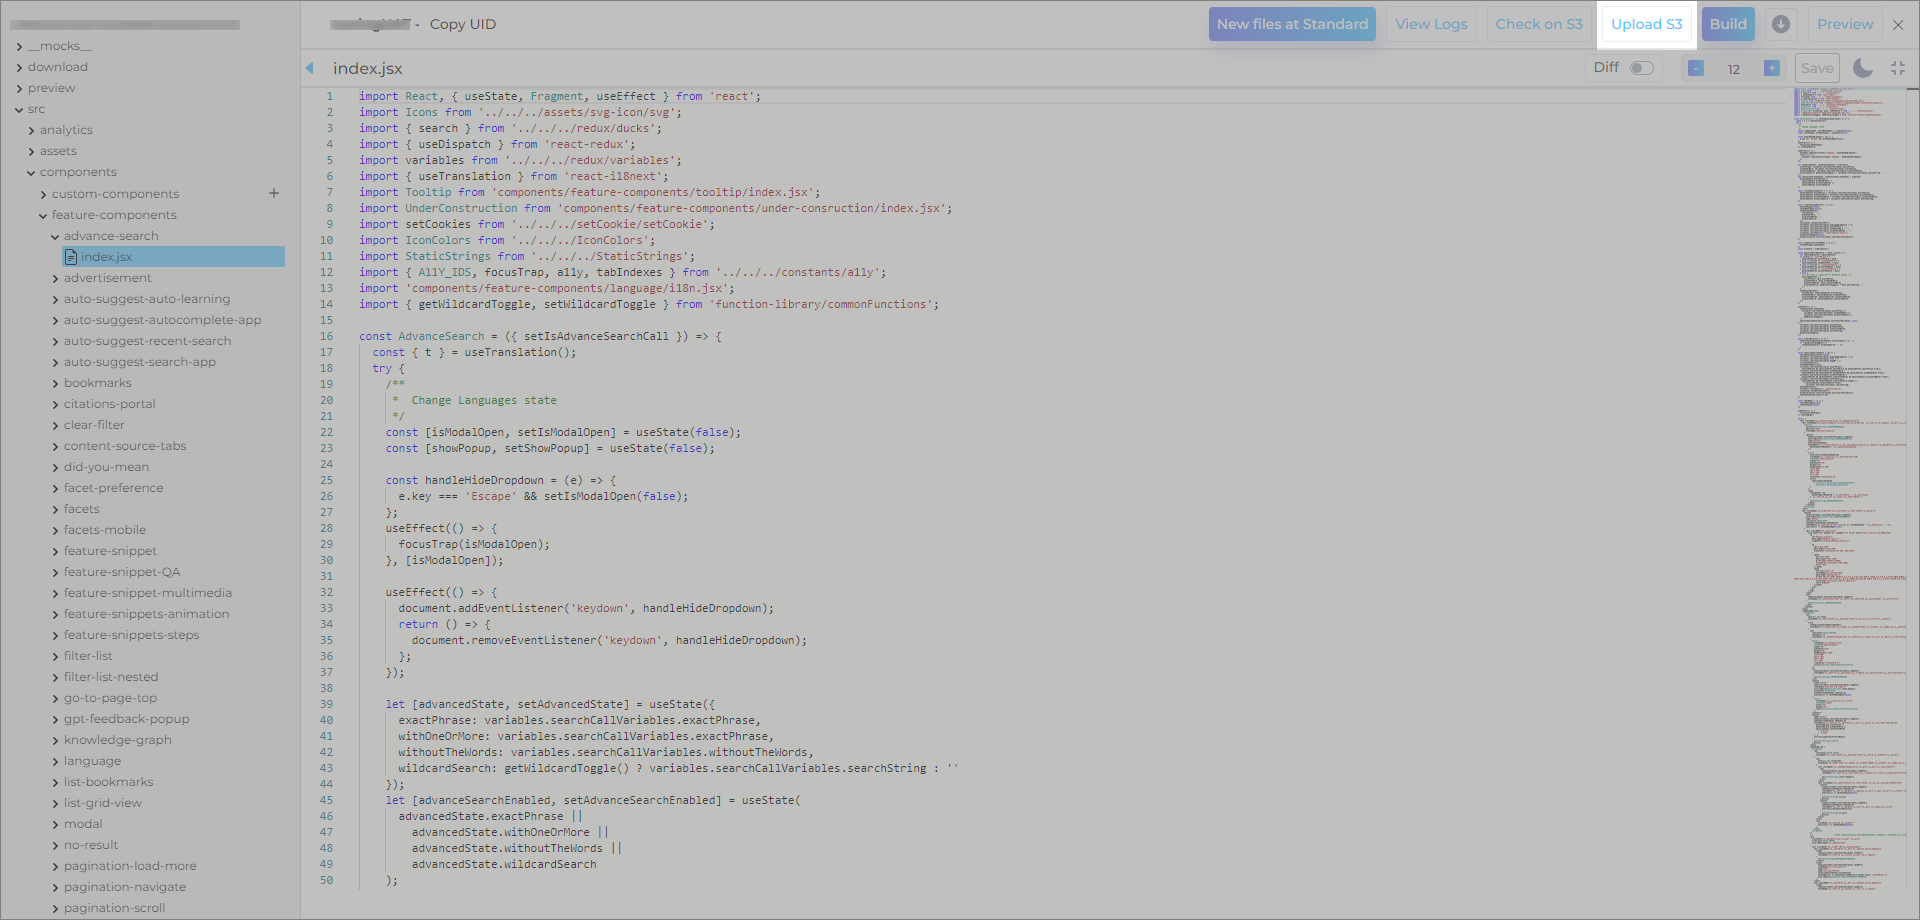
Upload S3
If you come across an instance where your S3 build files are inconsistent with the S3 files, use Upload S3 to update the files on S3 bucket.
Fig: A snapshot highlighting the Upload S3 button in React-based Search Client Editor.
-
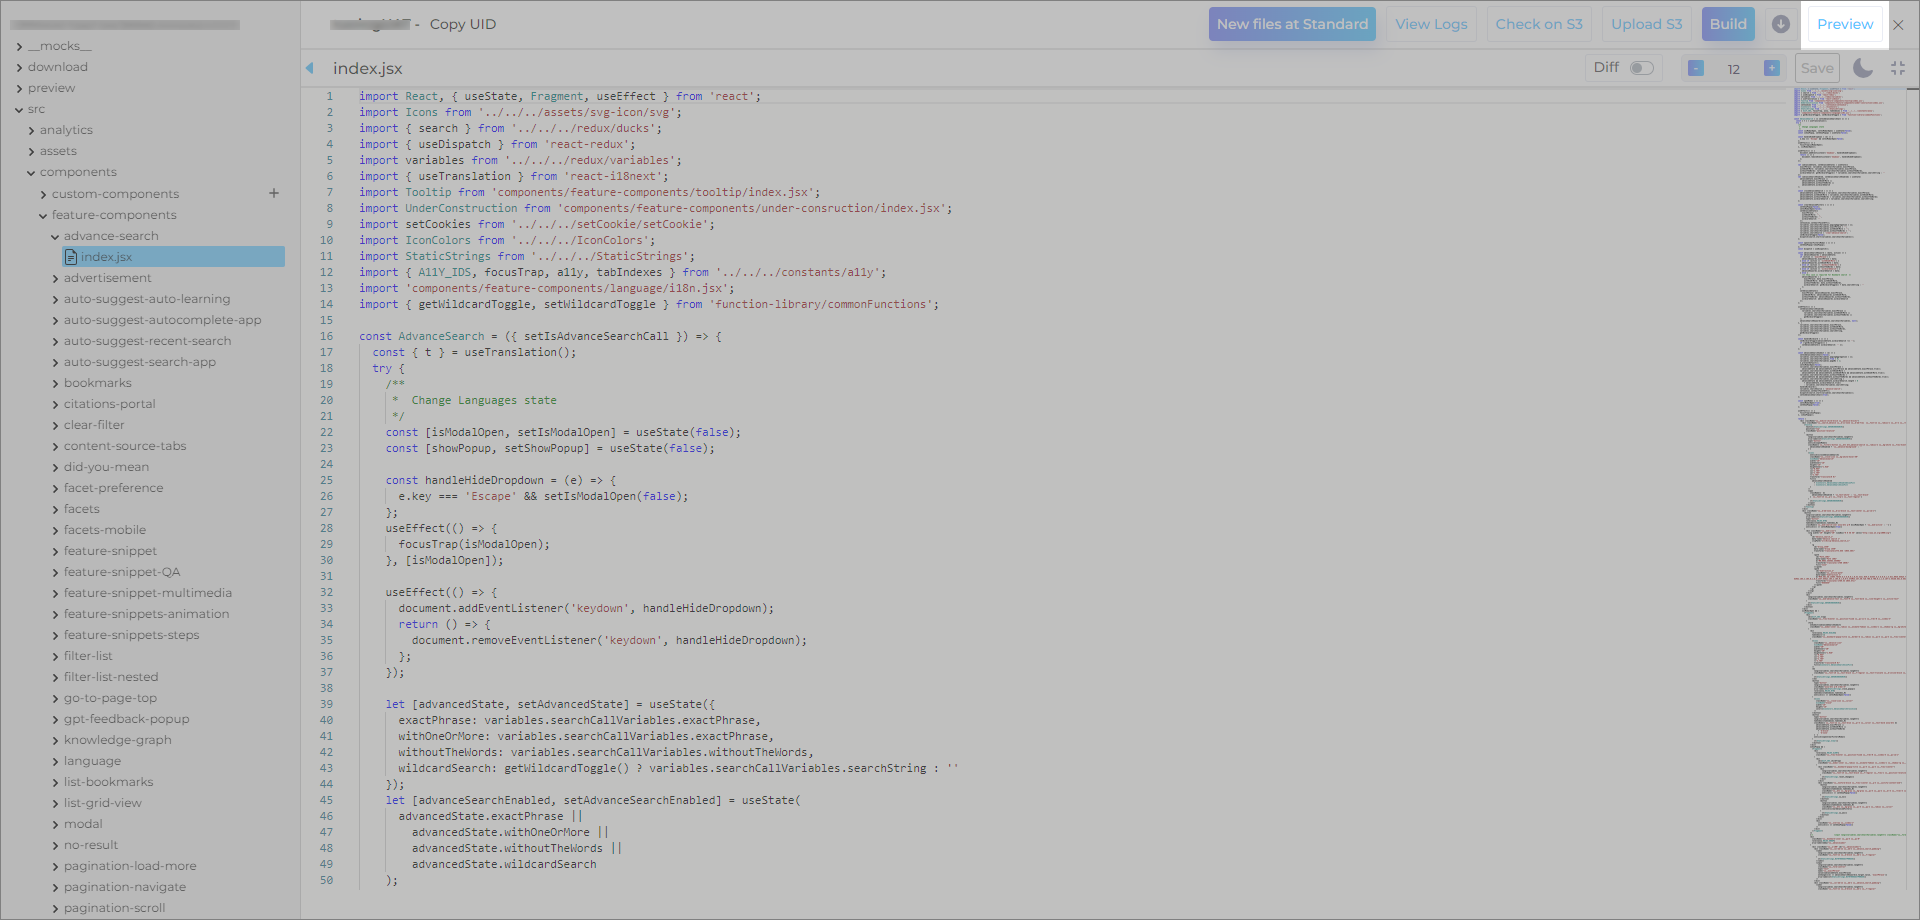
Preview
Before you push the changes on the search client, you can use Preview to see the changes reflecting on your search client. If the preview reflects the changes you have done, go ahead with pushing the changes to the search client.
Fig: A snapshot highlighting the Preview button in React-based Search Client Editor.
-
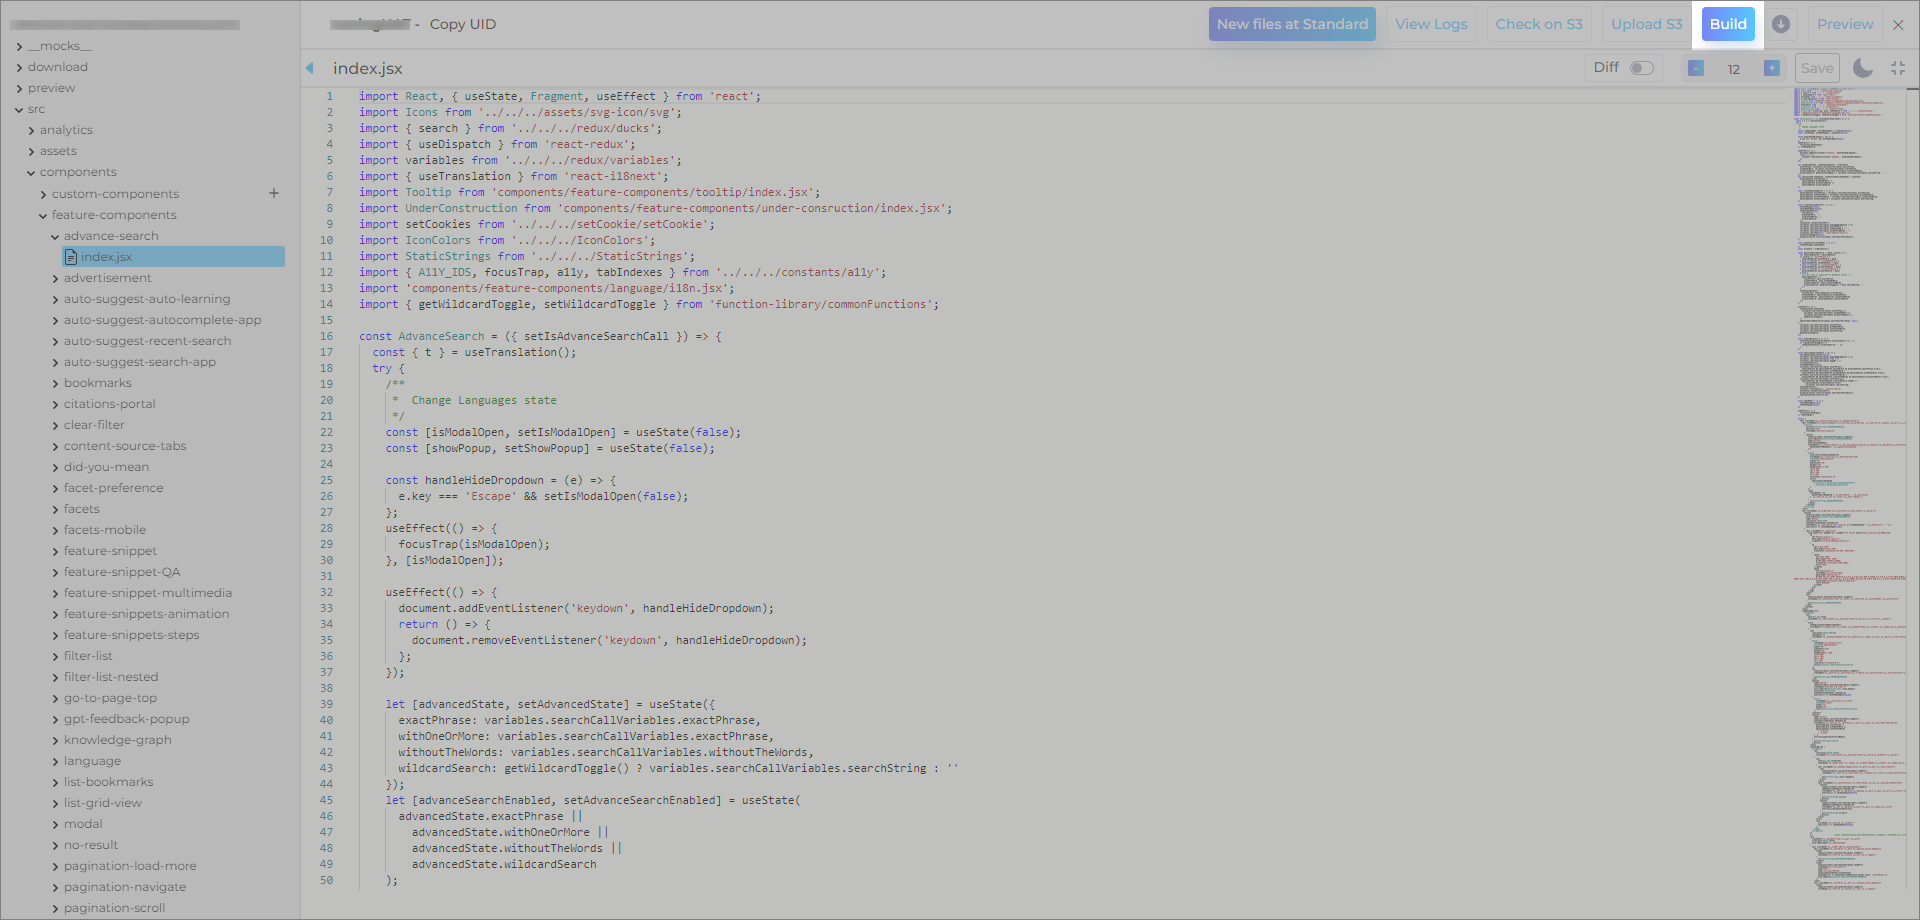
Build
Lastly, when you have done the required customizations to the component files, use Build to to push the changes on the search client.
Note: You do not need to build if you have only made the changes only to the style.css file. Only Save should suffice.
Fig: A snapshot highlighting the Download button in React-based Search Client Editor.
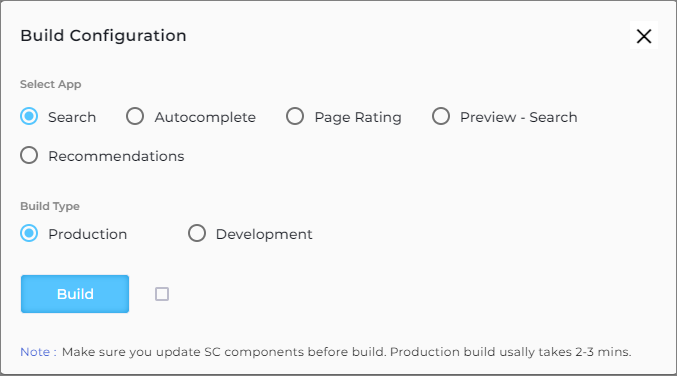
When you press Build, you see the options to confirm which service you want to build.
Fig. A snapshot of Build Configuration.
Refer to the following mapping as to what option to select to build a file.
-
Search -> main.js
Search app is the overall search behavior and interface in the search client search page.
-
Autocomplete -> searchbox.js
Autocomplete refers to the app that shows the search suggestions based on the user input.
-
Page Rating -> feedback.js
Page rating app can be used to add to the articles page to garner user feedback on the article usefulness.
-
Recommendations -> recommendation.js
Recommendations app shows the list of similar content pieces related to the user query.
Selecting Production or Development will result in building the respective instance.
You can verify the timestamp for each build on the main files using the buildTimestanmp.json file.
-
-
View Logs
View logs helps you see the logs of the build that was last done on the search client.
Fig: A snapshot highlighting the View Logs button in React-based Search Client Editor.
-
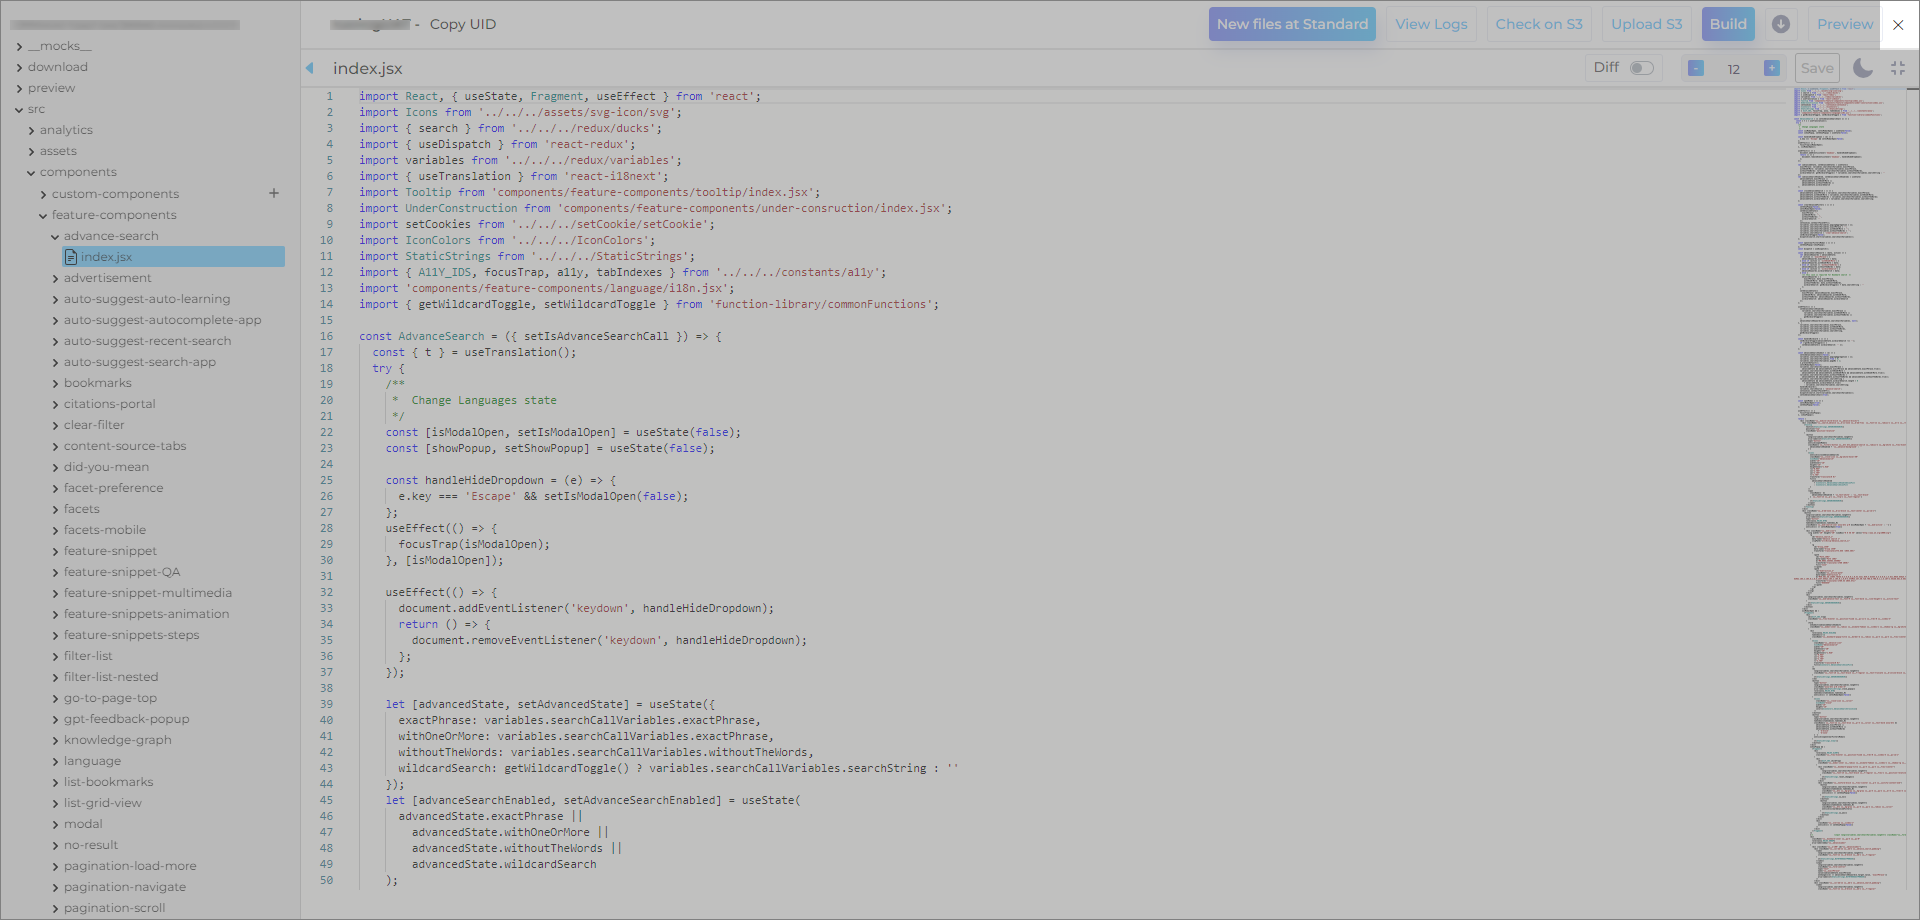
Exit Editor
Click Exit Editor to close the editor window.
Fig: A snapshot highlighting the Exit button in React-based Search Client Editor.


