Install a Search Client in Slack
This feature is not available in the SearchUnify Cloud Edition.
Find more than just files, channels, and messages on Slack. A new search bot for Slack allows you to search your content sources, including Salesforce, Lithium, and Zendesk, across all the channels of a workspace.
NOTE.
Please talk to SearchUnify if you need a search bot in multiple workspaces. Currently, only one search bot is available for each SearchUnify instance.
Do not confuse the search client with the SearchUnify app on Slack App Directory. The latter is merely a demo. You cannot connect any content source with the app or customize it in any other way.
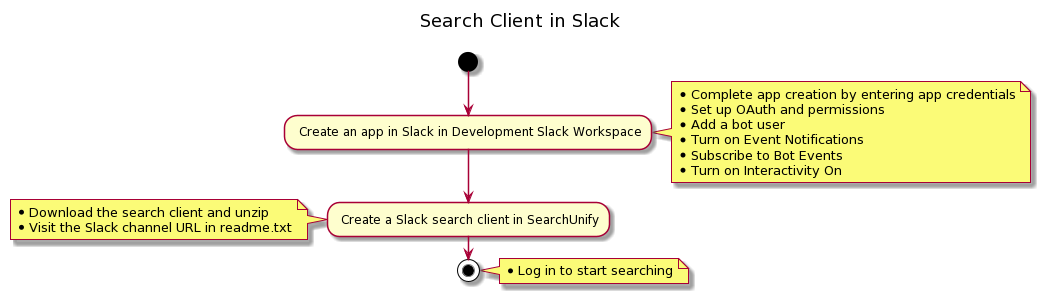
Installation Overview
Capabilities and Limitations
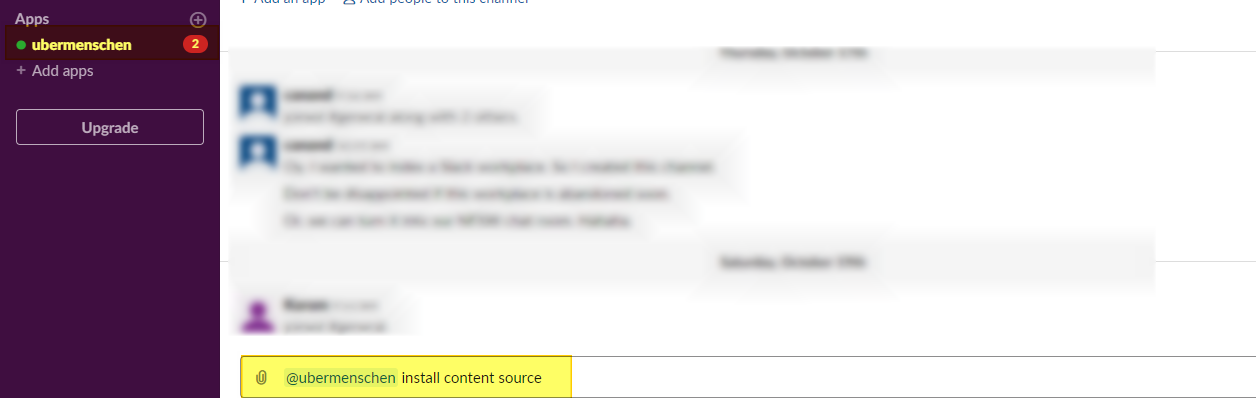
The ability to search enterprise data repositories inside Slack is a huge advantage. It saves time because there is no tab hopping, no cumbersome login screens, and no digressions involved. Users can run @botname <keyword> during a chat to find results immediately. In the next image, the bot name is "ubermenschen."
Users can also use search operators and filters. The operators work as usual but to invoke a filter, a user has to run the command /filters <keyword>. Filters are limited in two ways: They don’t update when a value is selected and Merge Facets is unavailable to admins.
Nonetheless, admins can still:
- Set synonyms
- Define stopwords
- Use Create Formula to implement access control
- Apply keyword tuning
- Boost entire content sources
However, Slack was never designed to be an information retrieval platform. So @botname <keyword> cannot do everything that is possible on a typical search client that you find on websites, Salesforce orgs, and other platforms.
For starters, there is no way to change templates or use Designer because the search is a simple textual command without any GUI interface involved. Then, in the absence of a dedicated search page, analytics data is not available. All this means that the services based on analytics and GUI cannot be accessed. These services include:
- Tuning: Auto Tuning and Custom Tuning
- Search Client Settings: Change Summary Preferences, Merge Facets, Auto Suggestions, Advertisements, Page Rating, Language Manager, Similar Search Recommendations and Recent Searches
- Asset Library
- NLP Manager, Did You Mean?, Suggestion Removal
- Knowledge Graph
Besides, search results are capped at 5 for each query.
Create an App in Slack
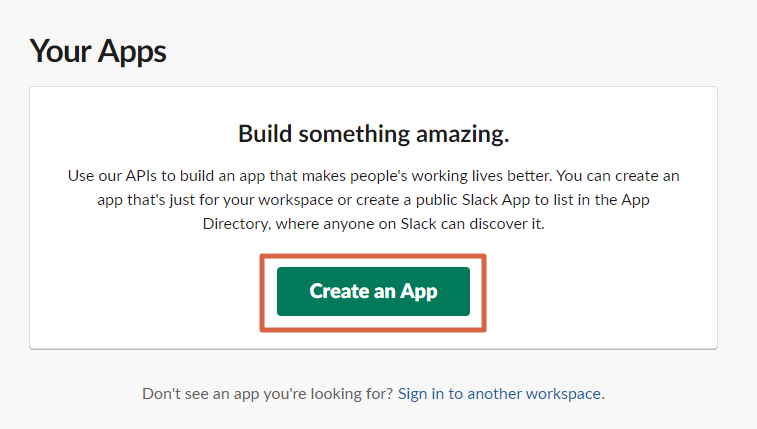
- Go to https://api.slack.com/apps and click Create an App.
- Give your app a name, select a workspace for search client installation from the Development Slack Workspace dropdown, and click Create App.

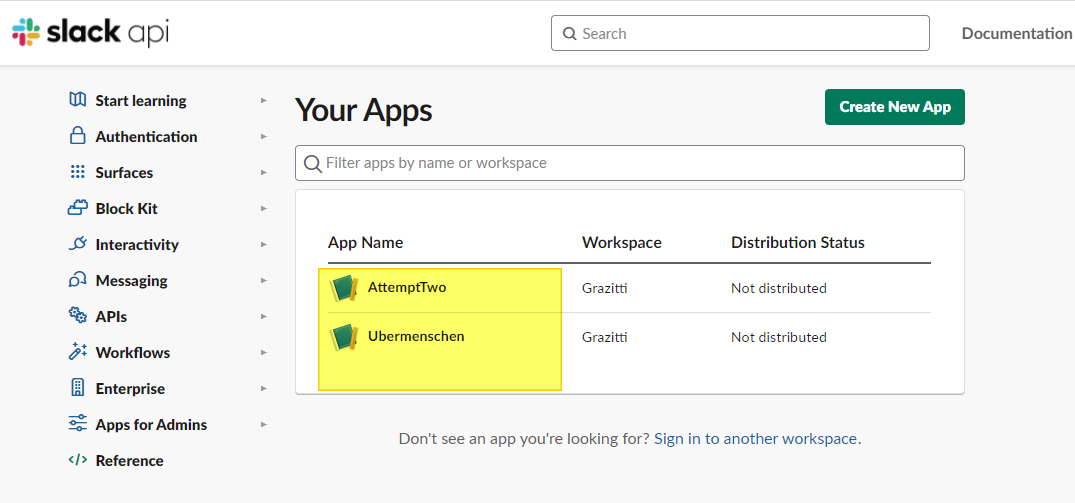
- You will be navigated to the app page. If you have not been, go to https://api.slack.com/apps, scroll down, file your open and click it to open

- On the app page, scroll down to App Credentials and copy Client ID, Client Secret, and Signing Secret. Share them with your SearchUnify representative.

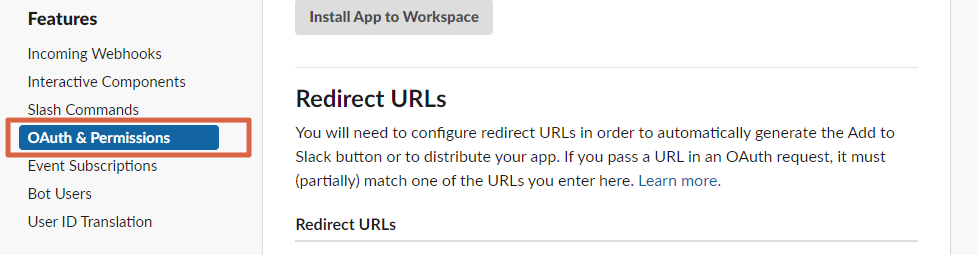
- Navigate to Oauth and Permissions.
- Enter
{{BASE_URL}}/slackin Redirect URLs field. Click Add, then Save URLs. The{{BASE_URL}}is the web address of your SearchUnify instance.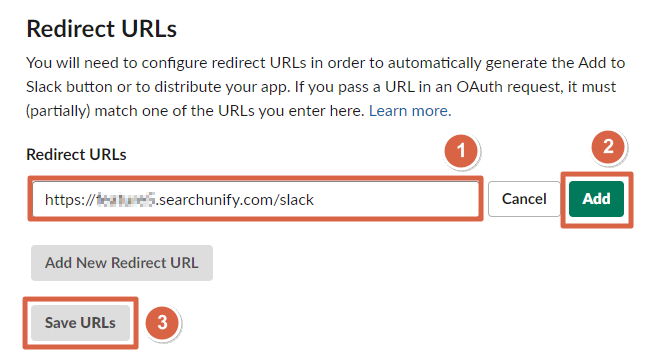
- Scroll down to Scopes > Bot Token Scopes, click Add an OAuth Scope. A search box will appear.

- In the search box, look up
app_mentions:readand add it. Also addchannels:history,chat:write,chat:write.customize,commands,groups:history,im:history, andim.write. After adding them all, there will be eight scopes.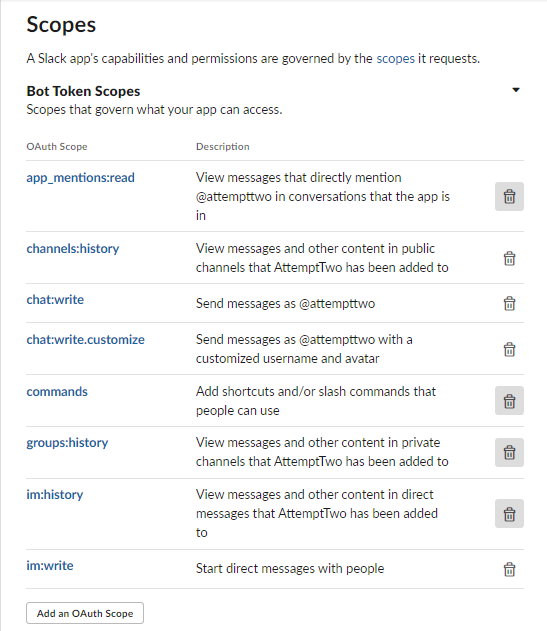
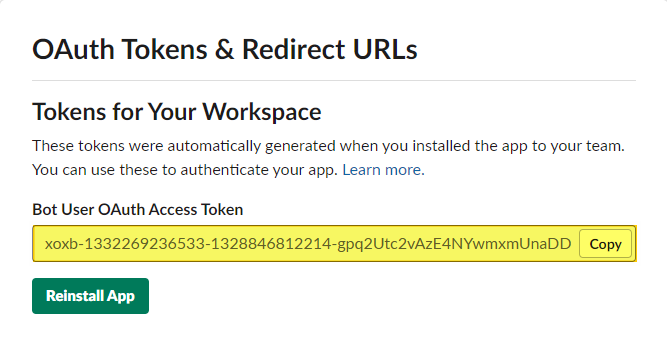
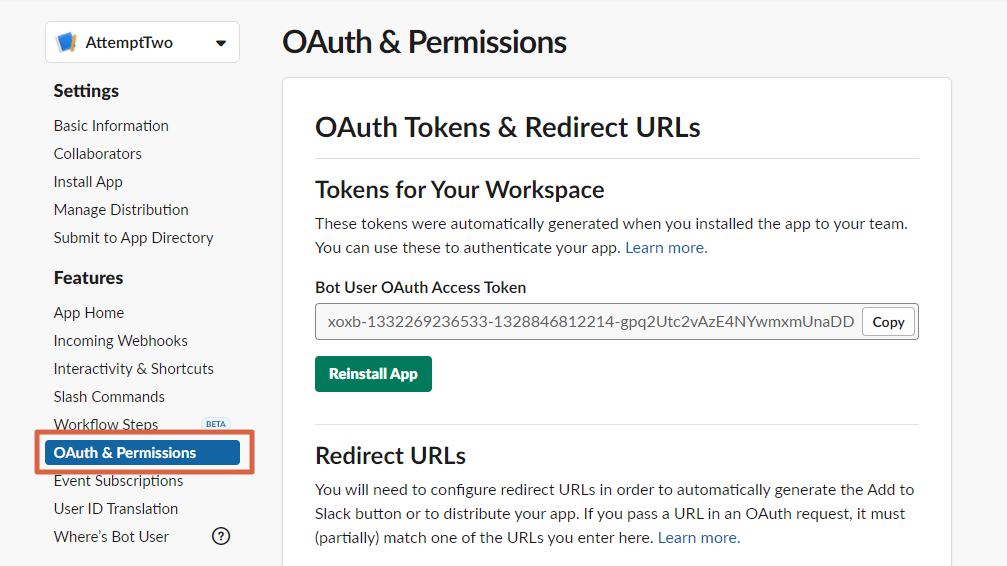
- Refresh the page. Click Save Changes, if you are prompted to them. After the refresh, scroll up to find a new section, Tokens for Your Workspace. From this section, copy Bot User OAuth Access Token and share it with the SearchUnify team to be able to use facets.
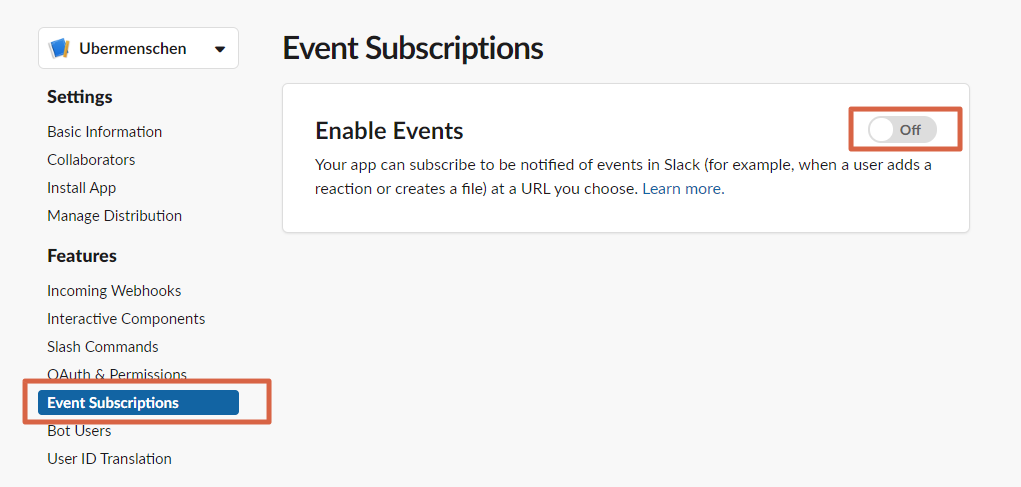
- Go to Event Subscriptions and toggle Enable Events On.
- Enter
{{BASE_URL}}/slack/eventsin Request URL field.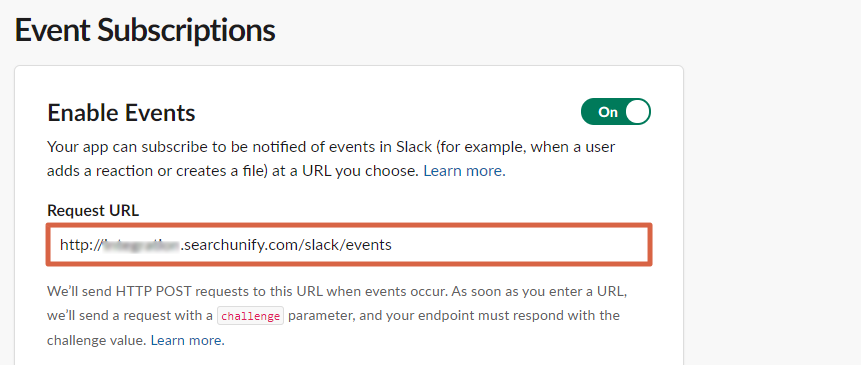
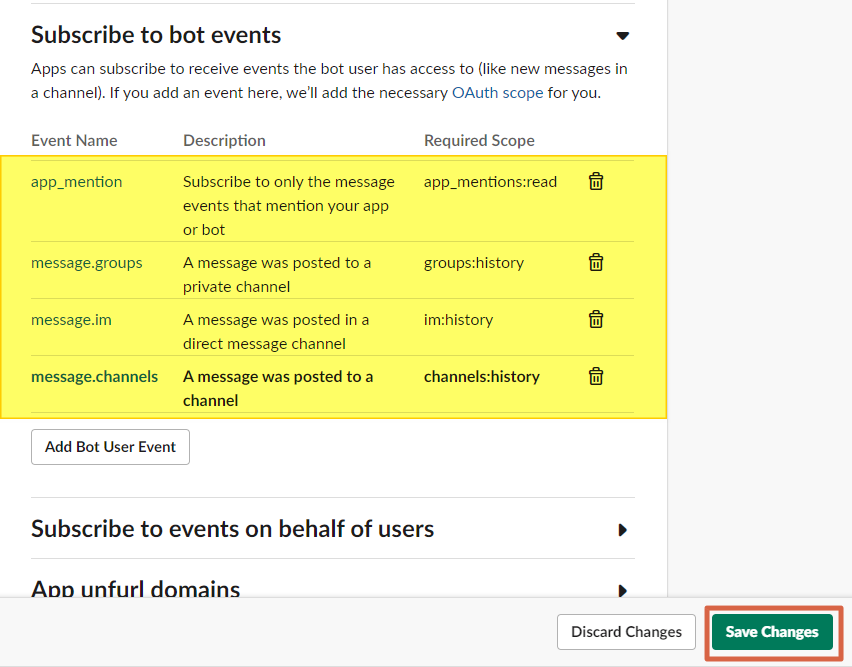
- Scroll down to Subscribe to Bot Events and add use Add Both User Event to add: app_mention, message.channels, message.groups, and message.im. After adding them, click Save Changes.
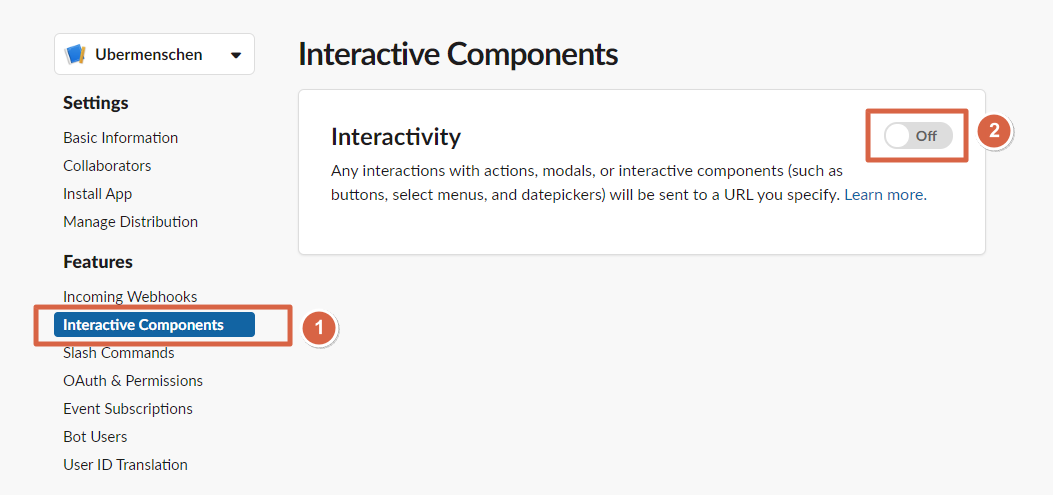
- Go to Interactive Components and toggle Interactivity On.
- Enter
{{BASE_URL}}/slack/slashin Request URL and click Save Changes.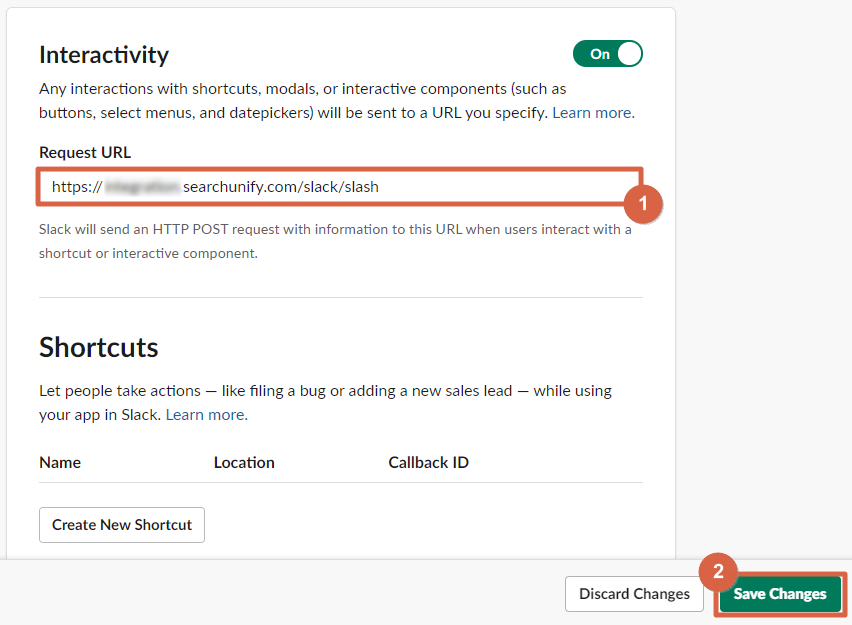
Activate the Bot in SearchUnify
- Go to Search Clients and click Add New Search Client.

- Select Slack Bot.

- Give your search client a name, enter your SearchUnify instance web address in the Enter Base URL field, and write your Slack team ID in the third field, and click Save.
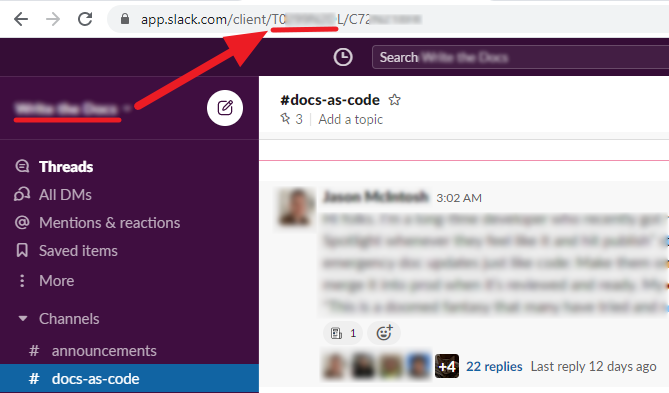
 How to find team ID?
Open your Slack space. The alphanumeric string right after /client/ is the Team ID.

You can now configure the search client by adding content sources to it.

Install the Bot on a Slack Workspace
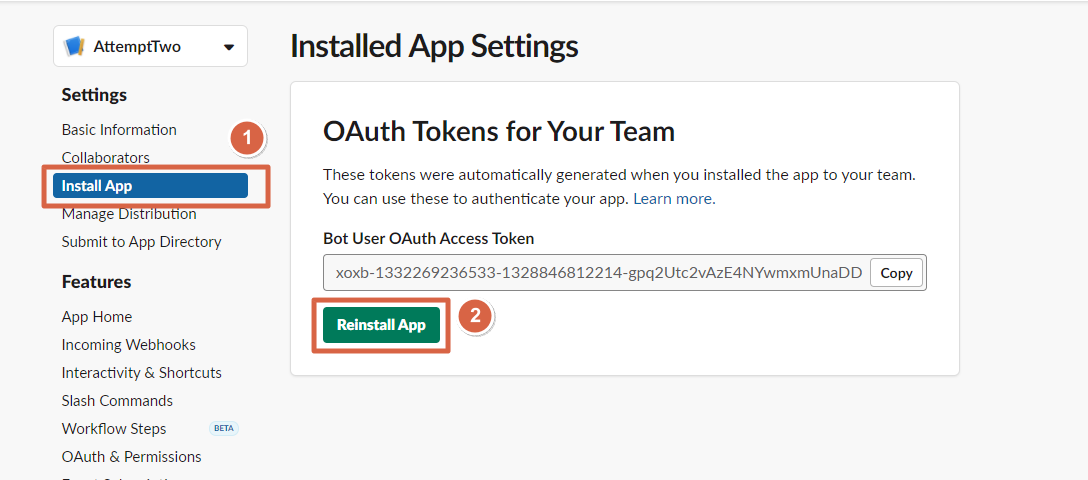
There are two ways to install the app. In the first, go to Install App in Settings and click either Install App (first time users) or Reinstall App (updates).
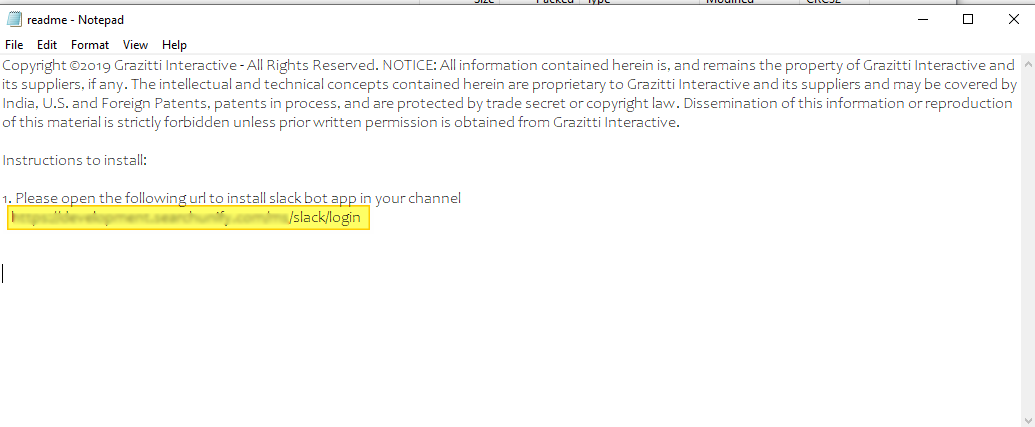
In the second, download your search client, unzip the downloaded file, and open the URL in readme.
Using the SearchUnify Bot
To view results inside a Slack conversation, write @yourBotName Keyword and press Enter.
Turn on Faceted Search in Slack
If you have not already, share your Bot User OAuth Access Token with your SearchUnify representative. It is in App Page > Oauth & Permissions. After a confirmation from them, follow these steps:
- Go to https://api.slack.com/apps and click your Slackbot app.
- Open Slash Commands in the left sidebar and click Create New Command.

- In the Command field, enter a name that will be used to invoke facets. In the Request URL field, enter
{{baseUrl}}/slack/slash. Short Description and Usage Hint are optional. Click Save.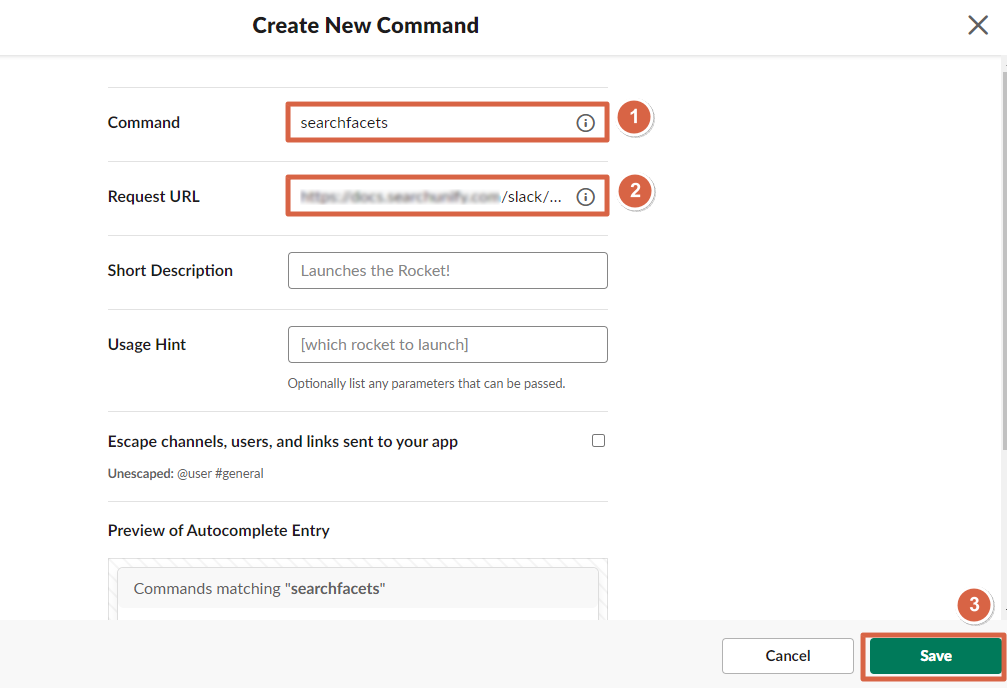
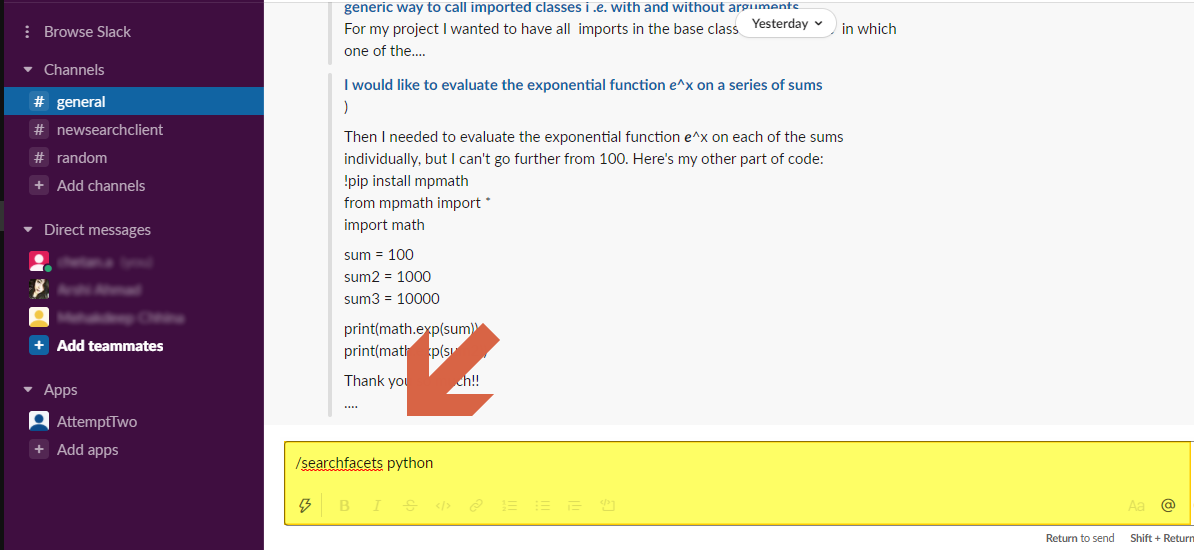
To use faceted search, run the command /<command_name> <keyword>.
Add User Permissions
Admins can apply access control permissions to Slack Bot's search results.
- Go to https://api.slack.com/apps and click your Slackbot app.
- Click OAuth and Permissions.
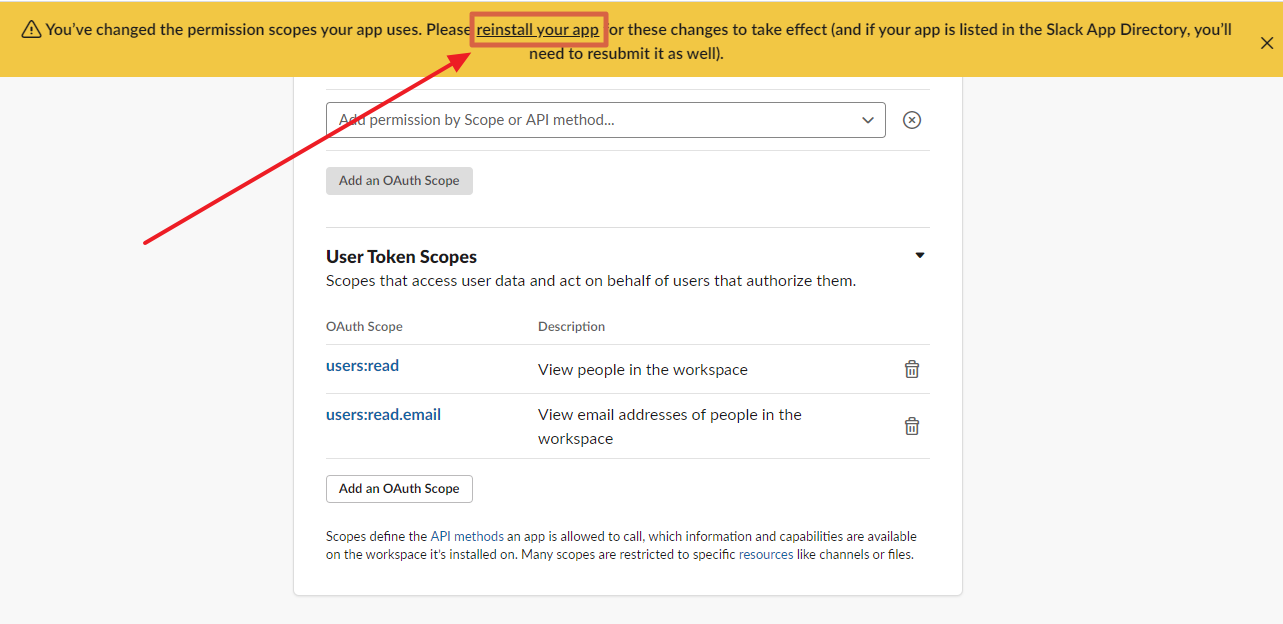
- Scroll down to User Token Scopes.
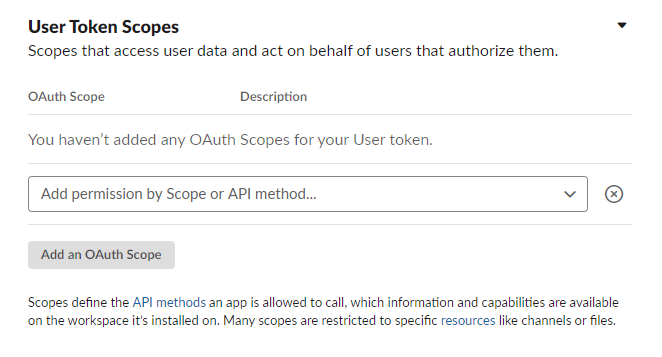
- Add
users:readandusers:read.email.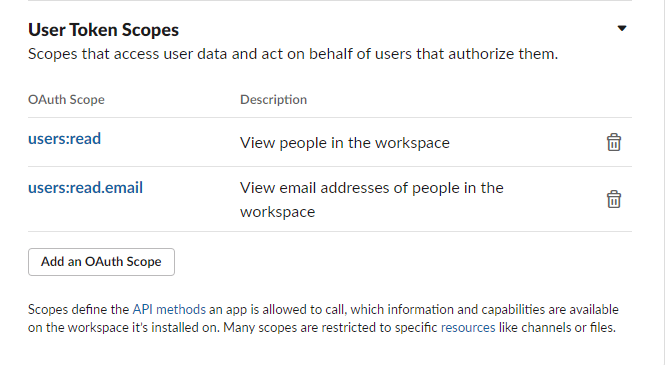
- Reinstall the app.