Install a Search Client in Zendesk Console
Find tickets faster in Zendesk Console. This article walks you through the process of installing a SearchUnify search client in Zendesk Console.
Prerequisites
- Create a Zendesk content source; the instructions are on Use Zendesk As a Content Source
- Create a Zendesk search client in SearchUnify and download it

Installation
- Log into Zendesk and click

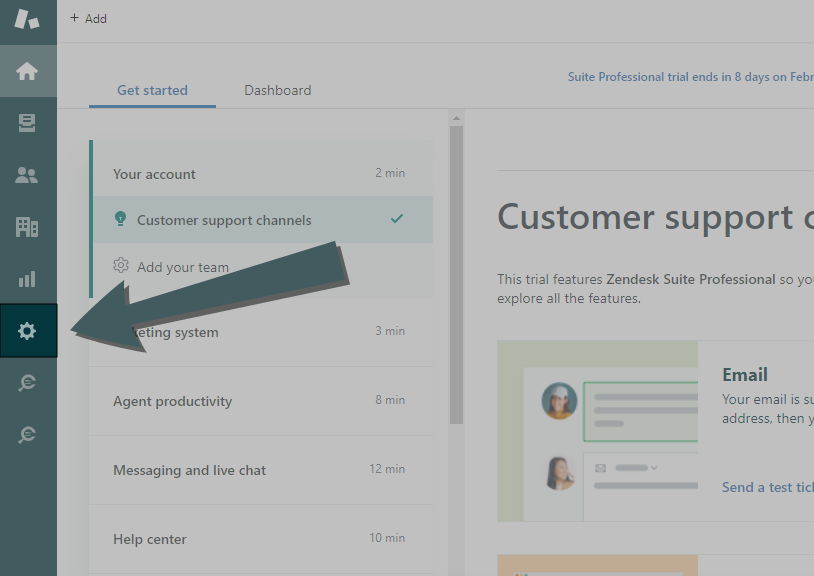
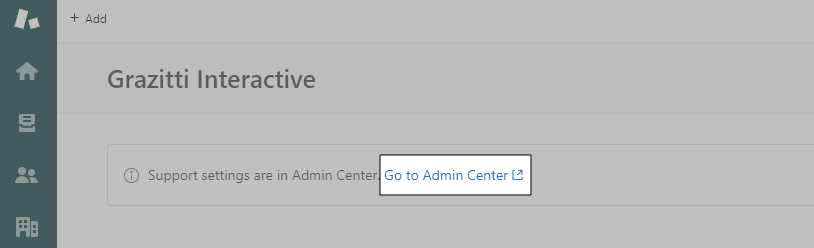
- Using the link, go to the Admin Center.
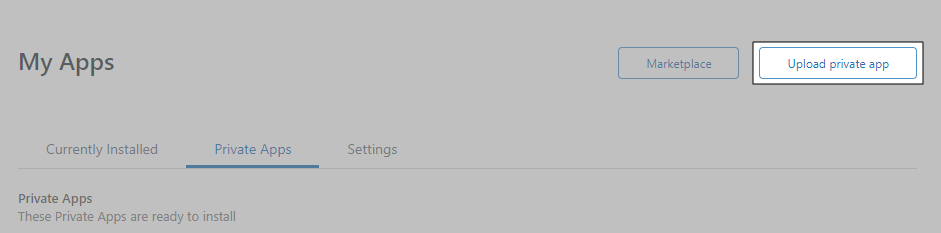
- Open Apps and Integrations. Go to Zendesk Support Apps > Private Apps.
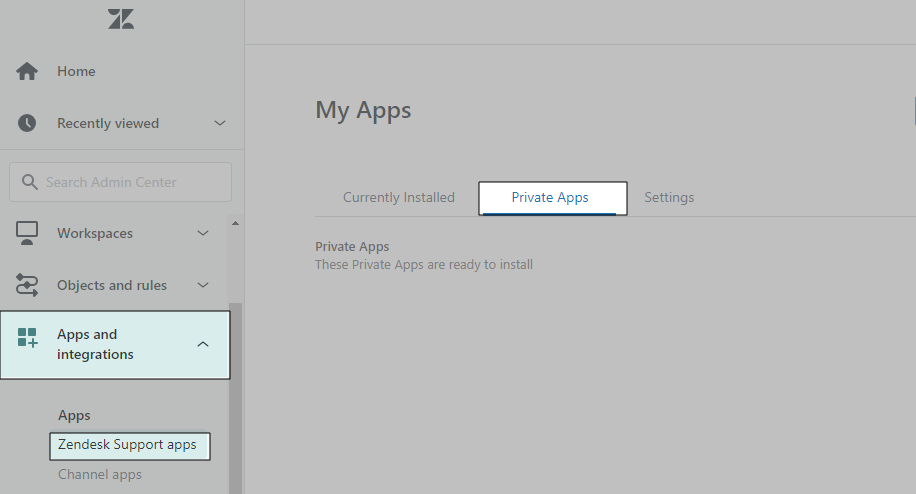
-
Click Upload Private App.
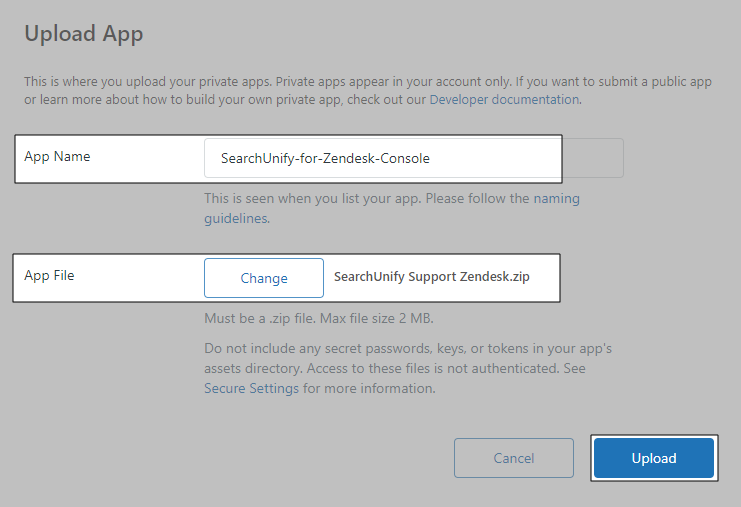
- Enter an App Name and upload the Zendesk Console search client using Choose File. Click Upload.
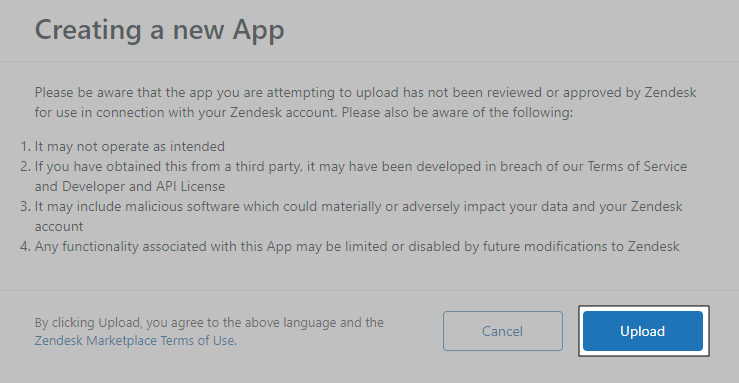
- A pop-up will appear. Confirm Upload.
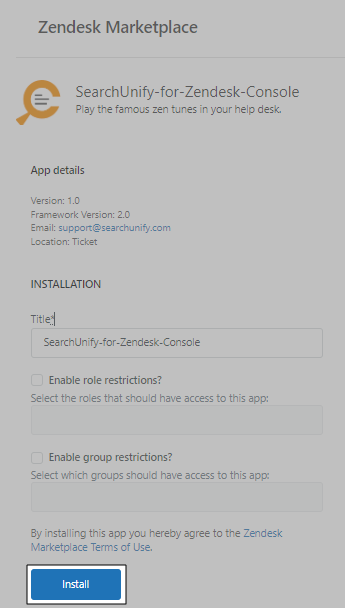
- Set up Role restrictions and Group restrictions and click Install. Setting up Role and Group restrictions is optional.
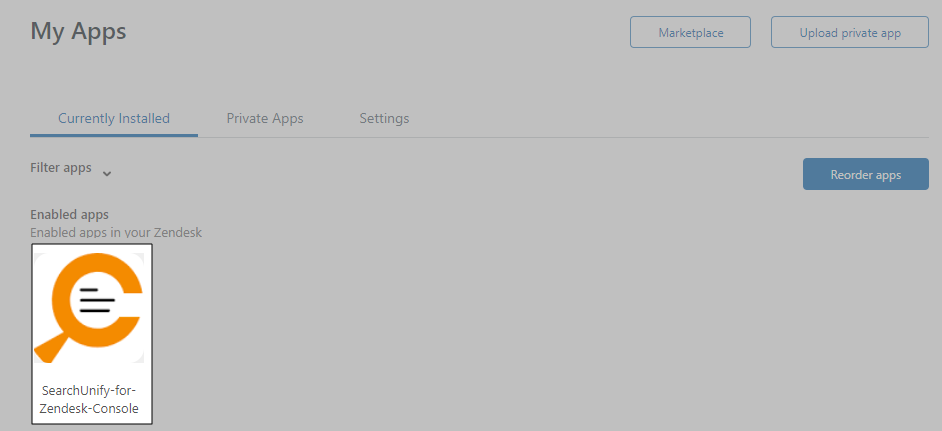
- The installation was successful if you can spot the search client under the Currently Installed tab.
Usage
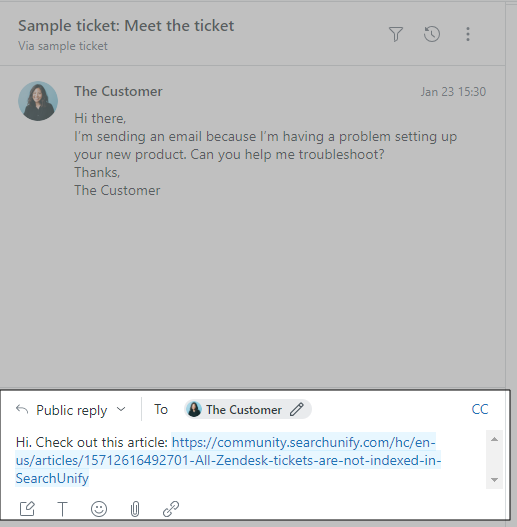
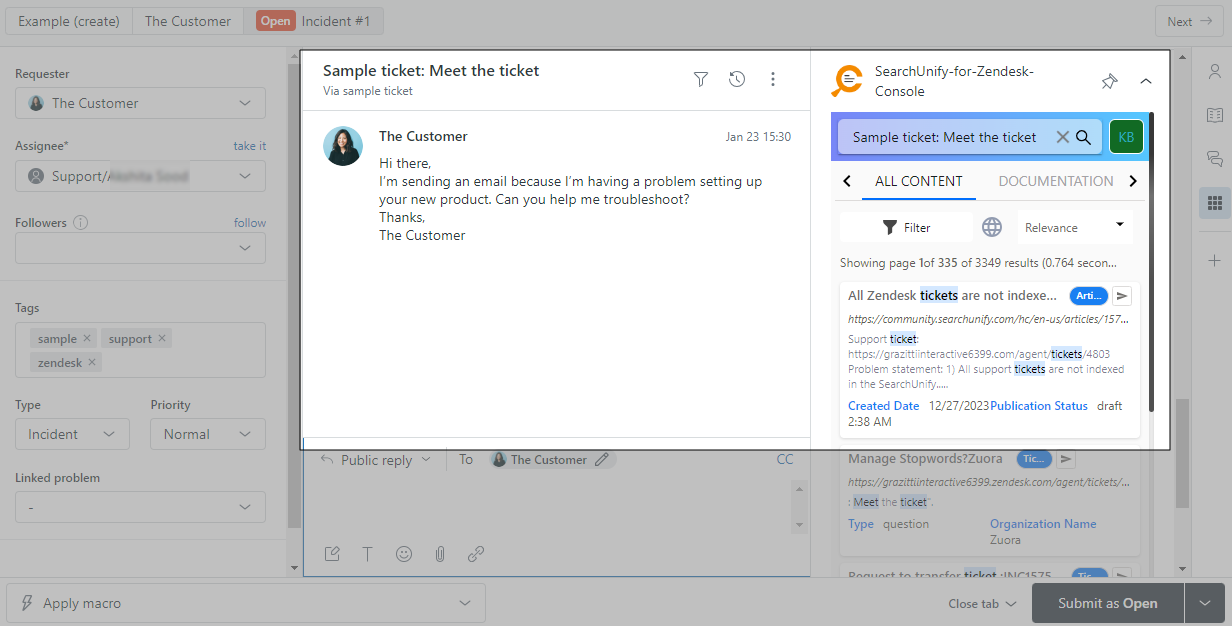
To use the search client, first open a ticket in Zendesk Console and then launch SearchUnify from Apps. You will see results related to the opened ticket.
Using Attach to Ticket, you can insert a knowledge article into your reply.
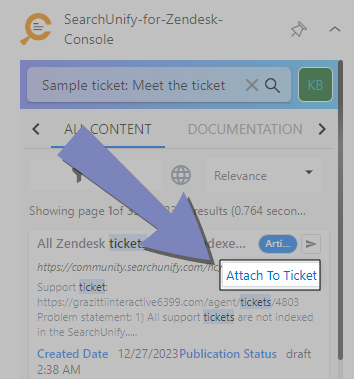
The article is linked as a case.