

Enable Auto Spell Corrector
Auto Spell Corrector detects and corrects misspelled search queries.
Consider a scenario where a user searches moniter and gets no results. Then, the user realizes their mistake and changes the query to monitor. A happy ending for the user and a lesson for the Auto Spell Corrector which maps the misspelled Moniter to Monitor. After this, it automatically corrects each instance of moniter in subsequent sessions and returns up to five relevant results.
Auto Spell Checker keeps expanding and updating the dictionary based on the user search activity.
NOTE
Auto Spell Corrector doesn't support a standard dictionary (yet).
If the search queries differ a lot of one another, then Auto Spell Corrector does not recognize them as similar queries. For example, if a user looks up keyboard after misspelled moniter, then Auto Spell Corrector doesn't consider keyboard to be the correct spelling of moniter.
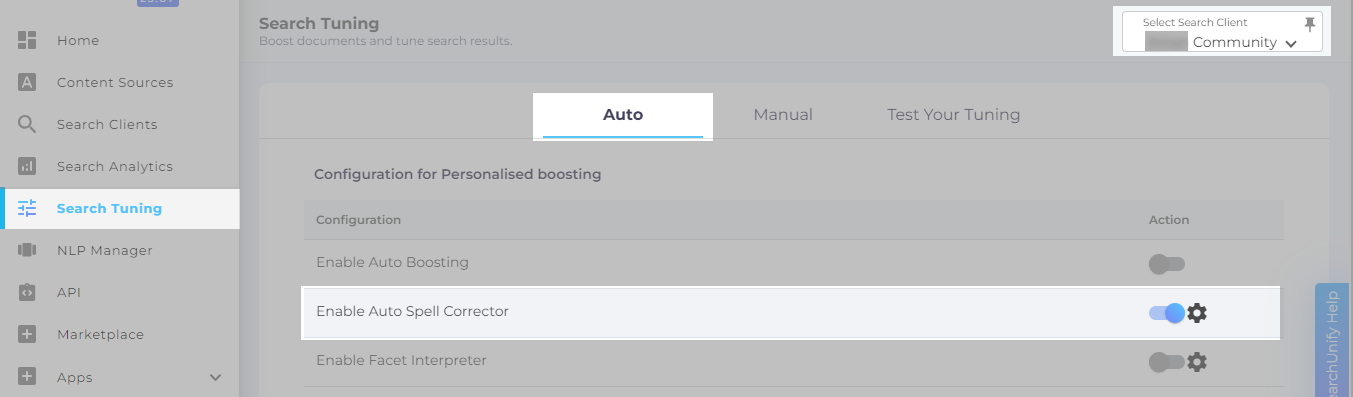
Enabling Auto Spell Corrector
-
From SearchUnify admin panel, go to Search Tuning.
-
Under the Auto section, select the Search Client where auto spell checker is to be applied.
-
Toggle Enable Auto Spell Corrector on to enable the feature.
- Click
 to launch a window where you can select content sources.
- Select the content source, content object, and content source fields and click Add. In the example below, body text is going to be auto-corrected. Make sure you select the content source with the most accurate and relevant data. Auto Spell Corrector is trained on the selected content source data.
-
Click
 after you are done.
