Set up a Content Source with API
SearchUnify supports more than 30 content sources out of the box. Any data repository not on the list can be added as a content source using APIs. It’s secure because the API content source is OAuth 1.0–compliant. This article explains the process of setting up an API content source.
PREREQUISITES
A content source with a working API and structured data
Your familiarity with basic REST API terminology
Access to the API of the platform where the content resides
Establish a Connection
-
Navigate to Content Sources and click Add New Content Sources.

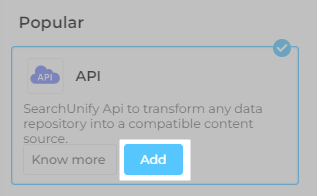
- Find API and click Add.
- Enter the following details for authentication:
Name. Insert a label for your content source.
Client URL. Enter the base URL of your API. It might resemble https://mycompany.platform.com/api/v2.
Authentication Type: Select an authentication type from the following:
More information: Select an Authentication Method for API Content Source
- No Auth. No details are needed to authenticate the connection with your content source.
- Basic Auth. Enter the user name and password required to make calls to your REST API.
- OAuth1. Enter the Consumer Key, Consumer Secret, Token, Token Secret, and Realm to make calls to your REST API.
- Token. Enter Access Token URL.
Language. Select the content language of your API platform. English-en is the default selection.
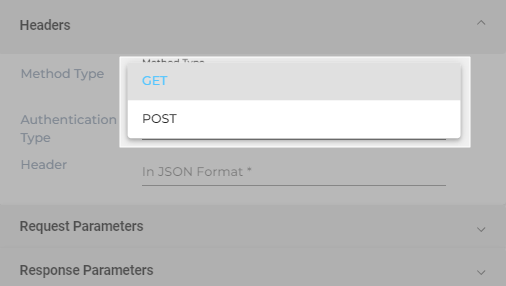
API Method Type: Select either GET or POST.
Authentication Header: Enter the API header.

- Click Connect.
Configure the Calls
The Configuration section covers the set-up process to crawl and index your content through APIs.
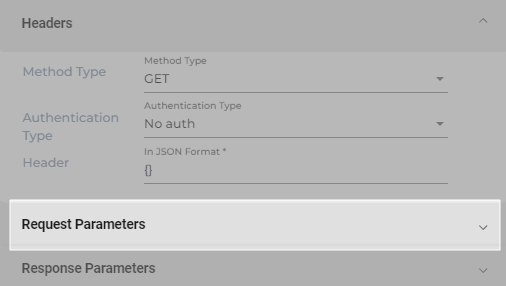
- Select either GET or POST from Method Type.
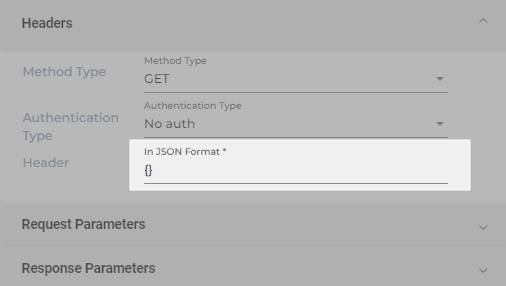
- Select an Authentication Type. You can pick:
- No Auth. No details are needed to authenticate the connection with your content source.
- Basic Auth. Enter the user name and password required to make calls to your REST API.
- OAuth1. Enter the Consumer Key, Consumer Secret, Token, Token Secret, and Realm to make calls to your REST API.
- Token. Enter Access Token URL, Username, Password, Data Fetching URL, Header (Optional), and Token Expiry Time (in minutes).

- Write all the key-value pairs to be used in Header in JSON. If you want to keep the field empty, write a pair of curly braces ({}).
- Open Request Parameters.
- Enter query parameters in JSON to consume your REST API.

- Select a pagination method:
- By Page No. Almost no platform returns data in a single go. That means a caller will have to make multiple calls to get all the documents and each call will be slightly different. The difference is usually a field in your query parameter which has to be selected in the Page No. Tag dropdown. Page No. Tag appears when you select By Page No. as your pagination method. It gets incremented with each call and fetches a new batch of documents each time it is run. Default Page Size Tag—which also appears when you select By Start Offset—determines the size of each page. If the value of its parameter is 10, then there will be 10 results on each page.
- By Start Offset. It is similar to By Page No. The only difference being that the variable used to differentiate calls is Page Start Offset Tag.
- By Next Link. It is an object with two key-pair values: a Boolean and a link. The crawler uses the value stored in the link as the differentiating variable as long as the Boolean is
true. For Next Link Tag, select the URL key to move to the next page. - No Pagination. The entire data is indexed in one go. It is extremely rare to encounter a content source that will accept this method.
Has More & Next ID. It is an object with two key-pair values: a Boolean and a tag. The crawler uses the value stored in the link as the differentiating variable as long as the Boolean is true. For NEXT ID field, select the key from responses where the ID is present for the next page.

- Open Response Parameters and enter a JSON snippet that contains all the response parameters in Response.
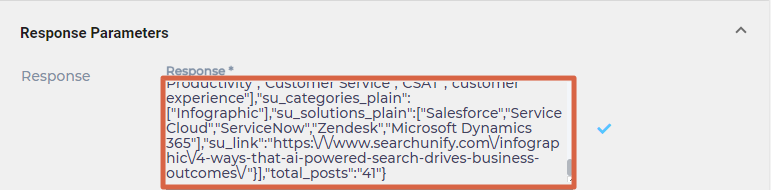
- Select a Result Iteration Tag and an Index Tag. Result Iteration Tag is a response field that contains the data you wish to index. Index Tag contains a unique ID to distinguish document from one another.

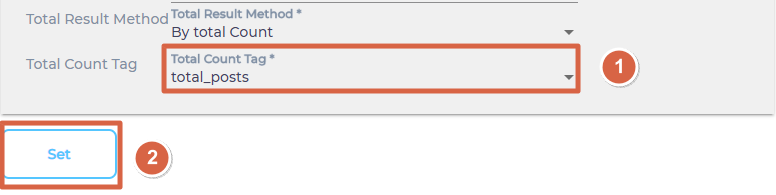
- SearchUnify will stop making calls to your content source once all your documents have been indexed. Total Results Method keeps a count of the total and indexed documents and there are two ways to keep this count: By Total Count or By Has More Flag. Select one.

- From Total Count Tag, select a parameter returns total count. Then, click Set.
Re-Connect
An admin can edit a Content Source for multiple reasons, including:
-
To reauthenticate
-
To fix a crawl error
-
To change frequency
-
To add or remove an object or a field for crawling
When a Content Source is edited, either a Connect or a Re-Connect button is displayed.
-
Case 1: When the Connect button is displayed:
-
When the Connect button is displayed if the Content Source authentication is successful. Along with the button, a message is displayed There are no crawl errors and the Content Source authentication is valid.
-
-
Fig. The Connect button is displayed on the Authentication tab.
-
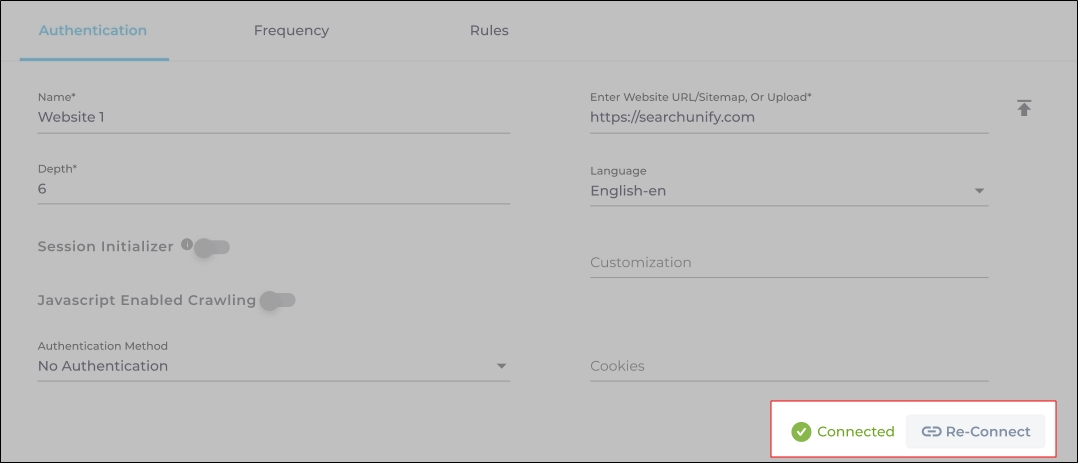
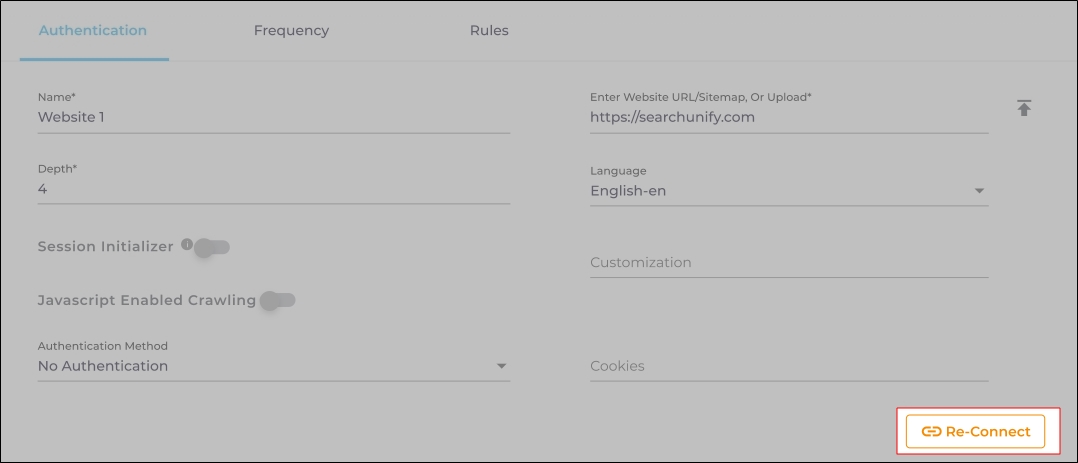
Case 2: When the Re-connect button is displayed:
-
The Re-connect button is displayed when the authentication details change or the authentication fails for any reason.
-
In both cases, the Content Source connection must be authenticated again. To reauthenticate a Content Source, enter the authentication details, and click Re-Connect.
-
-
Fig. The Re-Connect button is displayed on the Authentication tab.
Set Up Crawl Frequency
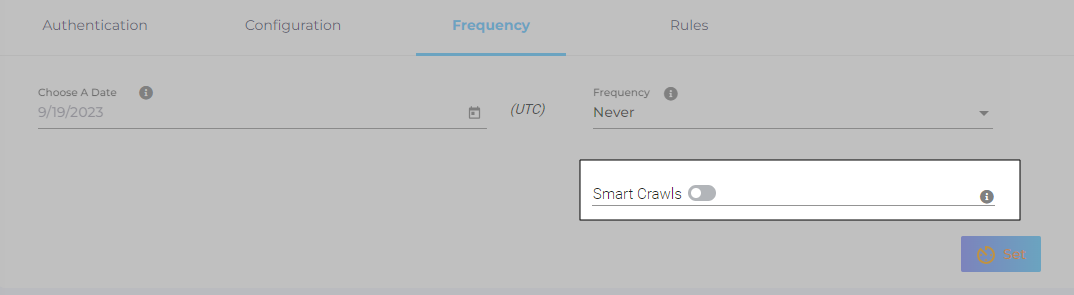
The first crawl is always performed manually after configuring the content source. In the Choose a Date field, select a date to start the crawl; only data created after the selected date will be crawled*. For now, leave the frequency set to its default value, Never, and click Set.

Fig. The Frequency tab when "Frequency" is set to "Never".
Add the Objects and Fields for Indexing
- Enter an object where your data is stored, give it a label, and click Add Object.
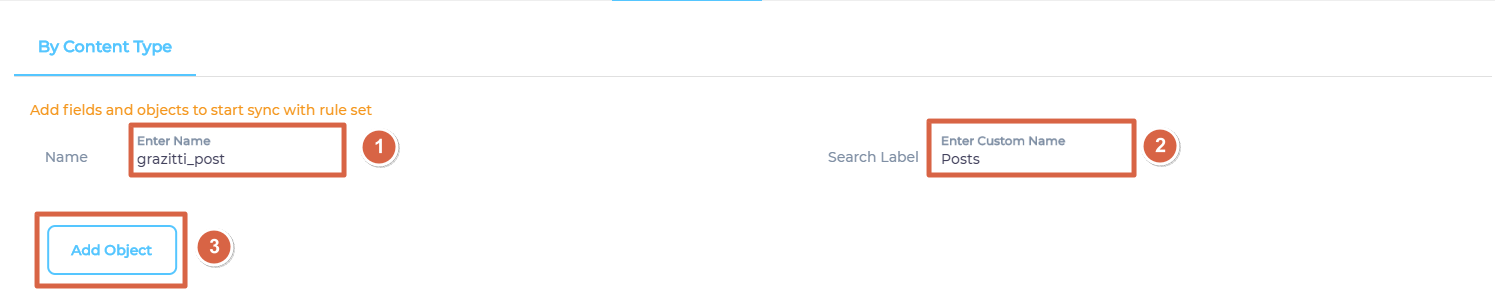
- Repeat the previous step if you wish to add more than one object.
- Click
 to manage fields.
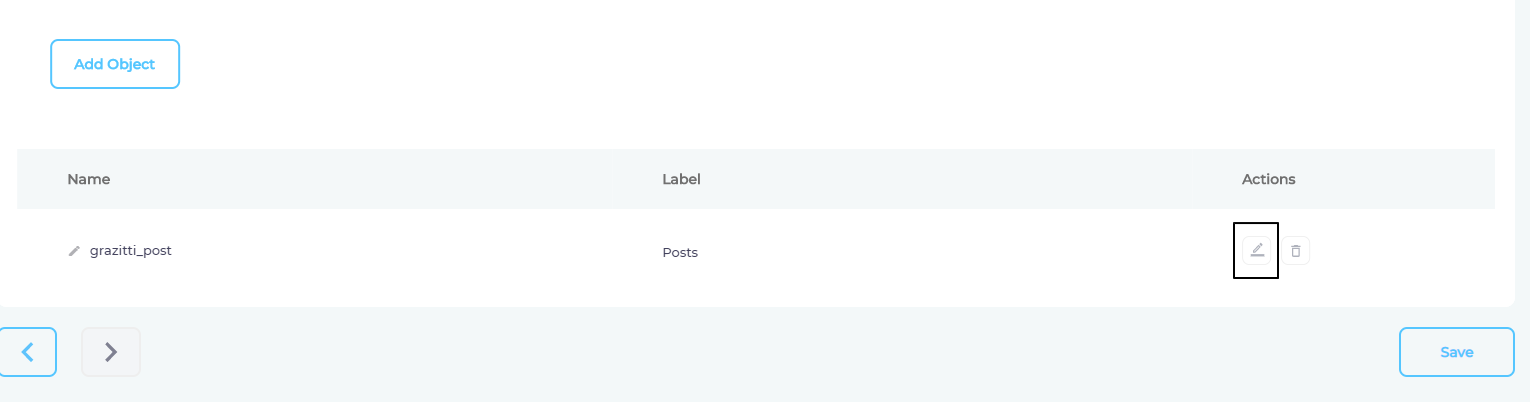
- Add all the fields that you wish to index and click Save.
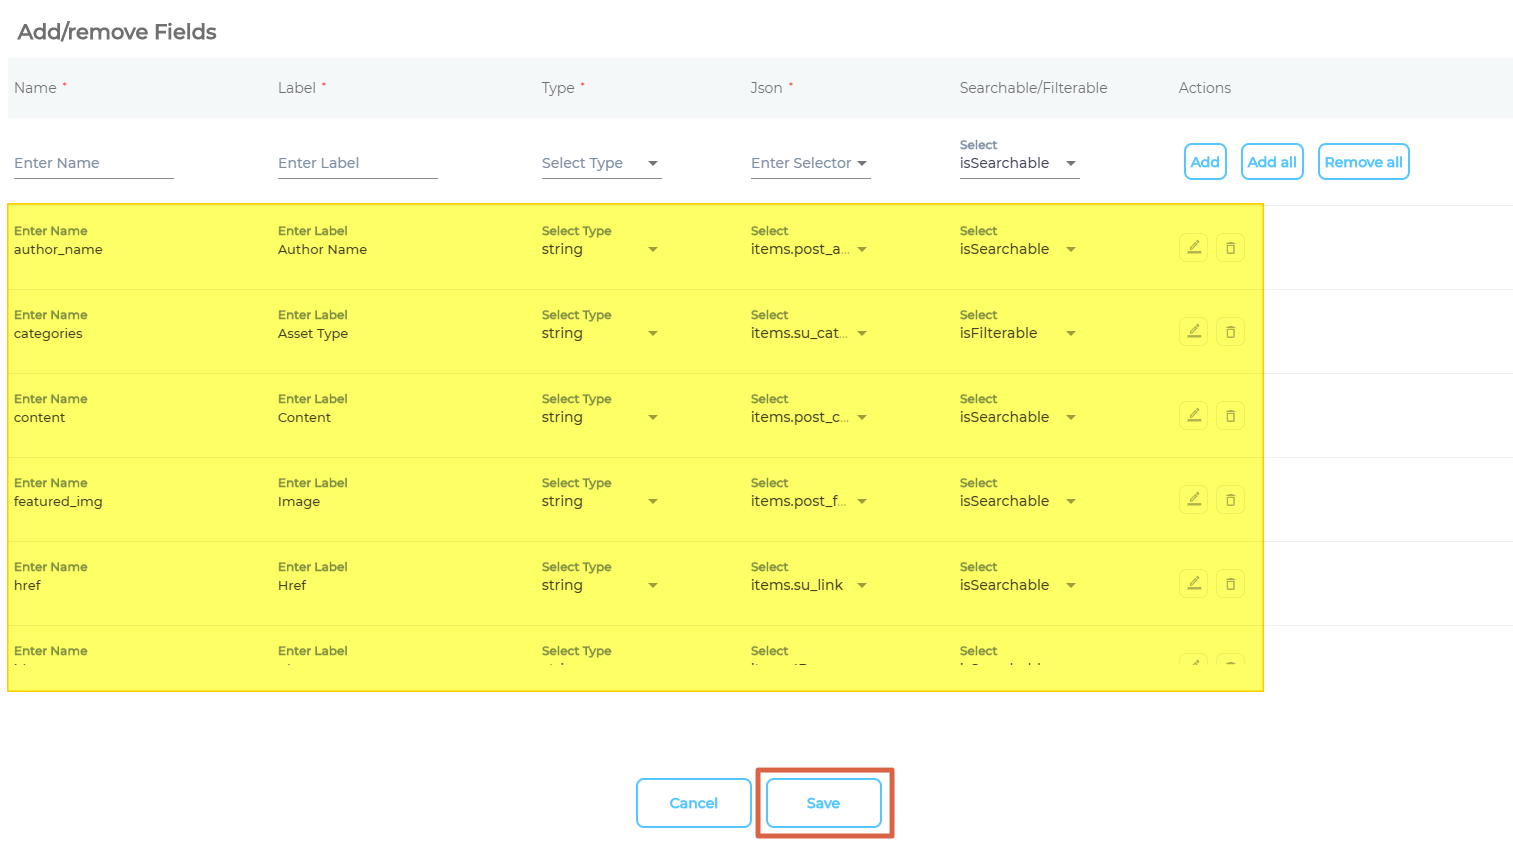
- Click Save.

After the First Crawl
Return to the Content Sources screen and click ![]() in Actions. The number of indexed documents is updated after the crawl is complete. You can view crawl progress by clicking
in Actions. The number of indexed documents is updated after the crawl is complete. You can view crawl progress by clicking ![]() (View Crawl Logs) in Actions.
(View Crawl Logs) in Actions.
Once the first crawl is complete, click ![]() in Actions to open the content source for editing, and set a crawl frequency.
in Actions to open the content source for editing, and set a crawl frequency.
-
In Choose a Date, click
 to fire up a calendar and select a date. Only the data created or updated after the selected date is indexed.
-
The following options are available for the Frequency field:
-
When Never is selected, the content source is not crawled until an admin opts for a manual crawl on the Content Sources screen.
-
When Minutes is selected, a new dropdown appears where the admin can choose between three values: 15, 20, and 30. Picking 20 means that the content source crawling starts every 20 minutes.
-
When Hours is selected, a new dropdown is displayed where the admin can choose between eight values between 1, 2, 3, 4, 6, 8, 12, and 24. Selecting 8 initiates content crawling every 8 hours.
-
When Daily is selected, a new dropdown is displayed where the admin can pick a value between 0 and 23. If 15 is selected, the content source crawling starts at 3:00 p.m. (1500 hours) each day.
-
When Day of Week is selected, a new dropdown is displayed where the admin can pick a day of the week. If Tuesday is chosen, then content source crawling starts at 0000 hours on every Tuesday.
-
When Day of Month is selected, a new dropdown appears where the admin can select a value between 1 and 30. If 20 is chosen, then content source crawling starts on the 20th of each month.
It is recommended to pick a date between the 1st and 28th of the month. If 30 is chosen, then the crawler may throw an error in February. The error will be “Chosen date will not work for this month.”
-
When Yearly is selected, the content source crawling starts at midnight on 1 January each year.
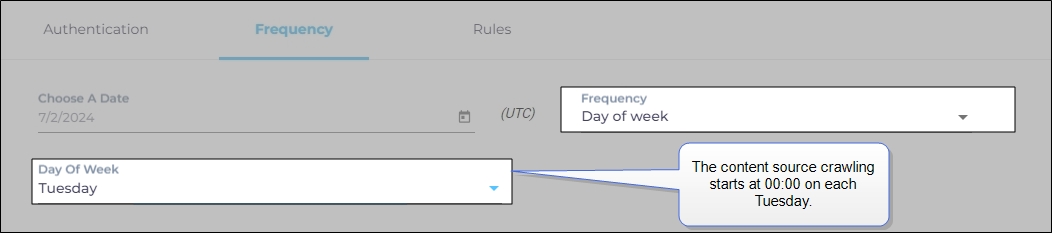
Fig. The content source crawling starts at 00:00 on each Tuesday.
-
- Click Set to save the crawl frequency settings.

-
Click Save.
Smart Crawls
Smart Crawls reduce indexing time. When it's toggled on, then during each frequency crawl the search index isn't created from scratch. Instead, it's updated to reflect the data changes in your content source. Let's say that two new docs have been created in your content source since the previous crawl. In this scenario, the new docs will be added to the index.
When Smart Crawls is toggled off, then the search index is generated from scratch during each frequency crawl. Instead of merely adding the docs that have been created in your content source since the last crawl, the current index is deleted entirely and a brand new index is created from scratch.