

Use Help Scout as a Content Source
Help Scout is a dedicated customer support platform known for its all-in-one service capabilities. It provides an email-based customer support platform, knowledge base tool, and an embeddable search-contact widget for customer service professionals.
PERMISSIONS
SearchUnify ignores user permissions during searches. All indexed files can be searched by all users.
Establish a Connection
-
Navigate to Content Sources and click Add New Content Sources.

-
Find Help Scout and click Add.
-
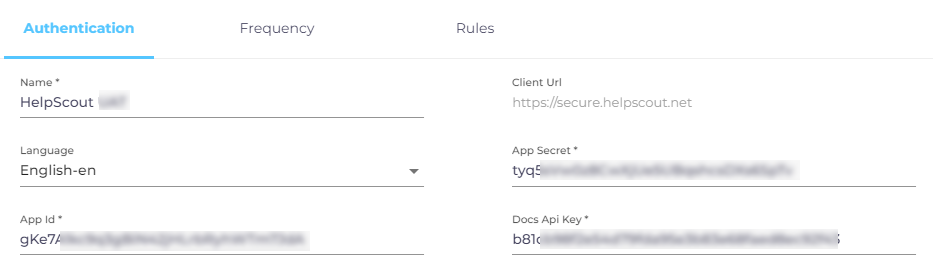
Enter the following details for authentication:
-
Name. Insert a label for your content source.
-
Client URL. The value is always https://secure.helpscout.net.
-
Language. Select the content language, which is by default English-en.
-
App Secret. Enter the App Secret. Refer to Get Help Scout Docs API Key, App ID, and App Secret.
-
App ID. Enter the App ID.
-
Doc API Key. Enter the API Doc Key.
-
-
Click Connect.
-
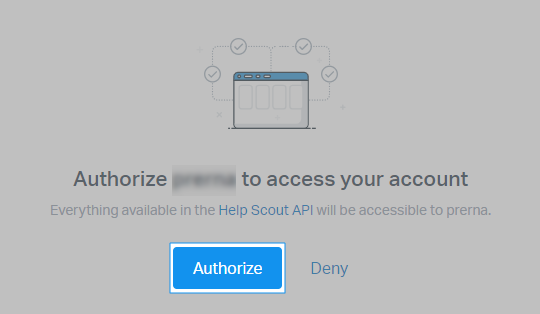
Log into Help Scout if prompted. Click Authorize to complete the authentication process.

If you see "Connection Succeeded", then you've successfully connected SearchUnify with Help Scout. Click Next. Once the connection has been set up successfully, you will be prompted to the next action - Set Frequency.
Re-Connect
An admin can edit a Content Source for multiple reasons, including:
-
To reauthenticate
-
To fix a crawl error
-
To change frequency
-
To add or remove an object or a field for crawling
When a Content Source is edited, either a Connect or a Re-Connect button is displayed.
-
Case 1: When the Connect button is displayed:
-
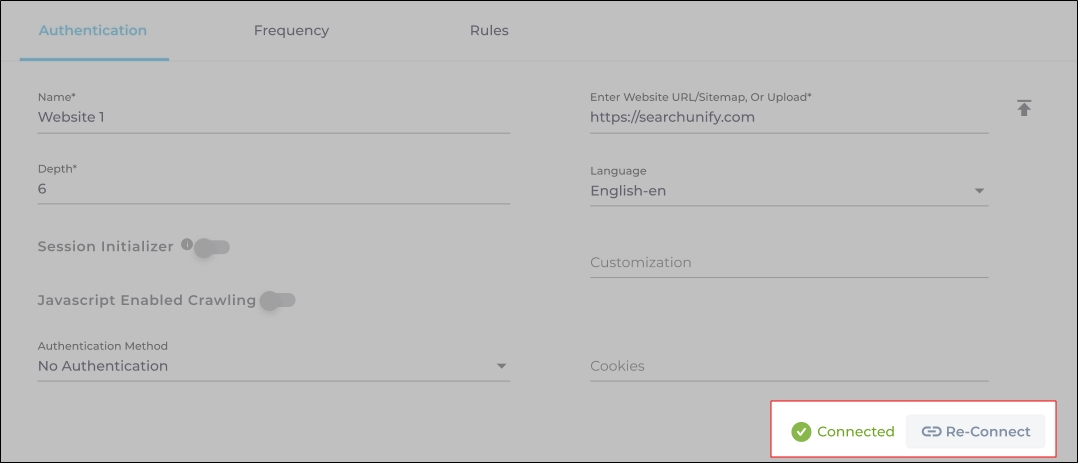
When the Connect button is displayed if the Content Source authentication is successful. Along with the button, a message is displayed There are no crawl errors and the Content Source authentication is valid.
-
-
Fig. The Connect button is displayed on the Authentication tab.
-
Case 2: When the Re-connect button is displayed:
-
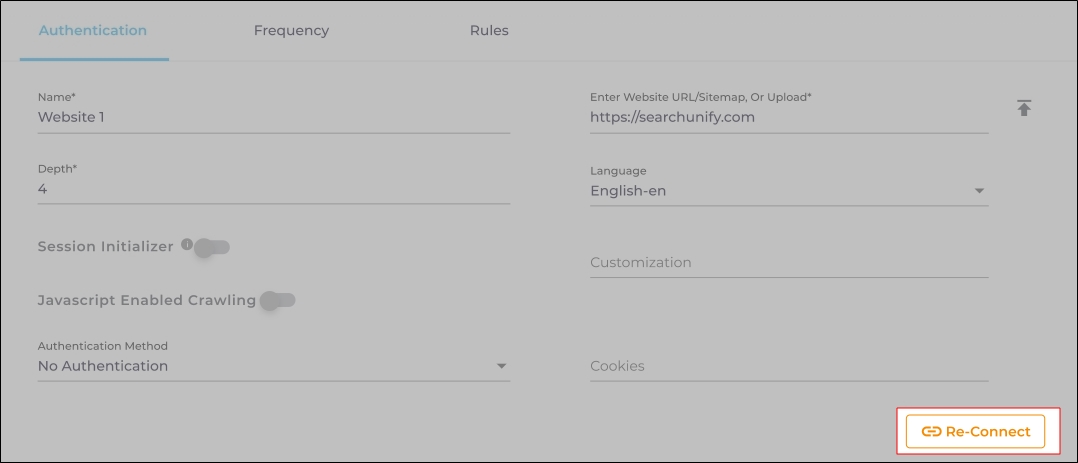
The Re-connect button is displayed when the authentication details change or the authentication fails for any reason.
-
In both cases, the Content Source connection must be authenticated again. To reauthenticate a Content Source, enter the authentication details, and click Re-Connect.
-
-
Fig. The Re-Connect button is displayed on the Authentication tab.
Set Up Crawl Frequency
The first crawl is always performed manually after configuring the content source. In the Choose a Date field, select a date to start the crawl; only data created after the selected date will be crawled*. For now, leave the frequency set to its default value, Never, and click Set.

Fig. The Frequency tab when "Frequency" is set to "Never".
Select Content Types and Fields for Indexing
SearchUnify can crawl conversations and articles content type. Admins can further select what fields they want to index from these two content types.
-
Under the Rules section, By Content Type is the default tab.
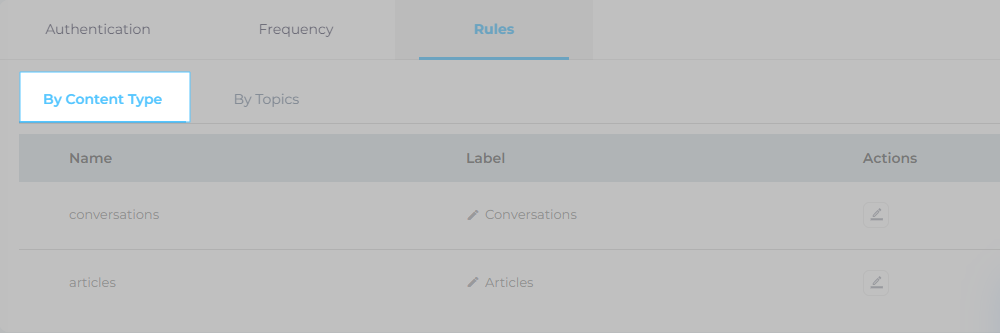
-
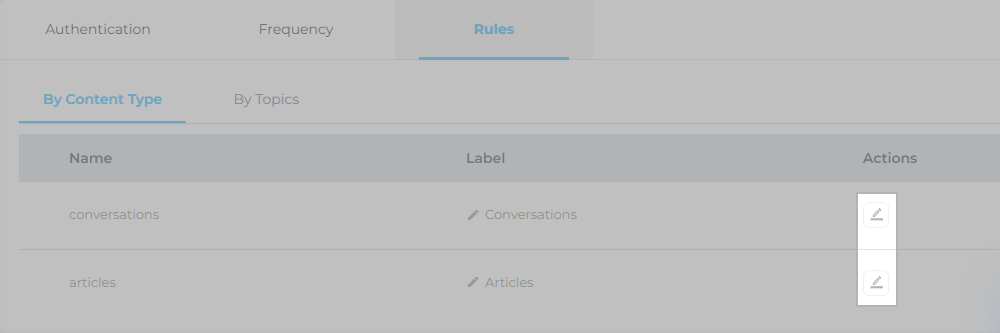
You can see the conversations and articles are already configured. Click on the edit button from the Actions column to view or edit the fields for content types. Although, it is not recommended for users to edit or delete any field that is already added.
-
Switch to By Topics. Use the alphabetical index to find topics. For example, Grazitti Interactive Knowledge Base is under the alphabet G.
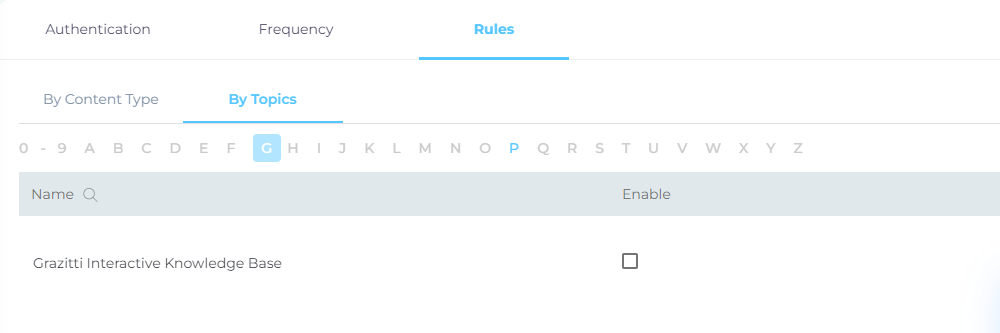
-
Use the checkbox pick the selected topics for indexing. Once you have selected the topics, click Save.

You have successfully added Help Scout as a content source in SearchUnify. Perform a manual crawl to start indexing data in SearchUnify.
Related
After the First Crawl
Return to the Content Sources screen and click ![]() in Actions. The number of indexed documents is updated after the crawl is complete. You can view crawl progress by clicking
in Actions. The number of indexed documents is updated after the crawl is complete. You can view crawl progress by clicking ![]() (View Crawl Logs) in Actions.
(View Crawl Logs) in Actions.
Once the first crawl is complete, click ![]() in Actions to open the content source for editing, and set a crawl frequency.
in Actions to open the content source for editing, and set a crawl frequency.
-
In Choose a Date, click
 to fire up a calendar and select a date. Only the data created or updated after the selected date is indexed.
-
The following options are available for the Frequency field:
-
When Never is selected, the content source is not crawled until an admin opts for a manual crawl on the Content Sources screen.
-
When Minutes is selected, a new dropdown appears where the admin can choose between three values: 15, 20, and 30. Picking 20 means that the content source crawling starts every 20 minutes.
-
When Hours is selected, a new dropdown is displayed where the admin can choose between eight values between 1, 2, 3, 4, 6, 8, 12, and 24. Selecting 8 initiates content crawling every 8 hours.
-
When Daily is selected, a new dropdown is displayed where the admin can pick a value between 0 and 23. If 15 is selected, the content source crawling starts at 3:00 p.m. (1500 hours) each day.
-
When Day of Week is selected, a new dropdown is displayed where the admin can pick a day of the week. If Tuesday is chosen, then content source crawling starts at 0000 hours on every Tuesday.
-
When Day of Month is selected, a new dropdown appears where the admin can select a value between 1 and 30. If 20 is chosen, then content source crawling starts on the 20th of each month.
It is recommended to pick a date between the 1st and 28th of the month. If 30 is chosen, then the crawler may throw an error in February. The error will be “Chosen date will not work for this month.”
-
When Yearly is selected, the content source crawling starts at midnight on 1 January each year.
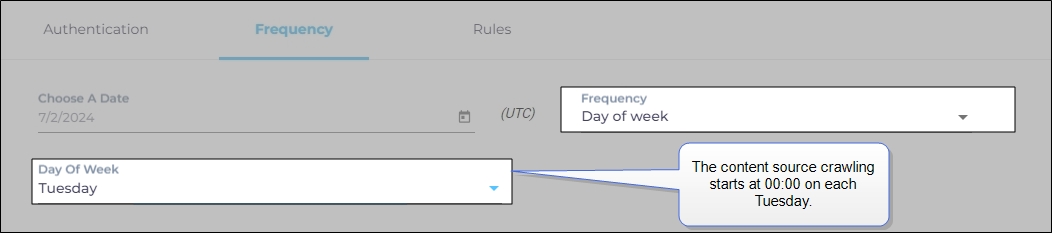
Fig. The content source crawling starts at 00:00 on each Tuesday.
-
- Click Set to save the crawl frequency settings.

-
Click Save.
Help Scout Webhook
Help Scout webhook can be setup to remove deleted conversations from SearchUnify index. To setup a webhook, you can contact the SearchUnify support team.