Create an app in Okta IdP
Okta is a popular Identity Provider. Its database is used to identify principals (users) before they can log in. This article shows how to create an app in Okta and use the app to configure an SAML 2.0 SSO Sign-in mechanism on your SearchUnify search clients.
Prerequisites
Obtain a security certificate from the SearchUnify team. The certificate is stored in a file with the extension .pem.
Create an App
-
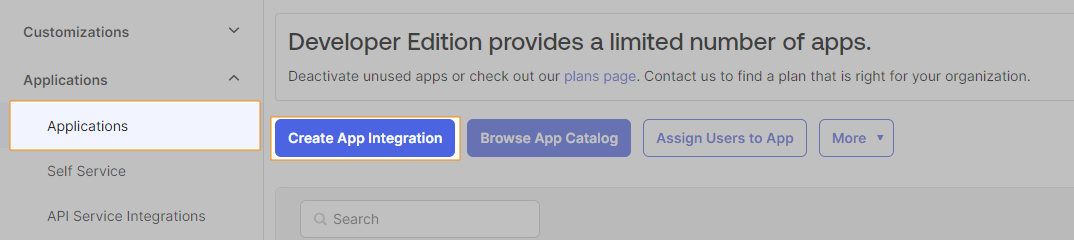
Log into Okta. Navigate to Applications and click Create App Integration.
-
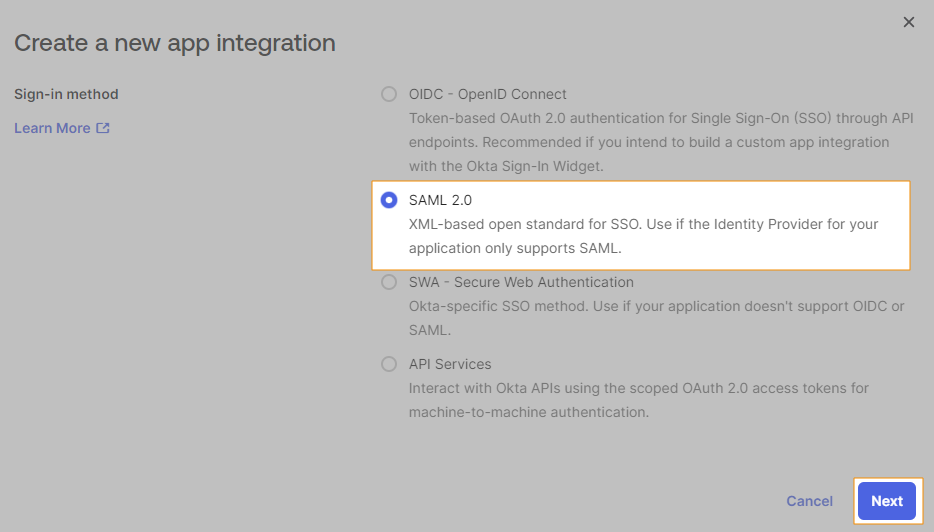
Select SAML 2.0 as the sign-in method, and click Next.
-
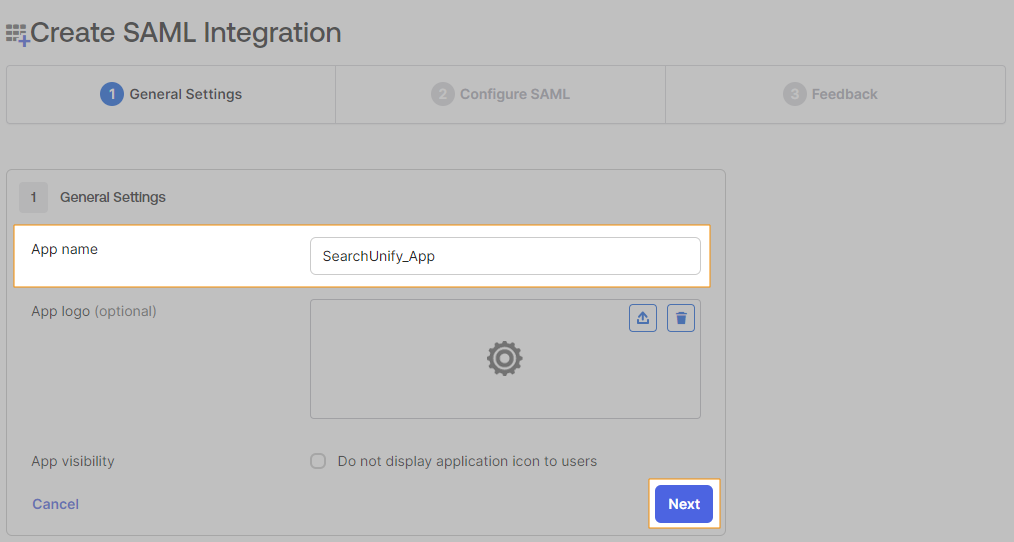
Under General Settings, add a label in App name and click Next. For illustration, we named the app "SearchUnify_App".
-
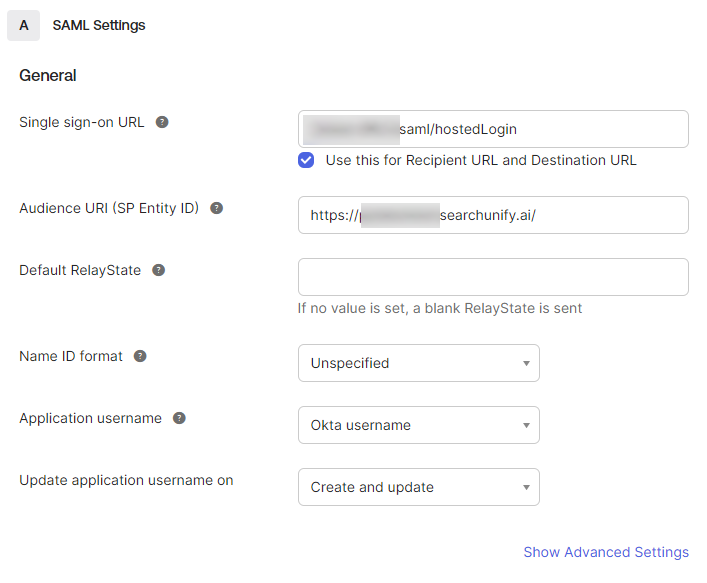
In Configure SAML, fill the form and click Show Advanced Settings.
-
Single sign on URL. Destination URL of the app or instance. The format is: {{base URL}}/saml/hostedLogin for search users and {{base URL}}/saml/auth for admin users. Make sure to check Use this for Recipient URL and Destination URL.
-
Audience URI (SP Entity ID). Destination URL of the app or instance.
-
Name ID format. Unspecified.
-
Application username. Okta username.
-
Update application username on. Create and update.
-
-
Upload a .pem file in the Signature Certificate field.

-
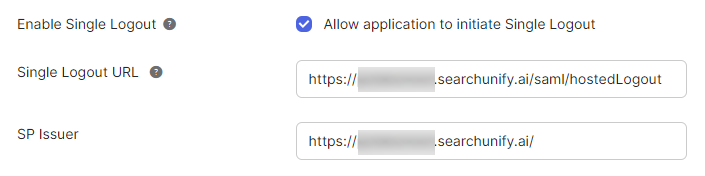
Scroll down and check Allow application to initiate Single Logout. Upon checking, more fields appear. Enter the Single Logout URL. The format is {{base URL}}/saml/hostedLogout for search users and {{base URL}}/saml/logout for admin users. In SP Issuer, write enter the Base URL of your SearchUnify instance if you are on a single tenant plan. Multitenant customers can contact the SearchUnify support team to obtain the value for the SP Issuer field.
-
Scroll down to the bottom of the page and click Next.
-
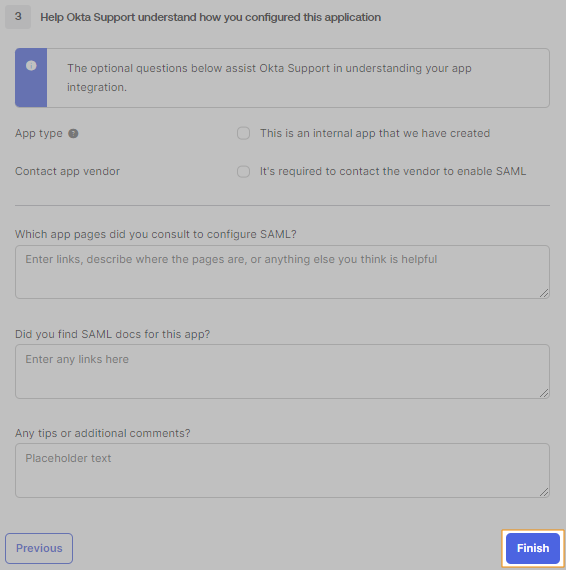
In Feedback, enter your comments and click Finish.
-
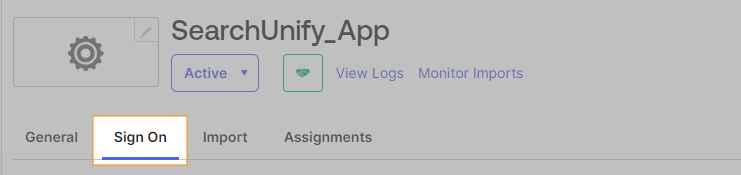
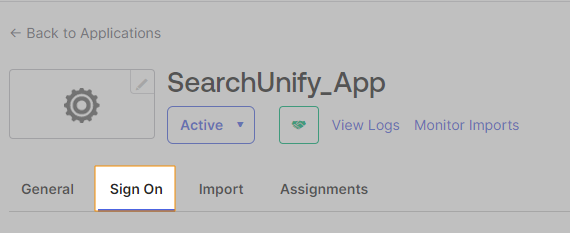
Go to the Sign On tab.
-
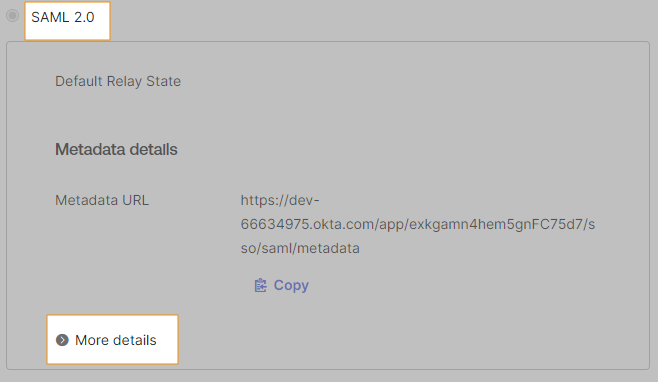
In SAML 2.0, click More Details to find the information needed to configure SAML 2.0 authentication on SearchUnify. Log into your instance in a new tab and follow the instructions on SAML 2.0: Log Into SearchUnify with an Identity Provider.
-
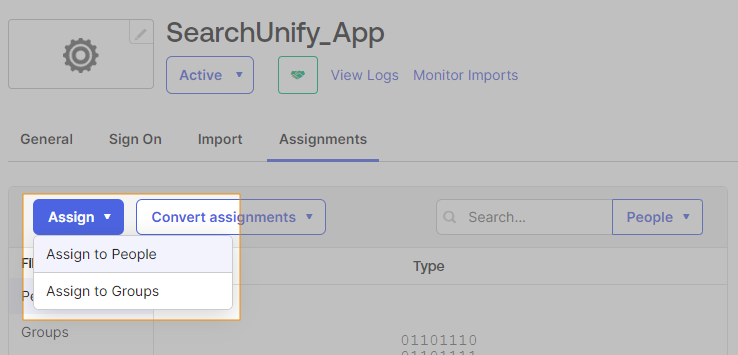
From Applications > Applications, open the app that you've just created.

-
Click Assign and then either Assign to People or Assign to Groups.
-
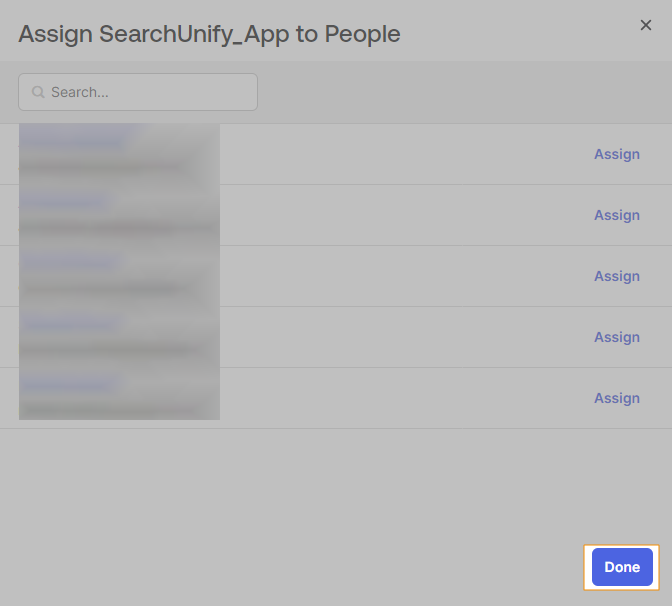
Assign the application to people or groups and click Done.
Get Security Certificate
The certificate is needed to configure SSO, as described in SAML 2.0: Log Into SearchUnify with an Identity Provider.
-
Go to the SearchUnify app page and click Sign On.
-
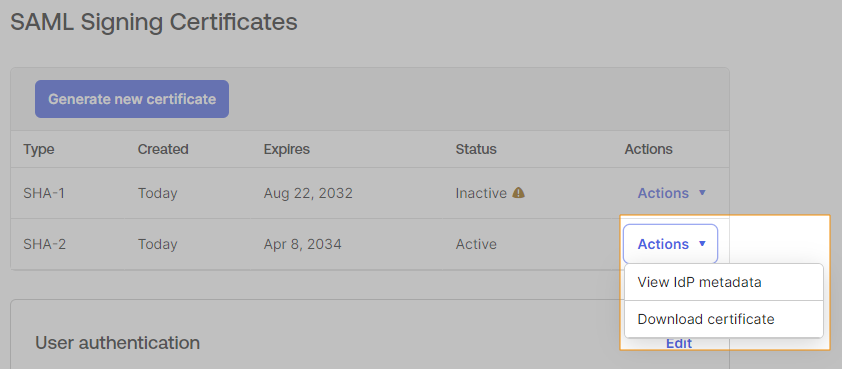
From navigation, go to Applications > Applications. Then click Generate New Certificate.

-
Once the new certificate is ready, download it.