

Install a Search Client in Freshservice
Installing a Freshservice Search Client on your Freshservice support portal allows agents and users to easily find tickets and articles on-the-go. Deploying this Search Client powers SearchUnify’s Agentic Search platform on your support portal, enhancing self-service capabilities and reducing case creation.
This article provides step-by-step instructions for installing the Freshservice search client.
Prerequisites
-
Create a Freshservice Search Client
-
Configure the Freshservice Search Client
Installing Freshservice Search Client
Begin by downloading your Freshservice search client.

Open the .zip file of the downloaded search client and extract its components to your local machine.
Open the readme.txt file and follow the instructions provided.
-
Log into your Freshservice instance.
-
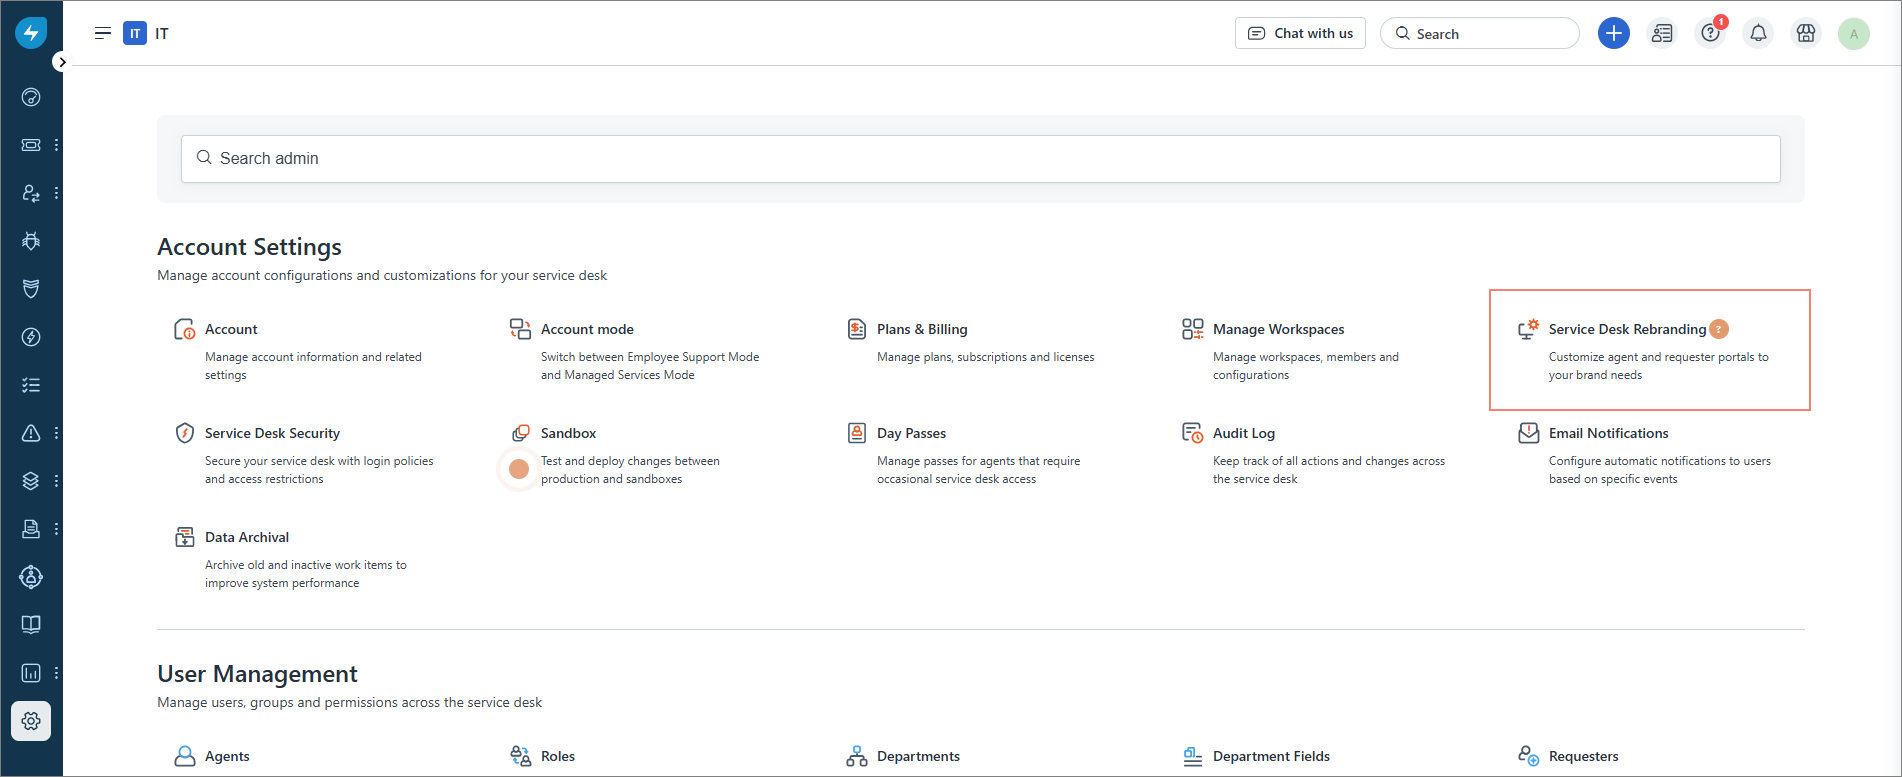
From the left-side menu, click Admin.
-
On the Admin page, select Service Desk Rebranding.
-
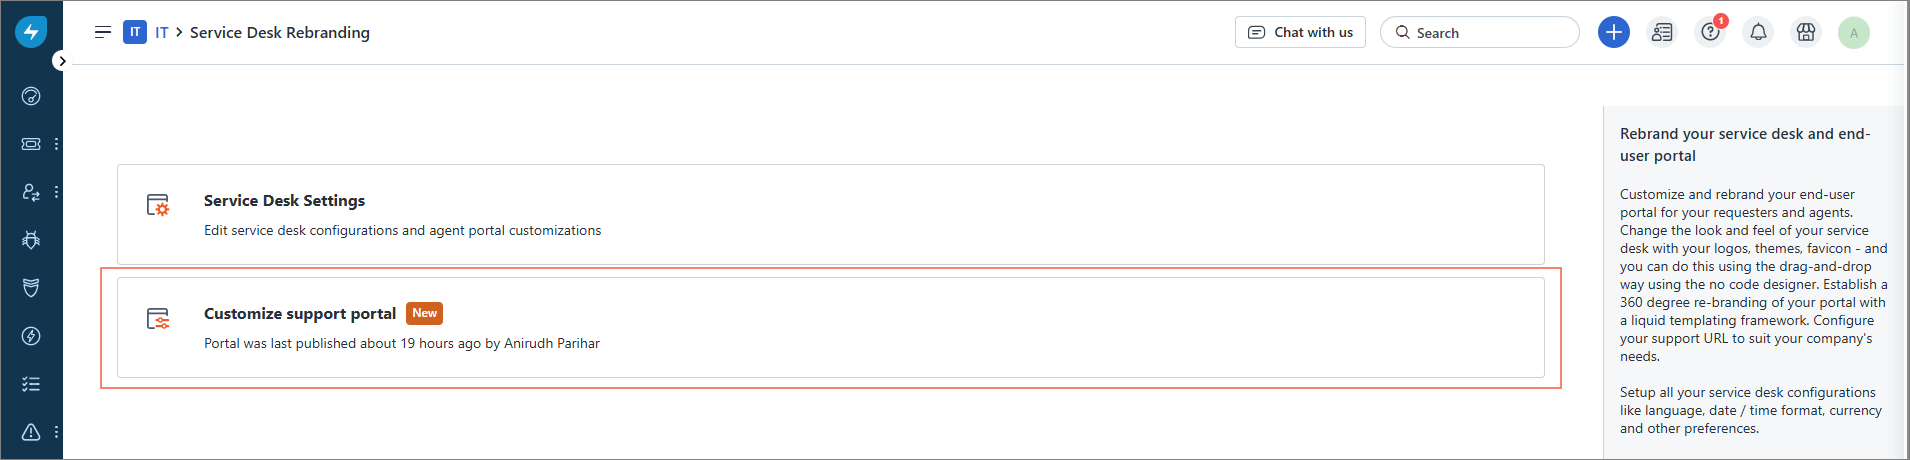
On the next screen, select Customize support portal.
-
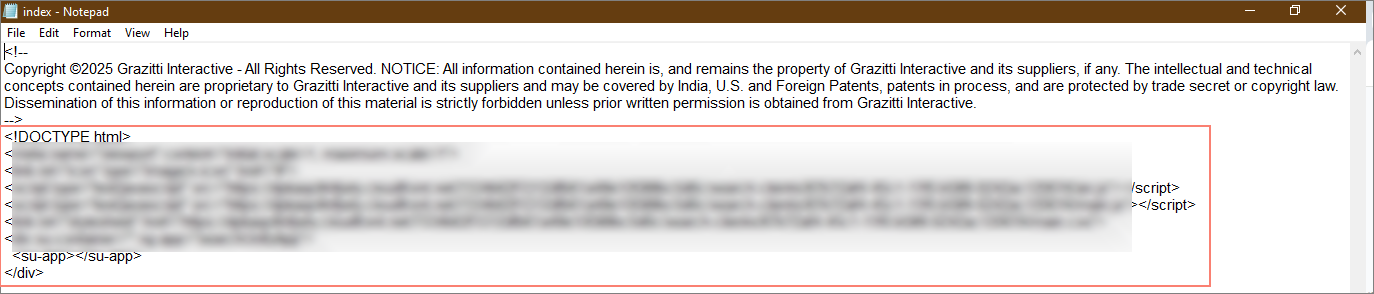
Open the index.html file (using Notepad or any similar text editor) and copy the script provided in the file.
-
Paste the script into the desired location on your support portal’s component to add the search functionality.
Note: For details on the layouts and components refer to the official Freshservice documentation on Complete Layout Customization.
-
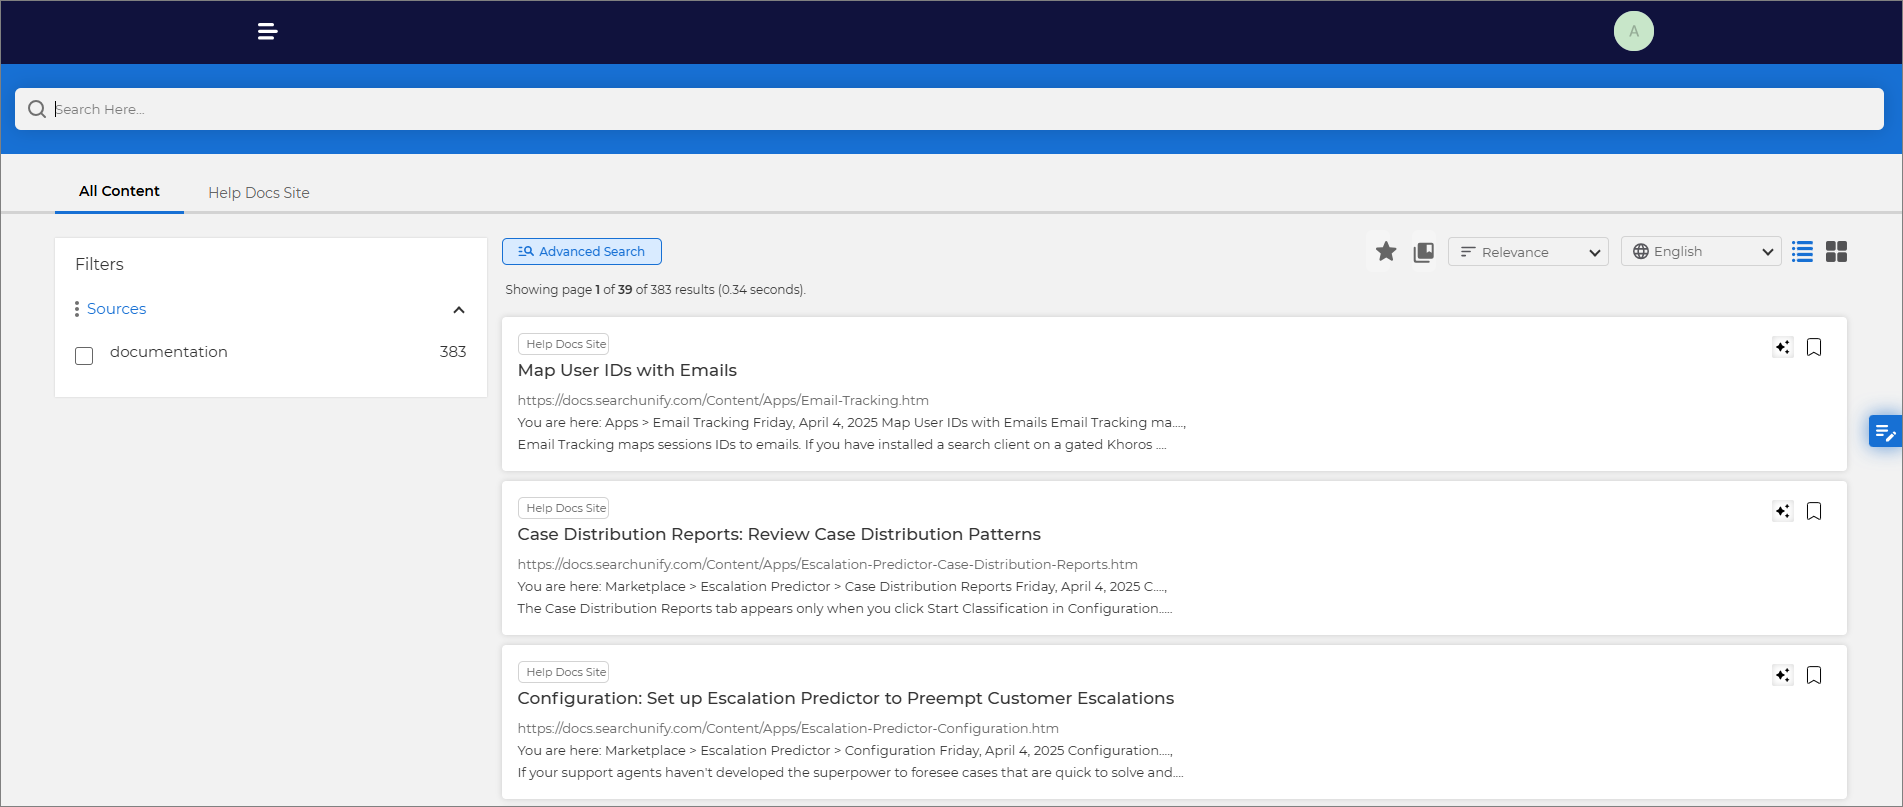
Click Save and then Save and Publish to apply your changes. Alternatively, use the Preview button to verify if the search component has been deployed on your Freshservice support page.
Fig: A snapshot of the search component in the Preview mode.

You can similarly add other components such as Autocomplete, Page Rating, and Recommendation components to your Freshservice support page. For each component, use the corresponding scripts provided in the autocomplete.html, feedback.html, and recommendation.html files.