

Install Escalation Predictor in Salesforce
Escalation Predictor can be accessed in Salesforce. Once in your org, it offers an exclusive report, more configurations and introduces a more efficient workflow, wherein you don’t need to continually switch between your org and SearchUnify admin panel.
Installing consists of two parts: Download Escalation Predictor app from AppExchange and configure it.
Prerequisites
Configure Escalation Predictor in your SearchUnify instance
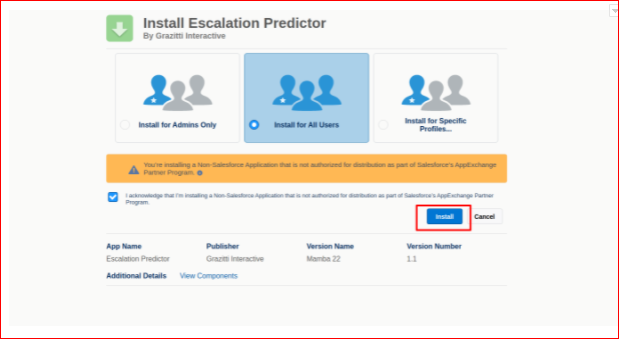
Download Escalation Predictor from AppExchange
Download the Escalation Predictor and install it for all users.

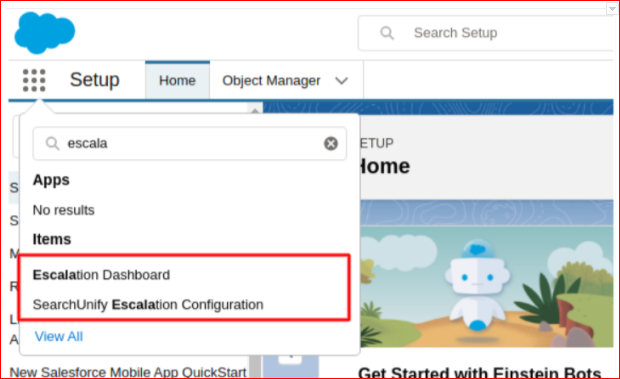
A successful installation installs two apps:
-
SearchUnify Escalation Configuration: A screen where Escalation Predictor is configured.
-
Escalation Dashboard: A screen where escalation dashboard is available.

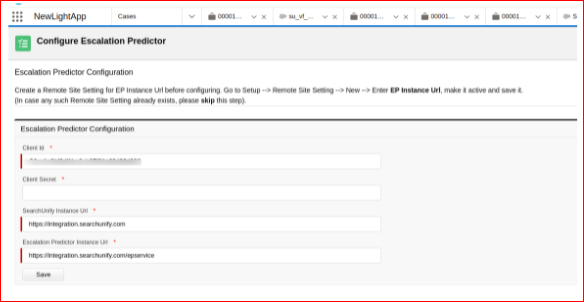
Configure Escalation Predictor
To be able to view the Escalation Predictor dashboard in Salesforce, configure the app. To start, create a remote site and then enter API details on the SearchUnify Escalation Configuration screen.
Create a Remote Site
-
Log into your Salesforce Org, click Setup under the Settings gear icon.
-
Enter ‘Remote Site Settings’ into the Quick Find box and click on it from the search results.
-
Click New Remote Site.
-
Enter a name in the Remote Site Name field.
-
The Remote Site URL is in this format: https://{{EPInstanceUrl}}/epservice. For example: https://yourcompany.searchunify.com/epservice
-
Click Save.
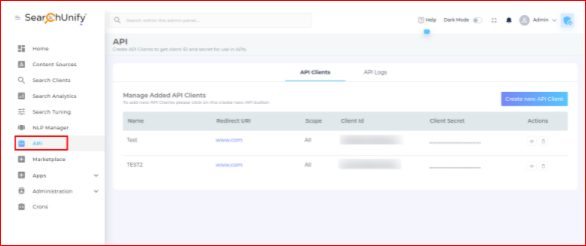
Enter API Details in SearchUnify Escalation Configuration
Follow the instructions on how to create an API app: Get Client ID and Client Secret with an API App.
Make sure that the Redirection URL should be same as the Remote Site URL(https://yourcompany.searchunify.com/epaddon).
Once you have the app, copy its client ID and client secret. Both will come handy pretty soon.
-
Navigate to SearchUnify Escalation Configuration from API.
-
Copy the details from API and fill the configuration details in remote sites.
-
Save your settings.

Now, the configuration is complete.