

Install a Search Client in Salesforce Console
Find information right inside your Service Console in Salesforce. This article walks you through the steps of installing and setting up a SearchUnify client in Salesforce Service Console.
Prerequisites
Create a Salesforce Service Console search client. Log into your instance, go to Search Clients, pick "Salesforce Service Console", enter a label in Enter Platform Name and your instance URL in Enter Base URL.Then, click Save.

Configure the Salesforce Service Console search client. Refer to Customize Console Search Client
The SearchUnifySF connected app should be installed in your Salesforce instance. Refer to Use Salesforce As a Content Source
Download Salesforce Service Console Search Client
Download the Salesforce Service Console search client that you created.

Become a Knowledge User
- From
 in Salesforce, select Setup. Use Quick Find Box to find Users. Click Edit and check the Knowledge User box.
Enable Lightning Knowledge
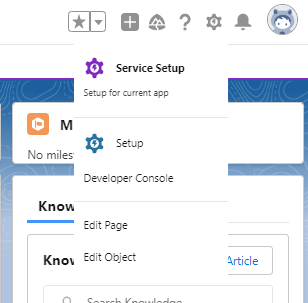
From ![]() in Salesforce, go to Service Setup. Find Knowledge Settings from Quick Find Box. Then check Yes, I understand the impact of enabling Salesforce Knowledge. and click Enable Lightning Knowledge.
in Salesforce, go to Service Setup. Find Knowledge Settings from Quick Find Box. Then check Yes, I understand the impact of enabling Salesforce Knowledge. and click Enable Lightning Knowledge.
Install a Client
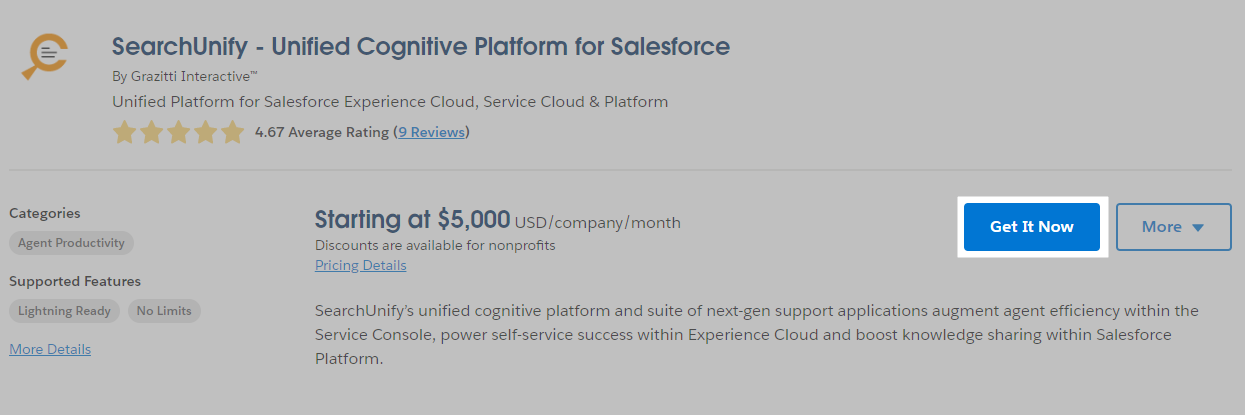
- Visit Salesforce AppExchange and you will land on the SearchUnify - Unified Cognitive Platform for Salesforce app listing page. Click Get It Now.
- If prompted, log in with your Salesforce admin credentials.

- It's advisable to install an app on Sandbox, instead of Production.
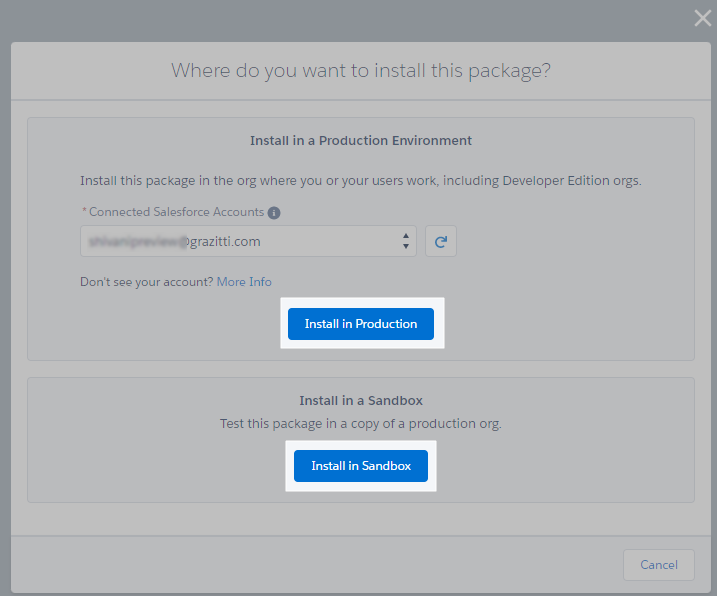
- Install the app for All Users. A warning might come up. Overlook it and proceed with installation. In the end, an Installation Successful message will greet you.

Connect Salesforce Org with SearchUnify Instance
Process SearchUnify Package
The data flow between SearchUnify and your Salesforce org is managed through Remote Sites. Create two remote sites. The instructions are on Create Remote Sites in Salesforce.
Create Two Trusted URLs
You need to add your CDN endpoint and Service endpoint to Trusted URLs.
-
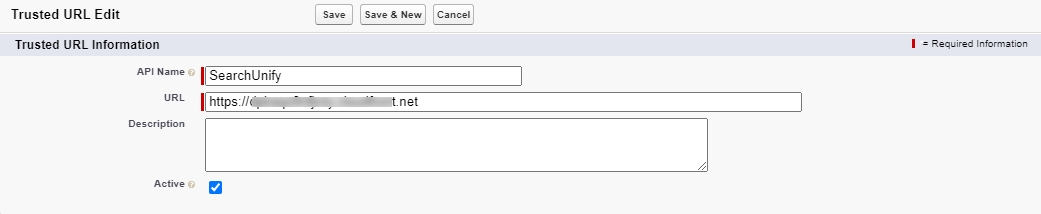
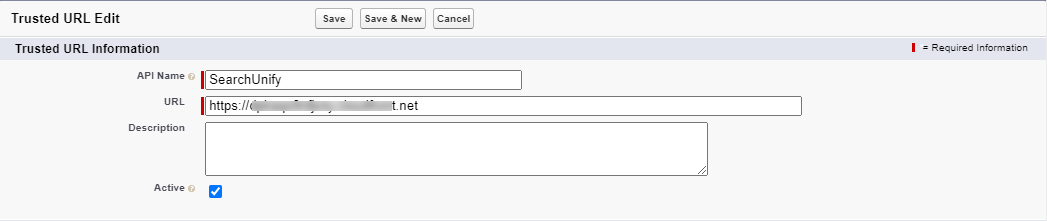
On the Setup page, use Quick Find Box to search Trusted URLs and click on it. Click New Trusted URL to create a new URL.

-
Enter a name into API Name field and use your CDN Endpoint given in the readme.txt file into the URL field. Make sure you use the CDN endpoint up to .net only (as shown in the image below).
-
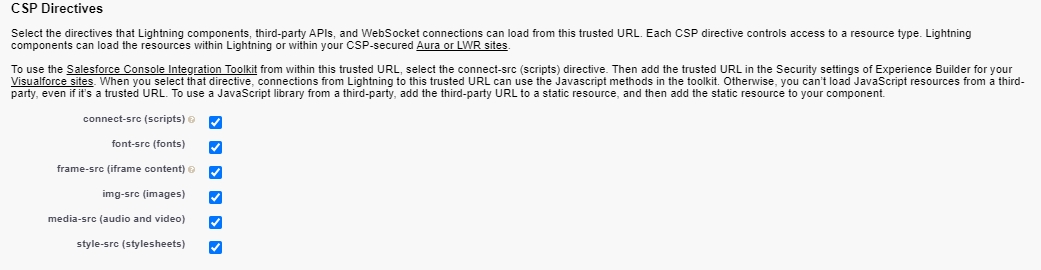
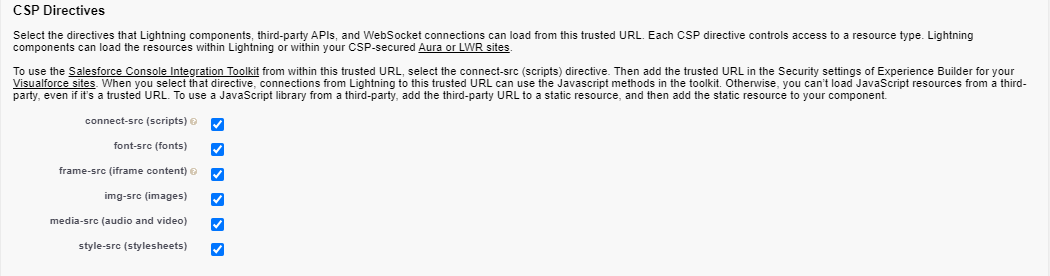
Make sure to select all the CSP Directives options and click Save.
-
Similarly, create another Trusted URL using your Service Endpoint (your SearchUnify instance URL).
Add a CORS
If you use SearchUnify Cloud Edition, you have to add your CDN endpoint to CORS.
-
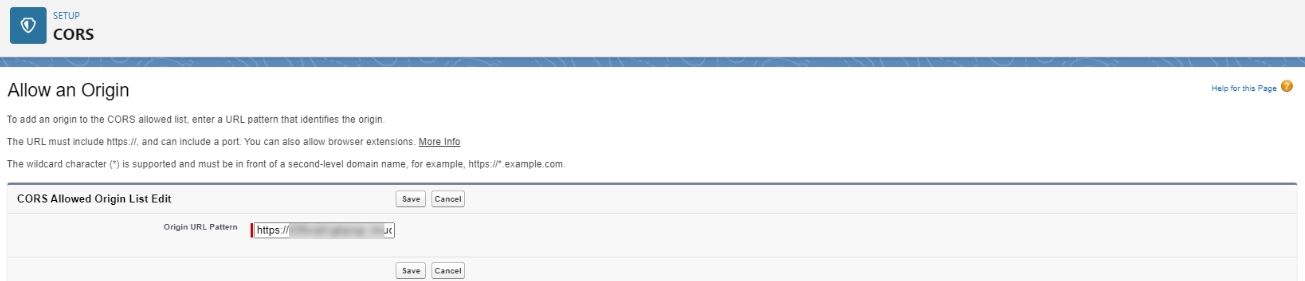
On the Setup page, use Quick Find Box to search CORS and click on it. Click New to create a cross-origin resource sharing URL.

-
Add your CDN Endpoint to Origin URL Pattern and press Save. Make sure you use the CDN endpoint up to .net only.


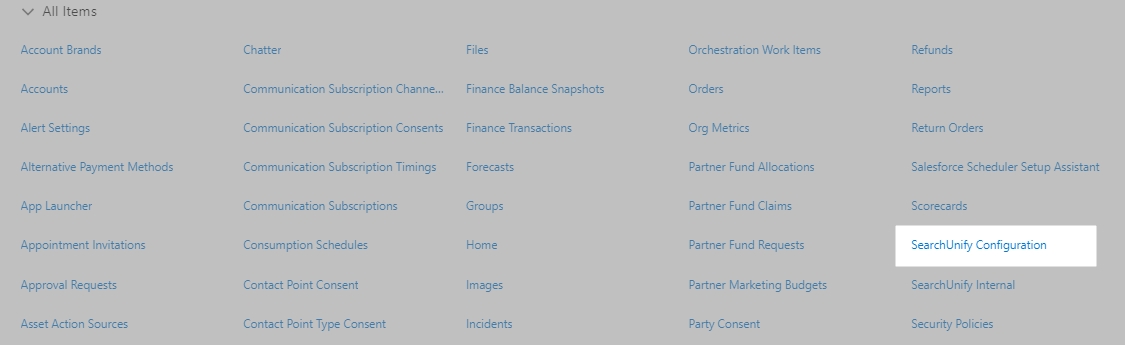
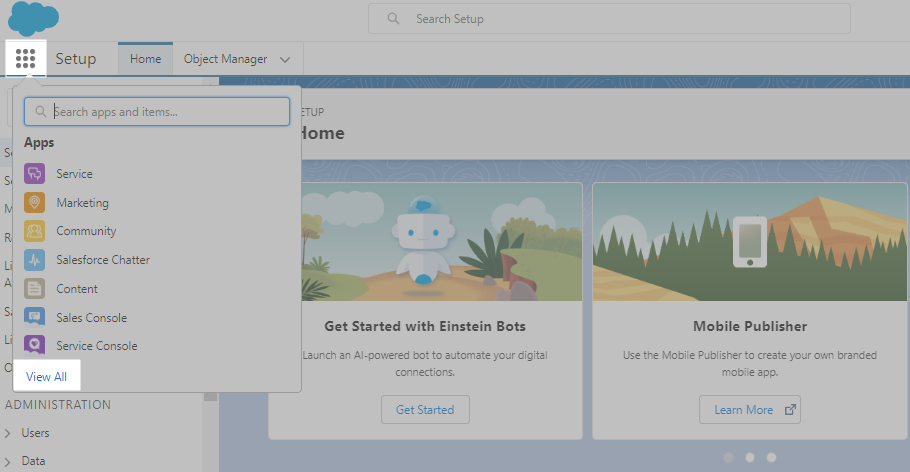
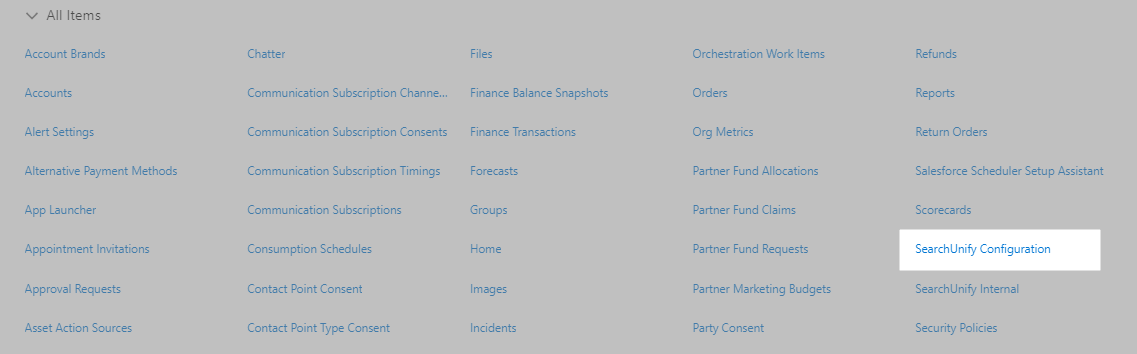
- Click Salesforce App Launcher and then View All.
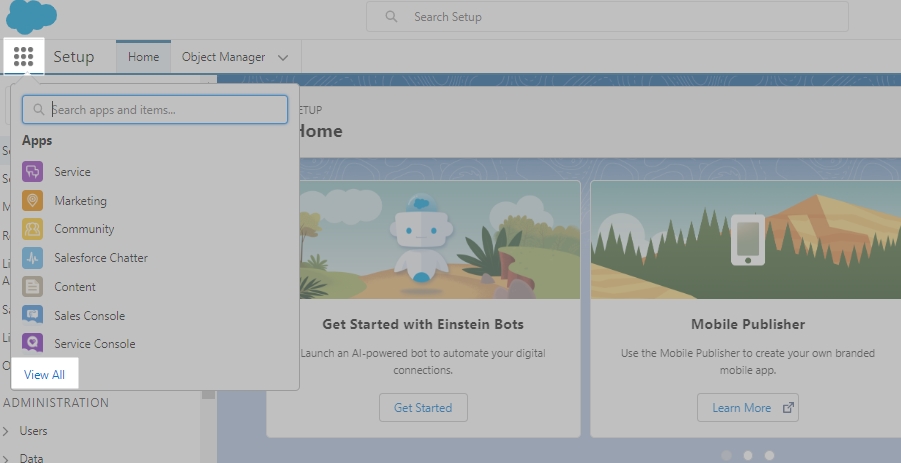
- Find SearchUnify Configuration and click it open.
-
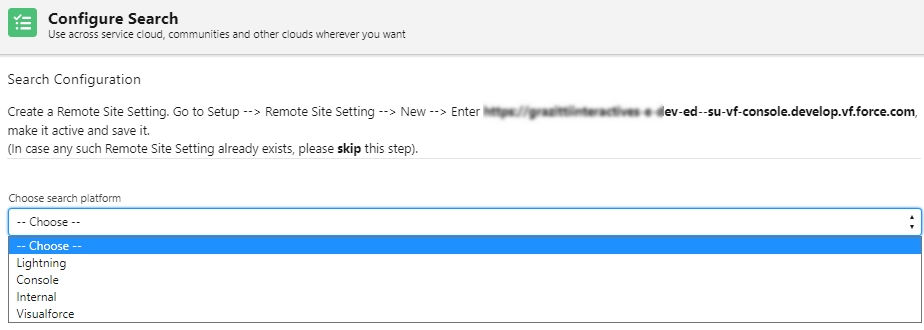
Select the installation location for the search in Choose search platform.
- Turn on CDN Support if you use the Cloud Edition. Turning on CDN Support improves speed but it also requires two extra settings:
During search client processing, you need a CDN endpoint which can be found in the readme file
For successful processing, you will have to create three remote sites instead of two. The website to be inserted in Remote Site URL can be found in the readme file

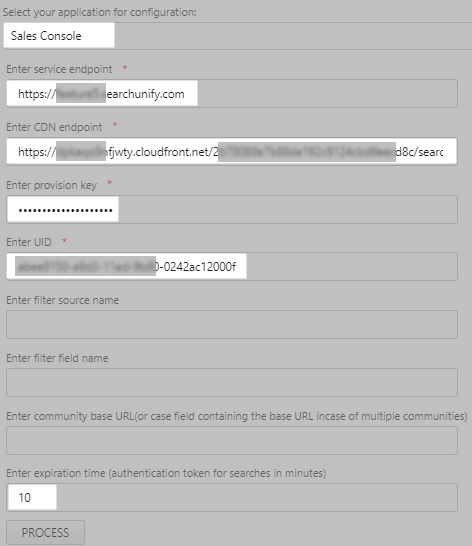
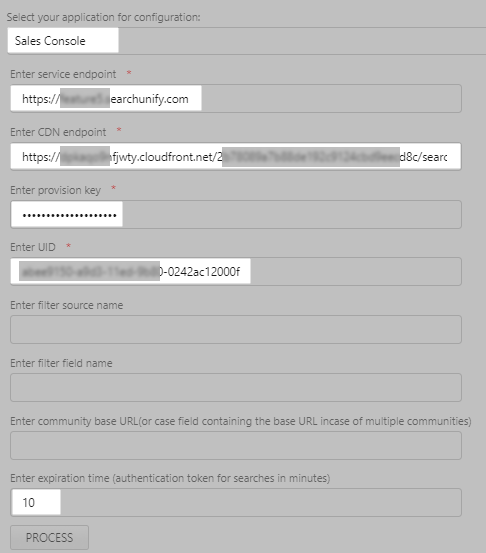
- Enter the details and click Process.
- Select your application for Configuration. The search client will be installed in the chosen application on Console, Community, or Visualforce. The field is absent when Internal is picked.
- Enter Service Endpoint. It is your SearchUnify instance URL.
- Enter CDN endpoint. The endpoint is in readme.
- Enter Provision Key. You can get it from your SearchUnify representative.
- Enter UID. It is your search client ID.
- Enter expiration time (authentication token for searches in minutes). Enter any integer. The suggested value is 120.

Processing can take up to a few minutes. Upon a successful processing, proceed with inserting the SearchUnify component to the case details page.
Insert Salesforce Service Console Search Client
-
Open a case in Service Console.
-
Click Edit Page.
-
Find sUSearchClientLWCContainer{ABCD}. The {ABCD} in the component name contains the first four letters of the search client UID. These letters distinguish components from one another when you have several of them installed in the org.
-
Refer to the below video on how to drop the component on the case details page.

-
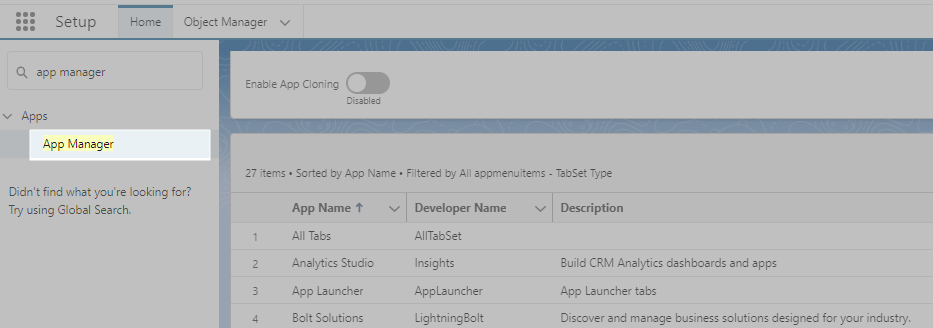
Go to App Manager.
-
Open the app where the search client is installed for editing.
-
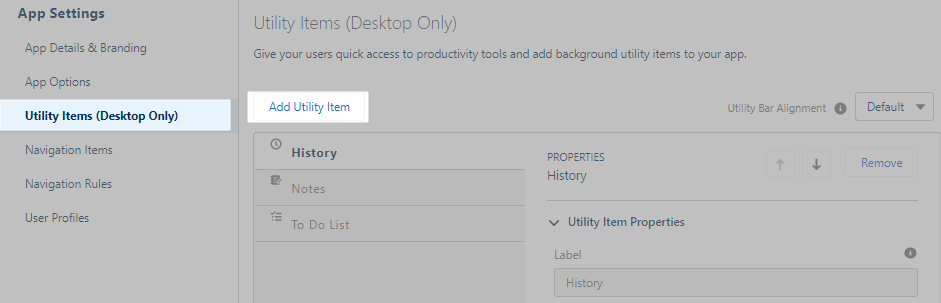
Go to Utility Items and click Add Utility Item.
-
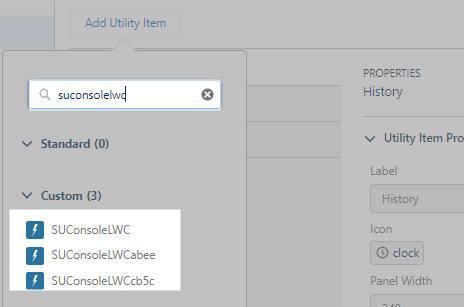
Add the component SUConsoleLwc{{ABCD}}. The last four letters of the component contain the first four letters of the search client UID.
-
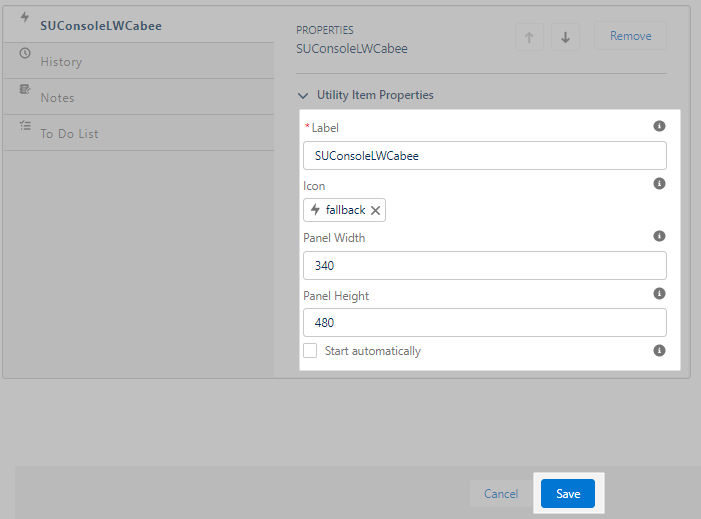
Configure the size of the component and click Save.

Usage
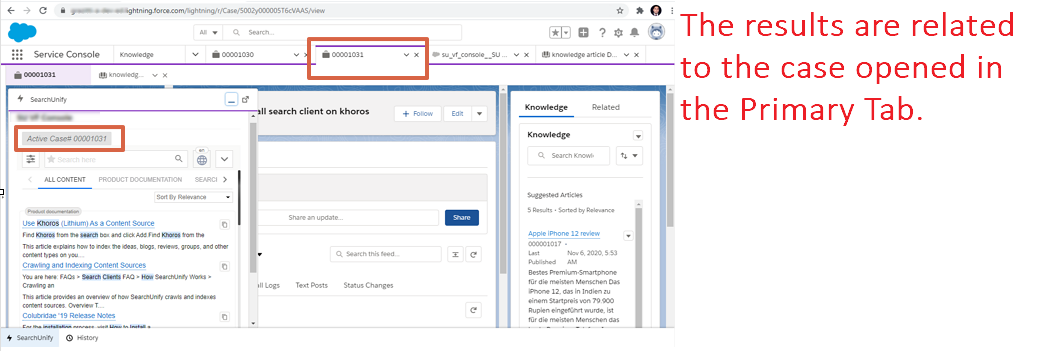
Upon installation, SearchUnify is added to the utility bar. Click it to launch the search client.

When the search client is launched, it presents results related to the case opened or active in the Primary Tab. When you switch between two Primary Tabs, the results page refreshes — so that the results are related to the active case. Navigation between subtabs doesn't refresh results. It means that you can use the search function in subtabs.
Agents who run complex searches on a regular basis or need more information to scan simultaneously can switch to full-screen view by clicking ![]() . After maximizing the search window, you have to run your search again. That's because Salesforce automatically refreshes the search page and your query disappears.
. After maximizing the search window, you have to run your search again. That's because Salesforce automatically refreshes the search page and your query disappears.

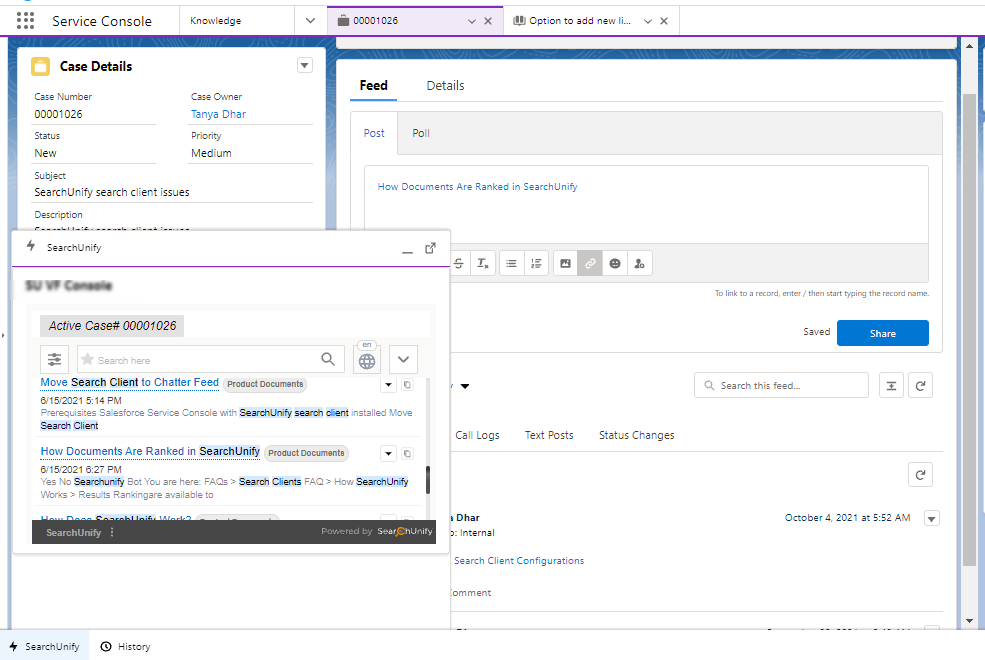
To copy the link to a result, click ![]() . Clicking
. Clicking ![]() copies a hyperlinked result title in Salesforce Lightning. In Salesforce Lightning, the link contains the URL of the copied result, which can be pasted on a case page. In the next image, the second result "How Documents Are Ranked in SearchUnify" is copied from the search client and pasted on a case page.
copies a hyperlinked result title in Salesforce Lightning. In Salesforce Lightning, the link contains the URL of the copied result, which can be pasted on a case page. In the next image, the second result "How Documents Are Ranked in SearchUnify" is copied from the search client and pasted on a case page.
To preview a result, hover the cursor over an article title. Each preview counts as a conversion. The preview works on Salesforce articles when the search client isn't on the utility bar. It doesn't work on the articles in Classic. Users can share articles and link them to cases as a comments.
Related Documents
- Move Search Client to Chatter Feed
- Move Search Client to Right Sidebar in Salesforce Lightning
-
SearchUnify Widget is not Loading in Salesforce (requires login)